S100 - Prusa i3 - Custom Aluminium Frame - Part 1

 This week I designed a pattern to go on the frame of my Prusa i3. I am doing two different surface treatments - etching and CNC engraving. Today, I cut the vinyl sticker on the vinyl cutter for the resist and etched the aluminium.


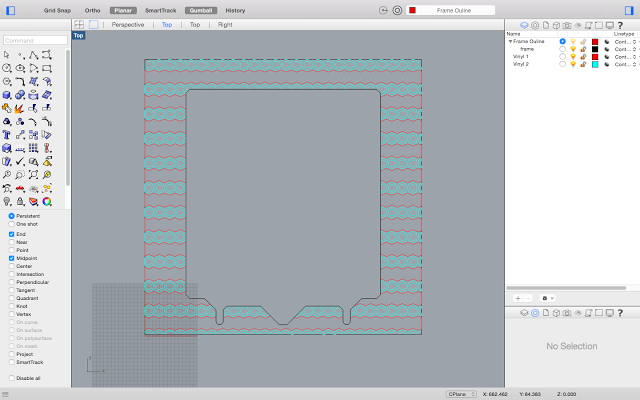
I had to piece some of the edges together due to scale in Sure-cuts-a-lot being different than Rhino. 
Frankie helped me mix up a batch of root kill, salt and water to etch the aluminium. After agitating in the solution for about 5 minutes, we took out the frame and the results are below. 

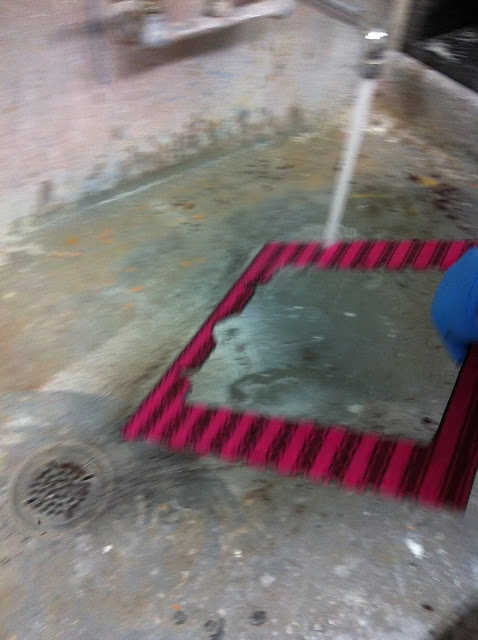
Rinsing off all of the reddish-brown build up from the solution. 
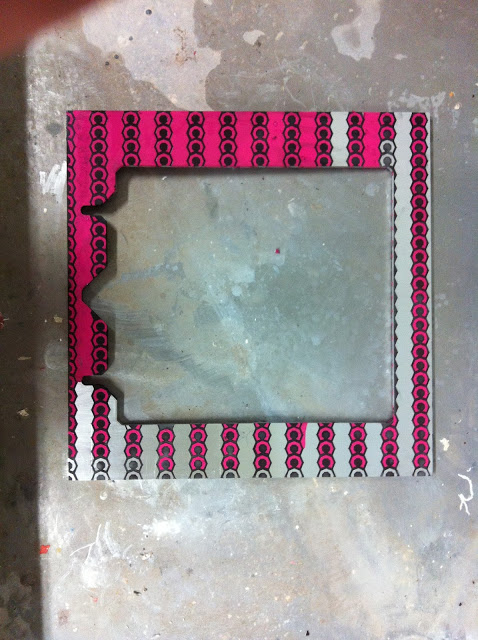
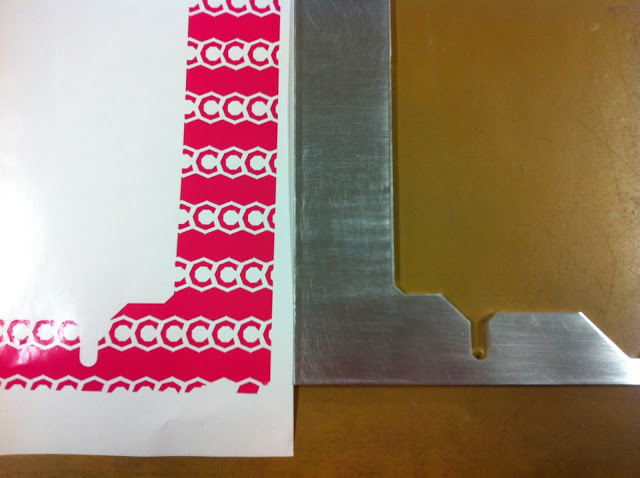
Peeling the resist off of the frame was tedious but well worth it for the results. 
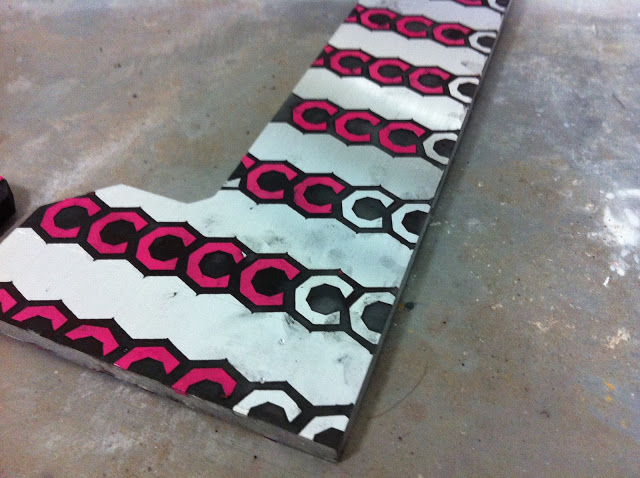
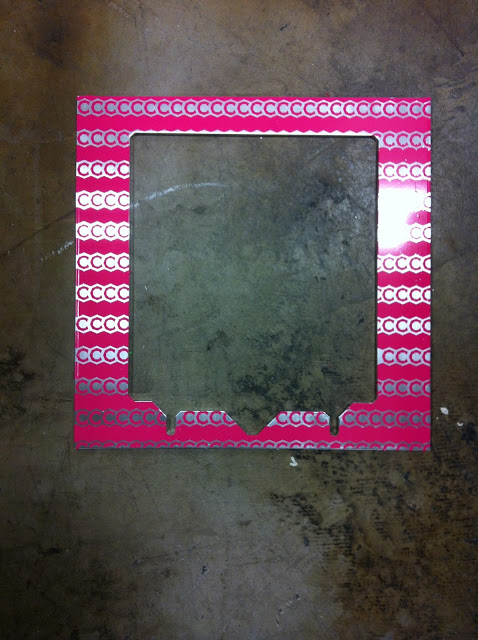
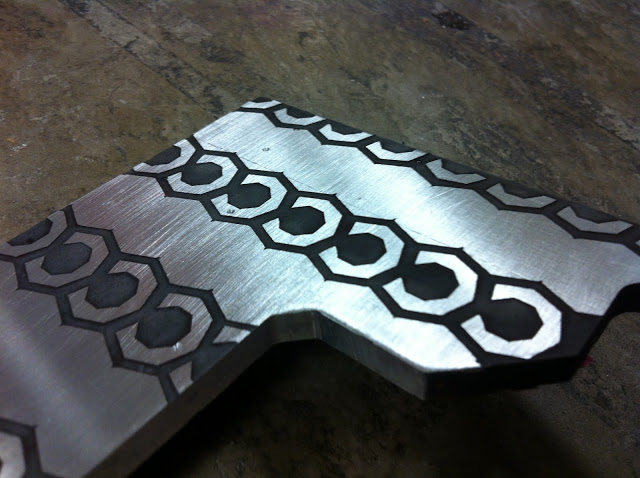
I'm really pleased with the level of detail the etching gave me. The natural oxidation of the aluminum is also a nice variation. I'm not sure If I will keep it until the end - but I will definitely wait to see what it looks like with the CNC engraved details before I clean it up. 


To be continued...


Machines that Make - Instructions and .stl Files

Throughout the creation of this Machine I have utilized numerous online resources and have borrowed (in some cases - borrowed and modified) lots of open source knowledge, parts and code. Without the information that is available through websites like Thingiverse, github, Instructables, and the RepRap Wiki, the creation of my machine would have been imposible in the amount of time I've completed it.

So, in the spirit of the open source community - I encourage you to download these files and create your own "wall mounted cartesian light machine." (If you want to of course.) OR, make a derivative!

Here is a link to all of the .stl files that have been used in the creation of the "Wall Mounted Cartesian Light Machine." In that folder, you will also find a brief instruction sheet, detailing all of the other components of the machine. Enjoy!

Machines that Make - Carriage

Today, I wired up the LED Matrix for the short axis carriage and designed the mount. The mount is made out of 1/8" acrylic that I laser cut to size. I tapped screw holes for the 2mm screws that came with the LED Matrix for constructing. I welded all of the acrylic parts together with Weld On. I then designed a space for the light to sit further elevated off of the carriage - so that I get the maximum travel distance out of the short axis. The new modified mount works well with the endstop. I've also uploaded a couple videos of the machine in action from when I was testing out code for the movement and the light pattern. I'm pretty happy with the progress... Even though it is doing something completely different than what I envisioned it would do. 


Machines that Make - Mechanism Install

This weekend I installed the mechanism onto the structure of the machine. I've added a 40 teeth pulley to the long axis that I am using with a high torque 60mm Nema17 and a 16 teeth pulley to the short axis that is attached to a 34mm Nema17. I'm using GT2 belts for both axes. 


Machines that Make - Endstops

Today, I added end-stops and finished all the ends of my wire with sockets. 
The end-stop design came from thingiverse, but I drew a new version to hold a 10mm rod (below). Also, preparing wires to go into sockets is hard. If I were to do this again.... I think I would make a machine that doesn't require any wiring... AH HA just kidding, I am getting better at it slowly.   


Machines that Make - Making Parts - Part 2


Mocked up X Idler
Mocked up X Idler

In addition to the corners, I also designed new X axis parts this week. Taking cues for the Prusia i3 parts I had already printed, I made a few modifications to allow for 8mm and 10mm steel rod. I started by printing a few test pieces at 2% infill and 2 shells, on Fast.
  
New Part designs - with modifications after test prints:
 The take a LONG time to print at 45% infill and 3 shells! 


Assembly and testing with the motors: 


 There is a bit of sag in the rod - so hopefully I will be using the smaller, 34mm Nema 17's, instead of the higher torque...


Machines that Make - Making Parts

Over the past couple of weeks I've been working on sourcing all of my parts for the Machine that Makes project. In addition to the metal, wood and plastic that makes up the facade, I've been 3D printing a few components that will aid in assembly. I have borrowed some of the open-source parts available for the Prusia i3, and am designing a couple of new ones.

Frankie helped me design a part to hold the ends of my rod, which I have pictured below. The MakerBot only successfully printed 92% of the design, so I decided to try and make it work... Long story short - my attempt failed, so I will be printing new parts as soon as possible.


Machines that Make - Samples


In my quest to create a novel machine, I've become a hacker. I never thought I would say that... but I'm starting to think I might have always been a hacker — splicing bits and pieces of this with that, to modify this or to make that better... I think it's all innovation anyway (depending on how you look at it).  For the creation of these mocked-up models, I've borrowed some Prusia i3 parts to make my mechanism... I'm pretty happy with the ease of assembly. The printed parts slide along the dowels with ball bearings. The dowels will eventually be replaced with smooth steel rod. I'm trying out two different orientations for the axes. I think I'd like to test it out with the electronics before I settle on an orientation.  (The cell phone eventually will be replaced with a light — just there on the carriage for "effect.")