Connect

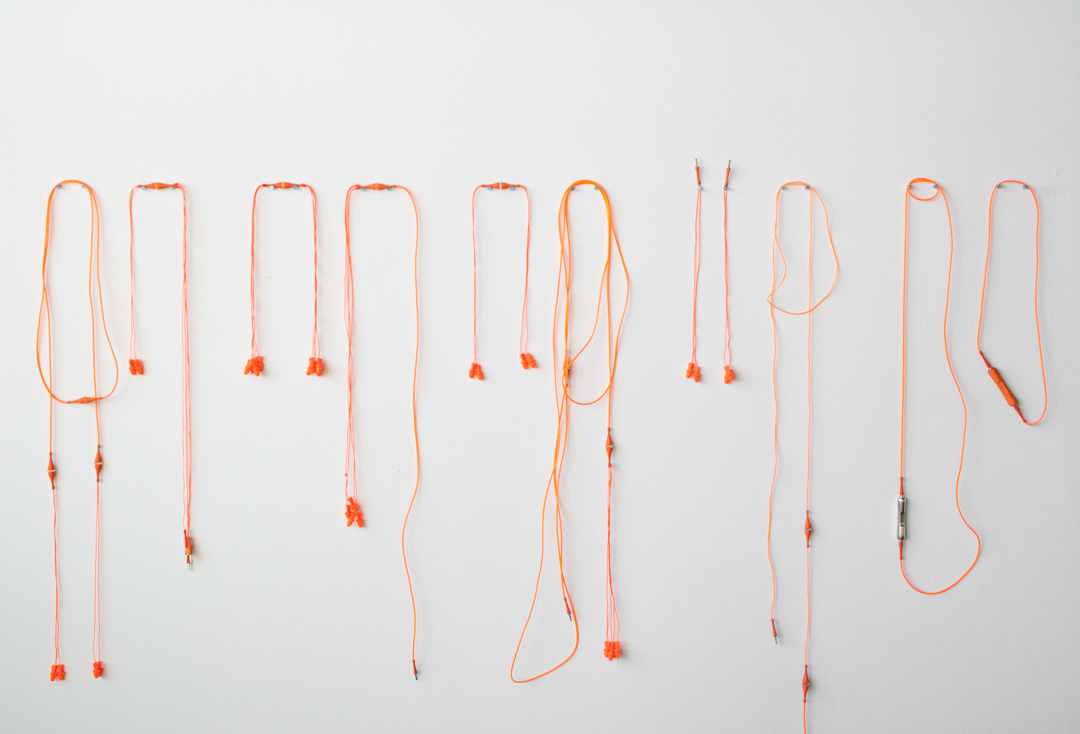
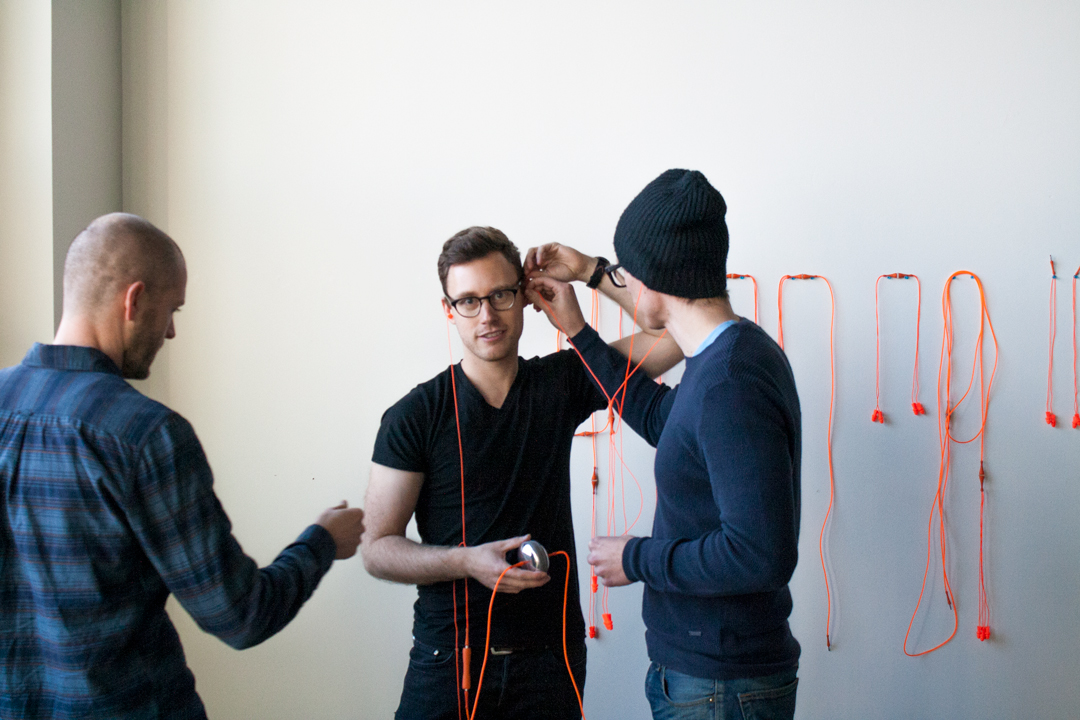
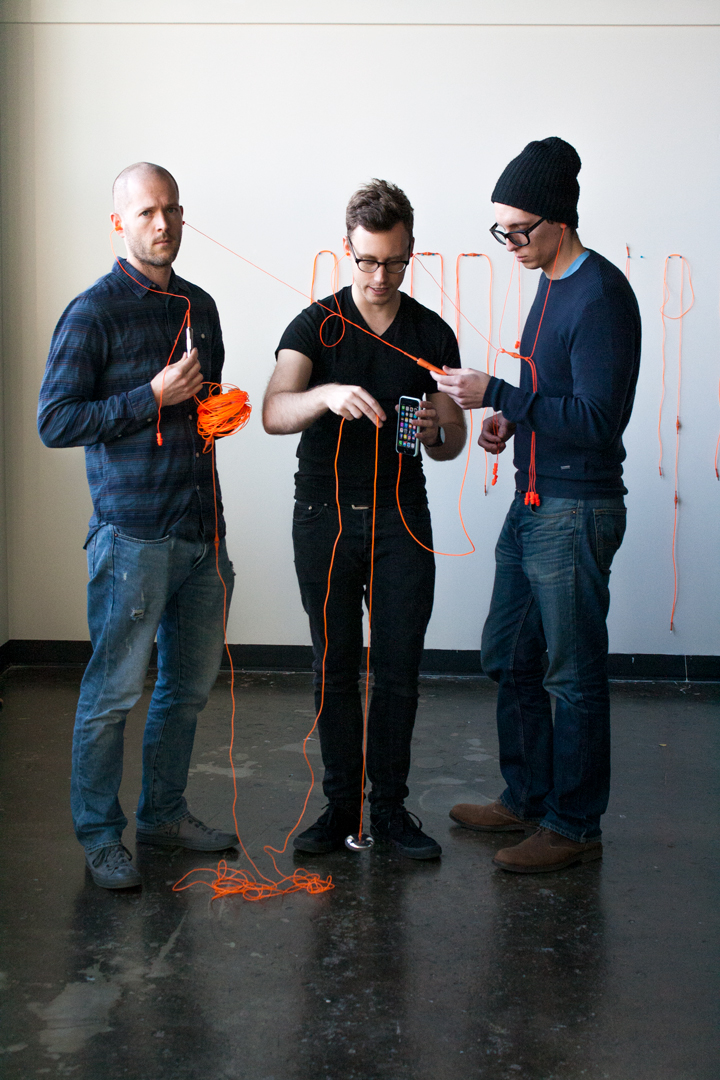
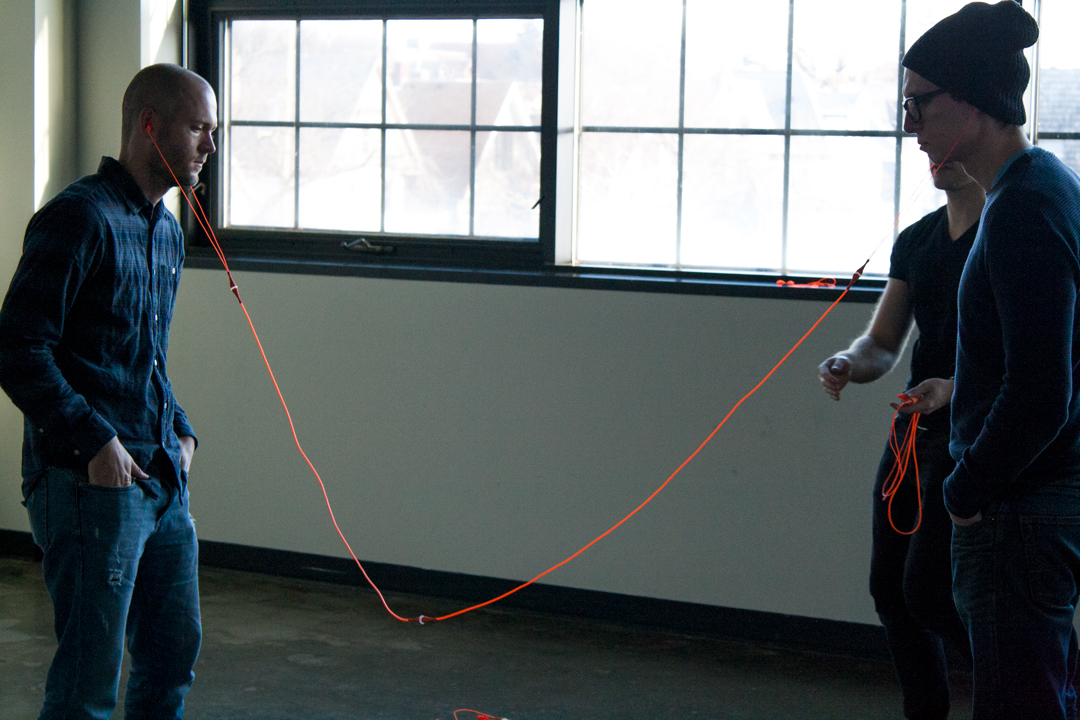
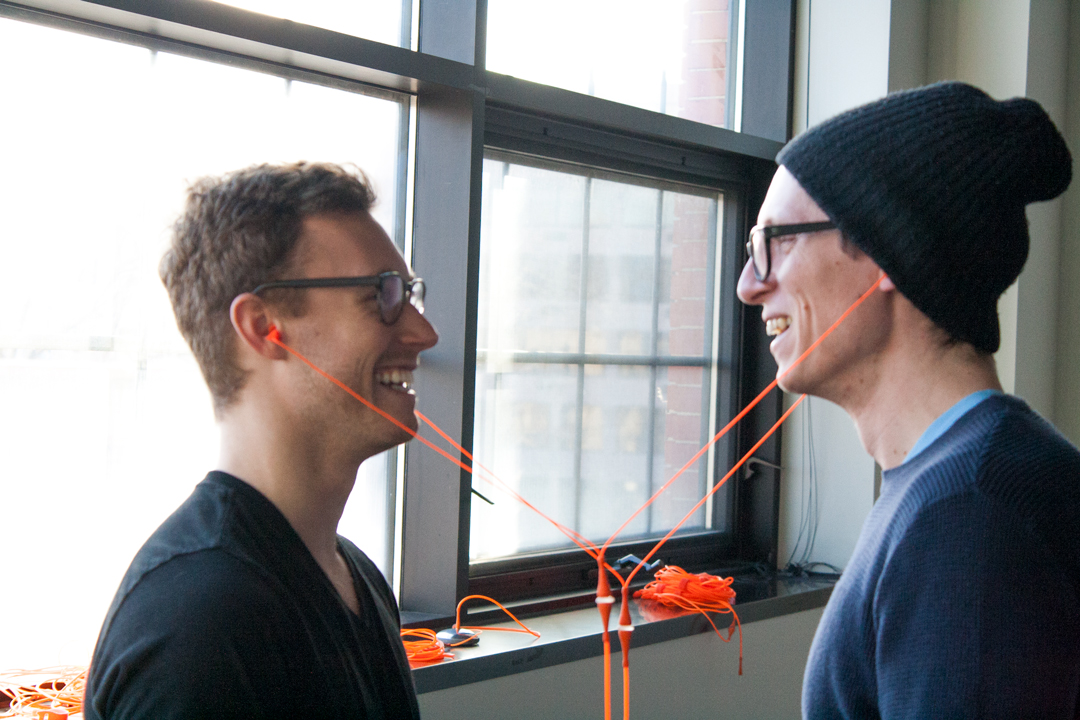
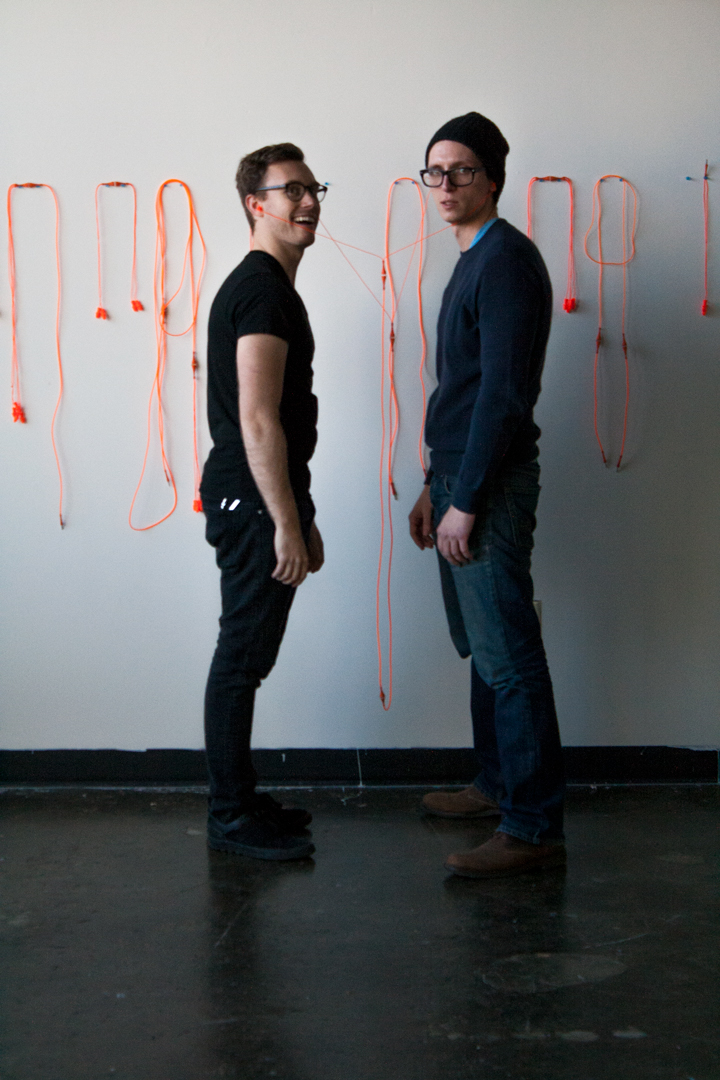
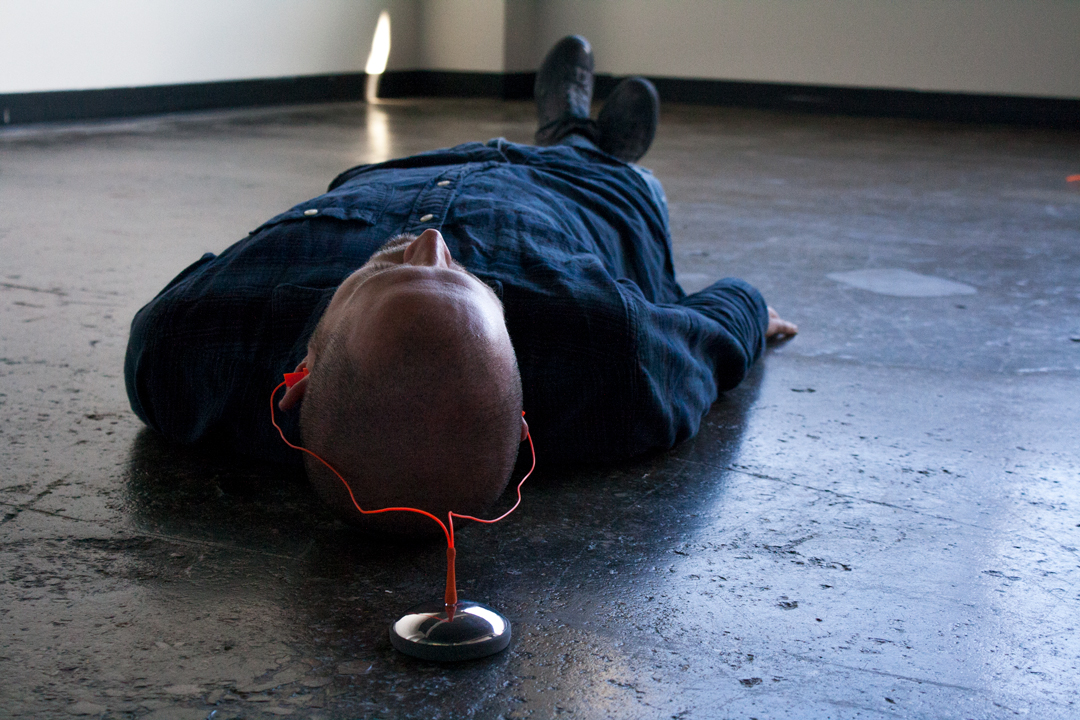
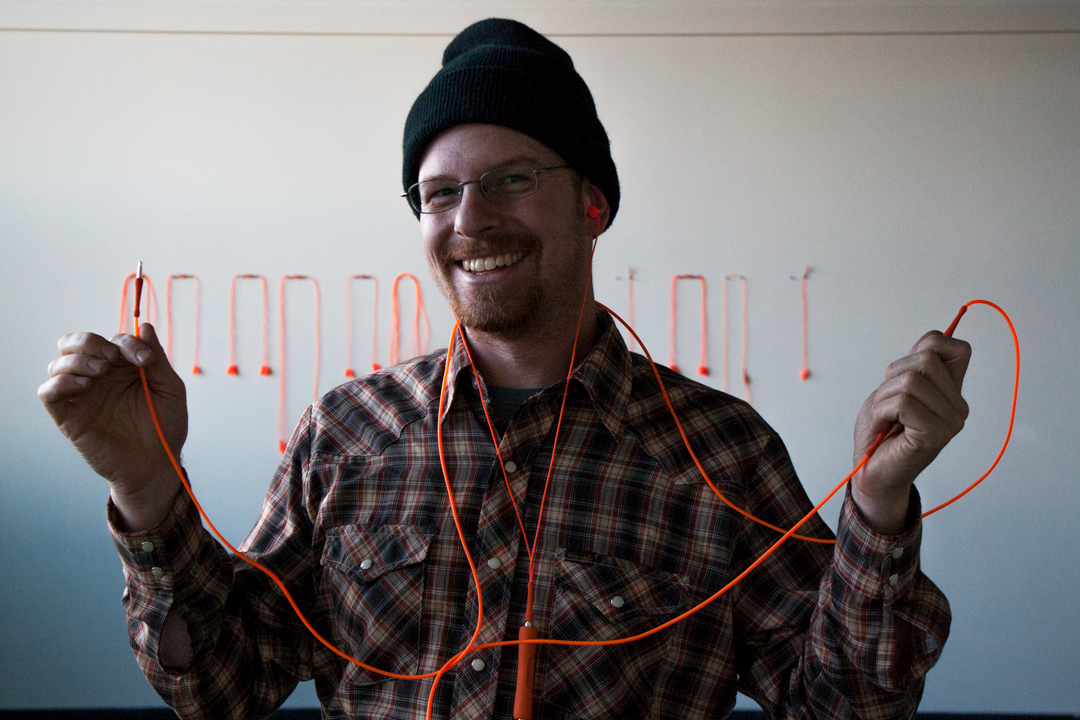
Last week I installed a number of the iAm series pieces "buffet style" in a gallery space. I invited some friends in and asked them to interact with the pieces. The event resulted in some new inspirations and a lot of laughs.  

Ring Samples

I went into the summer with some Rhino goals in mind, and I've been slowly working through a few of them with a series of ring samples. One of the goals was to increase my "organic" design skills, so I started with exploring curve networks. Coupling these curve networks with some solid primitive forms got me some simple but effective sample ring designs I was able to upload to Shapeways and get printed in a variety of materials. I think these samples will also be helpful to my students in ART277. I got various ring sizes printed to check the tolerances of printing, attempted to incorporate a "tension" held rutilated quartz stone and pushed scale limits. I've gotten about half of the rings from Shapeways, see below. TBC.

On the right in Pink - a stock band I created with curve network, attached to all ring samples. Left - Rutilated capture ring. 

Process capture of creating designs from solids.

With this ring, I tried to go as tight as possible to the minimum limit of material thickness for the top design. I'm calling it the "bite ring." I learned a lot trying to create the curve network for the top.  

The aluminum plastic on the left is hilarious to me because the design I created is meant to reference hammer texture. Oh, metalsmith humor. 

iAm packaging

Through this series of renderings, I am starting to consider the iAm project as a mindful, seemingly technological, product for mass consumption. These are my initial sketches for an internal packing method. I imagine expanding on this to include an insert about how to assemble the object, how to use the object, etc. All of this encased in a larger die formed or vacuum-formed container branded for sale.


Design for Digital Fabrication - Student Work - Vinyl Tattoo

Art277 - Design for Digital Fabrication
Vinyl Tattoo

For this project students were asked to look to tattoos as inspiration for creating body adornment. They started with sketches, converted those into Rhino curves, and then output the design to the vinyl cutter, cleaned up the sticker and then stuck it on the body/clothing.  


Design for Digital Fabrication - Student Work - Pendent Lamps

 ART277 - Design for Digital Fabrication
Pendent Lamp - Renderings & Prototypes

For this project, students were asked to create a flat pack pendent lamp. They started by drawing the designs by hand, translated those into rhino and created a .3dm, rendered it, and then built a prototype from their files. They were encouraged to combine multiple processes from the class that they had learned so far: 3D printing, laser cutting, vinyl cutting. Here are a few renderings and projects exhibited at Arts Tech Night at Kenilworth.


Design for Digital Fabrication - Student Work - 3D Printed Ring Documentation off the Body

ART277 - Design for Digital Fabrication
3D Printed Architecture Inspired Ring

For this project, students used Rhino to design a ring inspired by architecture. Students printed their own preliminary ring size tests on the Makerbots in the DCRL, and then got the final designs printed through Shapeways. They all fit!


Design for Digital Fabrication - Student Work - 3D Printed Ring Documentation on the Body

ART277 - Design for Digital Fabrication
3D Printed Architecture Inspired Ring

For this project, students used Rhino to design a ring inspired by architecture. Students printed their own preliminary ring size tests on the Makerbots in the DCRL, and then got the final designs printed through Shapeways. They all fit!


iAm - sockets

A couple weeks ago I started experimenting with plasti-flex, the material I am casting the iAm sockets out of. This part is currently functioning as an interface with the wall, a transitioning material. The initial mold was created out of a 3D printed prototype and some left over Oomoo rubber. I wanted to test out the plasti-flex so when I heard someone in the studio had some extra rubber, I just quickly grabbed the test print and a Tupperware to make a test mold. The makeshift mold allowed me to quickly test the colors and flexibility of the material. The fit turned out really nice. 
I've since re-designed and machined a new socket piece for the final mold and have poured some ReoFlex30 over it. I should have some really nice sockets once this mold is ready to be used. TBC


Stand alone? iAm

After rendering the pieces on the wall, I started to wonder what it would look like if they were all mounted onto a stand alone steel frame... I like how minimal the wall version looks compared to this... I wonder what this would look like suspended from the ceiling vs. coming up from the floor. The desert shot makes me chuckle. 


DFD & Frank Stella's Retrospective

On the way back from Spain I had a connecting flight in New York, so I decided to stay for a night and check out the Whitney Museum since I hadn't been before. After viewing the collection I made my way into the Frank Stella Retrospective, and oh baby did I fall in love with his work. I had seen many of his paintings before in books, but had never seen his sculptural "paintings." I am so glad I got the audio guide -- Stella was influenced by architectural structures and tools, something I can definitely relate too. Here are a few of my favorite pieces --- and I am especially thrilled about the most recent body of work of gray-scale sculptures created using digital fabrication processes!!!


La penna di hu, 1987-2009
Mixed media on etched magnesium, aluminum and fiberglass
La penna di hu, 1987-2009
Mixed media on etched magnesium, aluminum and fiberglass -- Side View


K.459, 2012
Tusk SolidGrey 3000, plexiglass, and steel pipe

K.459, 2012
Tusk SolidGrey 3000, plexiglass, and steel pipe

K.459, 2012
Tusk SolidGrey 3000, plexiglass, and steel pipe

K.459, 2012
Tusk SolidGrey 3000, plexiglass, and steel pipe


Circus of Pure Feeling for Malevich, 4 Square Circus, 16 Parts,2009
Stainless steel tubing, wire, Protogen RPT

Circus of Pure Feeling for Malevich, 4 Square Circus, 16 Parts,2009
Stainless steel tubing, wire, Protogen RPT


And of course, some 3D printed Stella ornaments in the gift shop -- Stella knows what's up.

Basilica de la Sagrada Familia - Antoni Gaudi

I visited the Basilica de la Sagrada Familia in Barcelona over winter break. I knew that I was going to be in awe of the architecture, but I hadn't considered the possibility of finding something so familiar. As I came upon the structure I started having the nerdiest thoughts, "I wonder if they did that with a CNC? I bet they did that with a CNC! I could do that. I can't believe this entire thing is being built with a CNC!" The entire thing hasn't been built with a CNC because they started construction in the late 1800's but, a lot of today's fabrication is... It's pretty amazing to walk around the outside and inside of the basilica and to be able to notice process in the aesthetics.


 I absolutely loved how the lights on the capitals reminded me of cabochon jewels, but also fruit hanging from the palm trees.

The light through the windows was absolutely stunning, these images don't do it nearly enough justice. 


Every single detail has been considered. 


These giant metal doors made me drool.


 THIS WAS THE ICING ON THE CAKE: 
 Below the Basilica was a whole museum dedicated to the process that housed many original architectural models, drawings and current models and drawings. 


 When we walked by this room Tom goes, "Look, their own DCRL!" Be still my heart.

 I'd love to see the crew in action. 


We rode the elevator up to the top of one of the towers and walked down the spiral staircase. It was actually terrifying because it was so windy, but the structure didn't move at all... so that was reassuring. The tops of the towers have mosaic "finial" type structures of fruit and vegetables. They catch the light just right. 


Making a 3D Printer - Control Box

I made a box out of MDF to house the electronics for my 3D Printer. I started with some rough sketches, cut the 1/2" MDF on the table saw and then the 1/4" on the laser cutter. Here's what I've got so far: 


 It took a lot of trouble shooting to get the alignment just right. 


Both of the sides slide out for easy access to the electronics. 
Eventually I will paint the box after drilling a few holes in the top for the cords to go through. 

IMA - Final Project Part 3

Here are some more images from the construction of the project I made for Interactive and Multimedia Art. I used this 1/8" x 3/4" copper stock to make the "buttons" for the project. They are all wired up to an Arduino. I ended up running a ground plane of steel just below each copper strip too. I built a foam stand for the TV to rest on.  


Christmas 2015 Ornaments

Every year I try to make at least 50% of the gifts I give and usually it consists of all jewelry for the ladies in my family. This year (for many reasons) I decided to make 100% of the gifts I gave; everyone was given laser cut ornaments. I designed 3 ornament patterns in Rhino, spray coated clear acrylic, engraved the patterns on the painted side, cut them out, and hung them from a red cord. Every package came with 3 inside; one customized to the family or couple, and two patterned. 

The funny part about this was that the idea came from a huge (at the time) disappointment in the studio earlier in the fall semester... This was during a week where I was sleeping about 3 hours a night, staying late in the studio and then waking up at 4AM to go back to the studio to make sure I was able to use the equipment I needed to use. I was working on CNC milling a piece of aluminum for the iAm project and I had spent about 3 hours on the piece when I accidentally ran a drill mill straight through my perfectly milled but now destroyed part... The first thought was "If I would have slept an extra three hours, would this have happened?" (I know the mistake was bound to happen sooner or later, but I couldn't help but wish I was still sleeping.) I didn't let it shake me, I just loaded up another piece of aluminum and started over. I later texted a picture to Tom with a sad face and he said "I'll give you $100 if you carve in "Christmas 2015" and put a string on it." It made me laugh. It wasn't a half bad idea ;) ... and it reminded me to make space for the creative mind even in moments that test your strength and endurance. 


IMA - Final Project

I've been working on an interactive object for my Interactive and Multimedia Art class... Here's a few images of the structure I've been creating to hold the TV over the weekend. I'll have some videos playing on the screen and then you will be able to manipulate the videos by sliding your fingers across the copper strips mounted to the surface of the frame.
I had never done any angled cutting on the table saw so it was a bit tricky to get the right measurements at first, but with a little experimentation, I got exactly what I was looking for. It's really satisfying to work with wood, you can get such precise results relatively quickly if you have the right tools. 

 I cut out a slot to inset the top frame into the top of the box structure. I needed to keep it hollow so that I can fit the tv, electronics, and laptop inside.
 On a recommendation from Broc, I decided to just use glue and tape to construct the pedestal. This worked good from what I can tell. He said this is the way a few professors on campus construct all of their pedestals, so we'll see if it stands the test of time and the wear of Arts Tech night!

 I sanded out the overlaps with a little wood filler, to disguise the seams. Laser cut some corner strips (WOAH - DIGI FAB and HAND FAB - UNITED!)
Drilled the holes for the wire to go through and made sure to attach the laser cut pieces to separate the four "buttons."

Finished the copper strips with a 150 grit sand paper. I will have to seal these with a spray acrylic to regulate the capacitance. 

Just waiting for it to dry now..... 

iAm Light milling

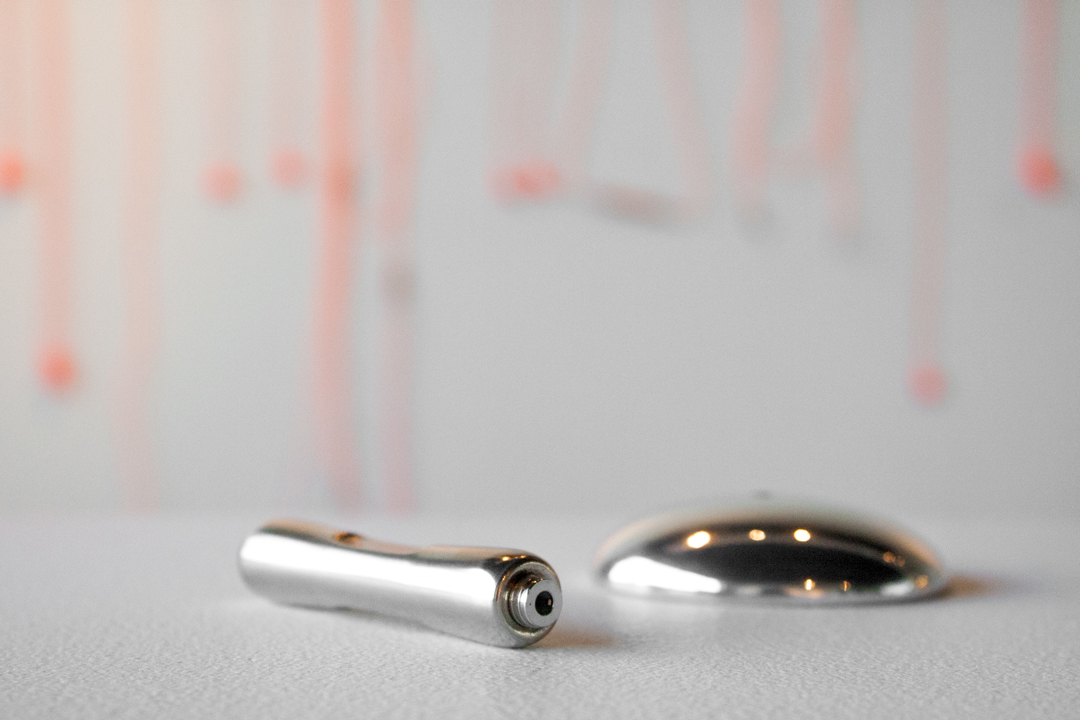
This weekend I machined a version of the iAm light out of polypropylene. I ran into a few issues with the break-chip drill operation, but luckily nothing detrimental. This series of operations only takes about an hour and a half, a significantly less amount of time than the aluminum versions of this shape (5 hours per piece, yikes!). I'm going to test out sandblasting on the back of the light to see if that diffuses the light a little more. I've got a 12 neopixel ring, trinket, and battery that all goes inside, so I'd like to be able to frost the dome a little more, so that the electronics don't distract. I've been thinking about the color of light I'd like the object to emit, and I think I've decided on hues of orange to go with the plugs. I'm really having a lot of fun with this project, all of the materials and all of the components are making it challenging to finish quickly, but I think taking my time with some of the decisions will pay off in the end product. 


Plug Packaging v1

I've been working on a high-end and a low-end packaging design for the iAm project's plugs. The "high-end" version will be 3D printed and then sealed in a vacuum formed case once the design is finalized. The "low-end" version will be laser cut out of a thinner plastic and engraved with the lettering. I see the high-end version of packaging being part of a set for purchase - socket, case, light and light case, vinyl tape, wires, battery, instructions, and the plugs. I see the lower end packaging being used in gallery spaces or public spaces and offered for free if the viewer is willing to participate in the experience of iAm.