judgment, expectation, connection, resistance, hinders communication, misunderstood, tension, stagnation
sprinkle, shower, rain, drain, pour, flow - but no
judgment, expectation, connection, resistance, hinders communication, misunderstood, tension, stagnation
sprinkle, shower, rain, drain, pour, flow - but no


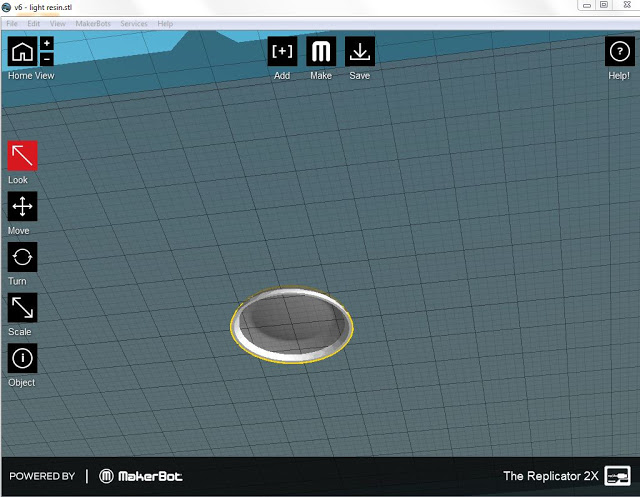
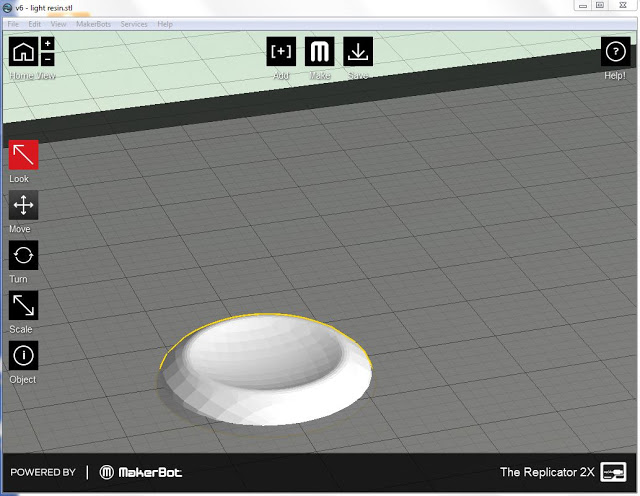
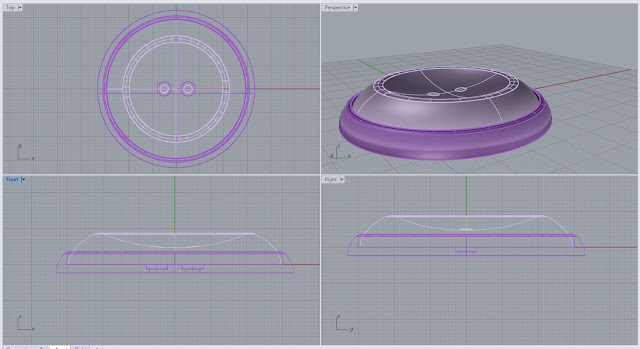
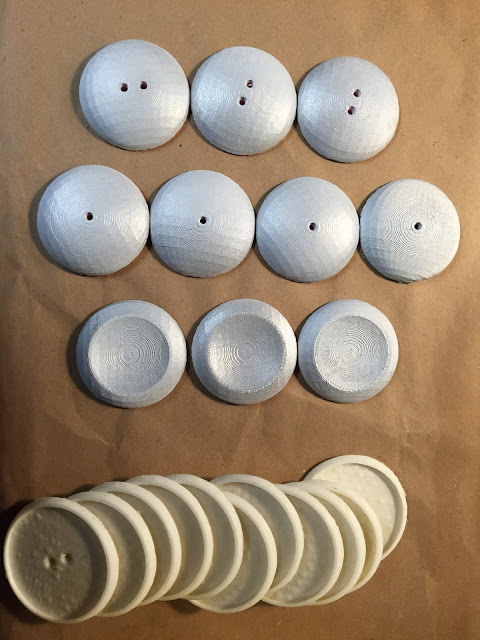
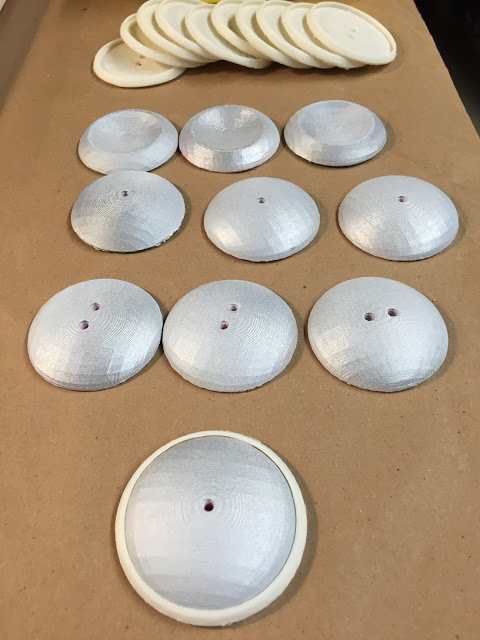
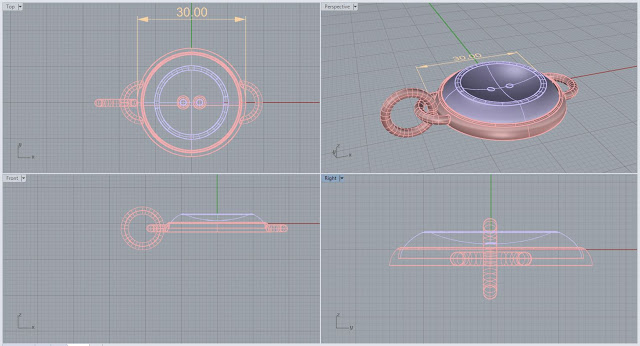
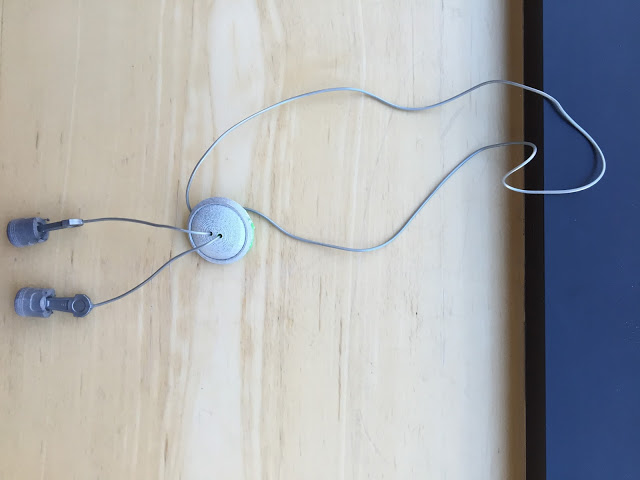
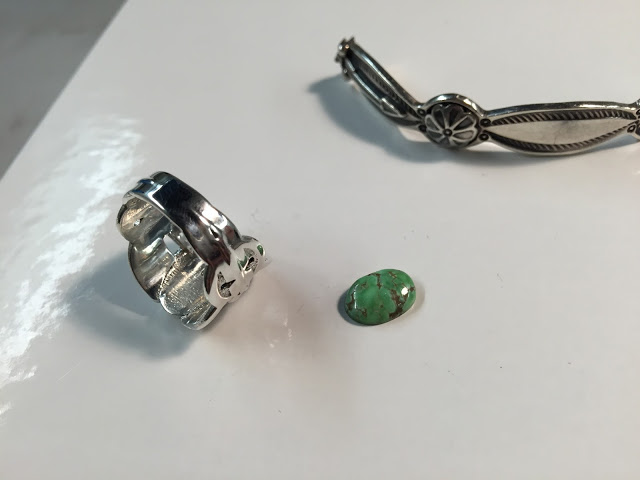
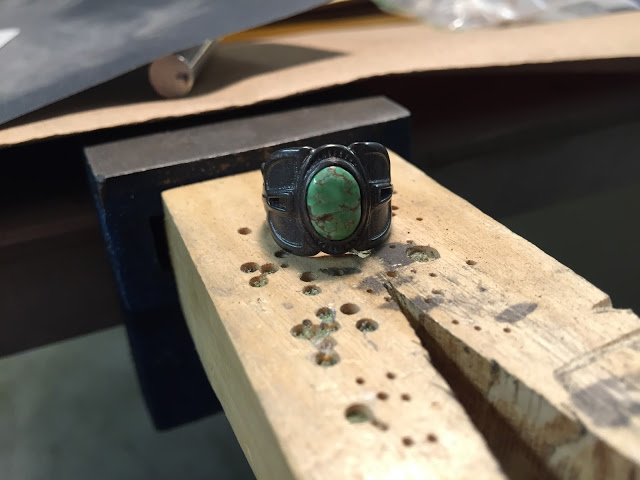
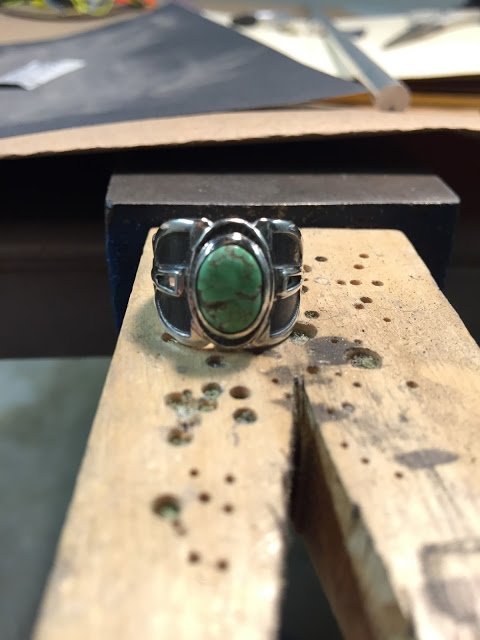
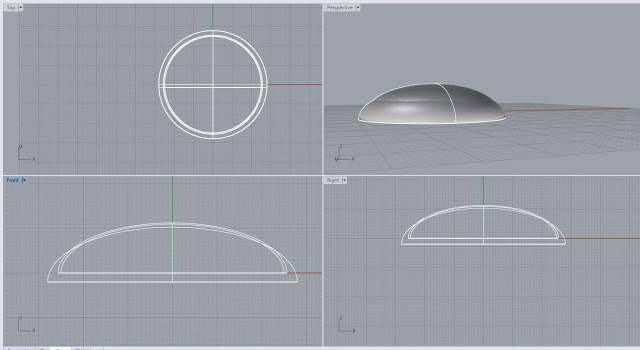
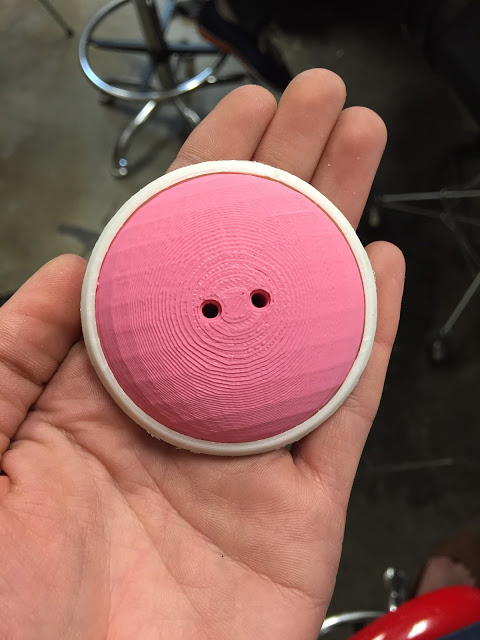
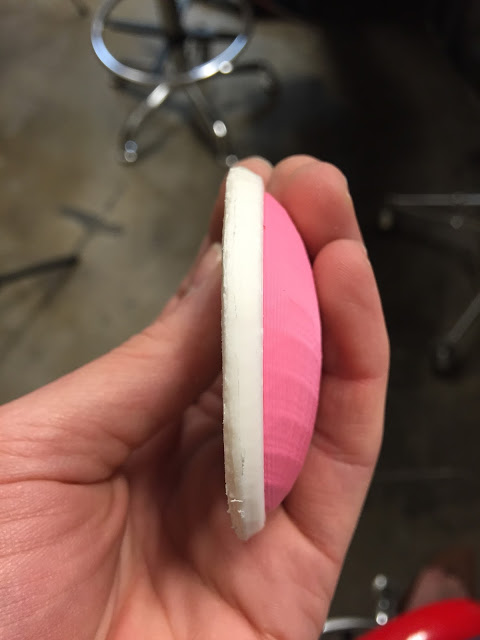
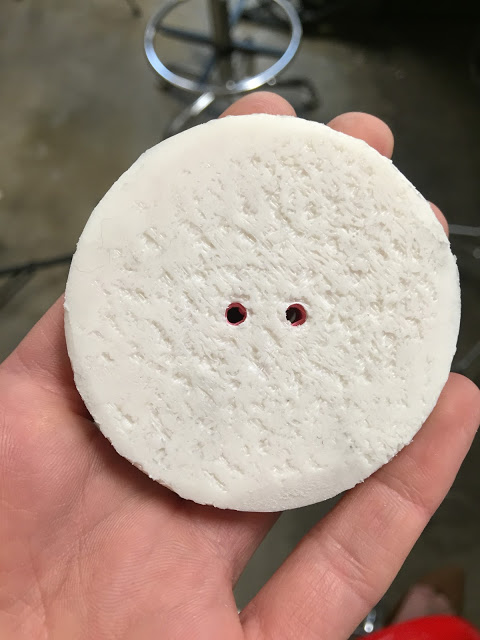
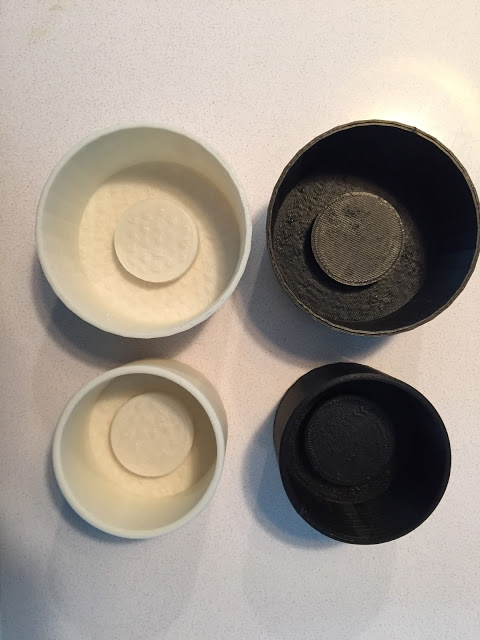
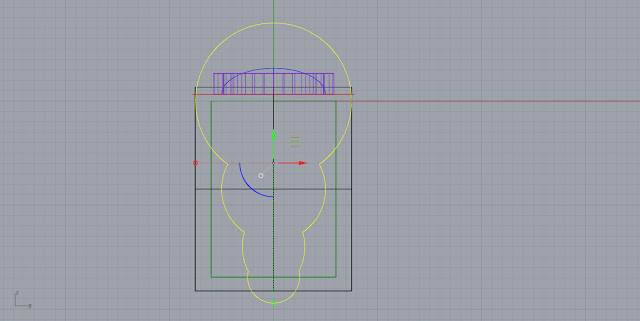
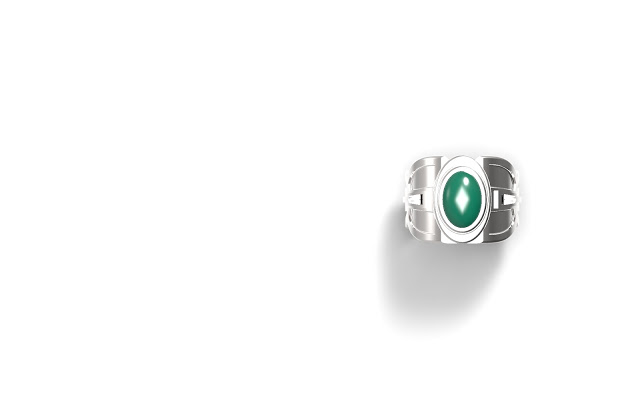
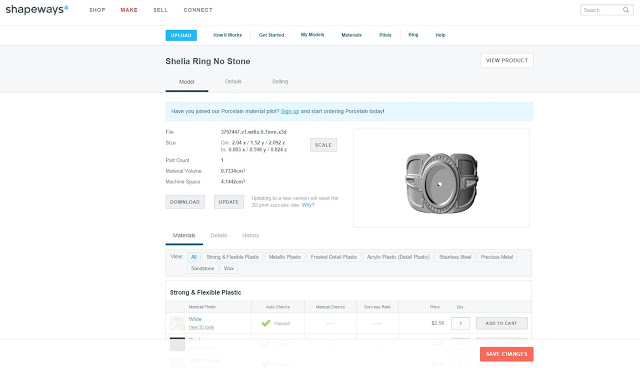
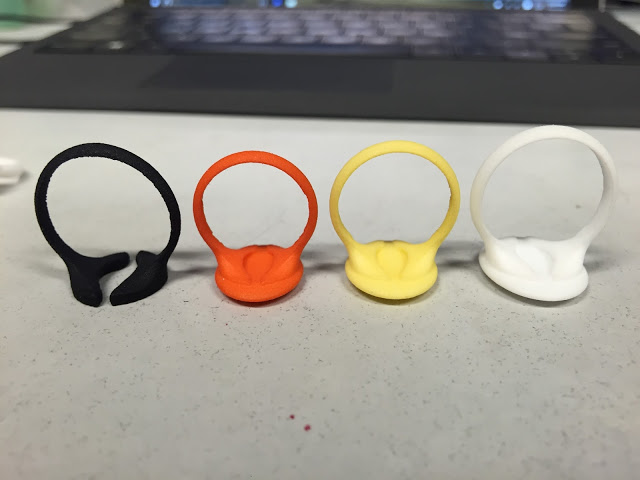
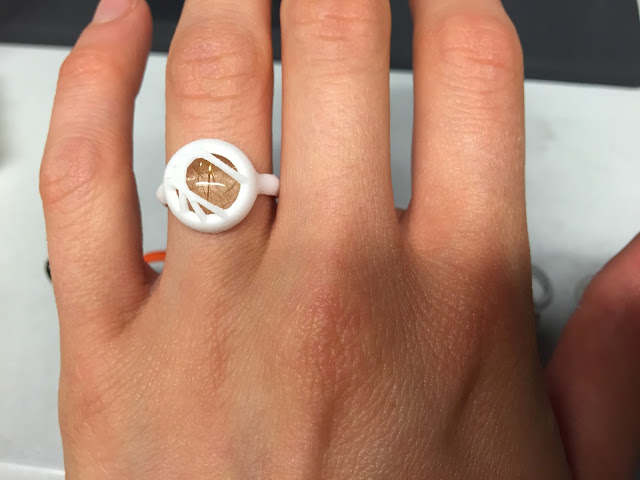
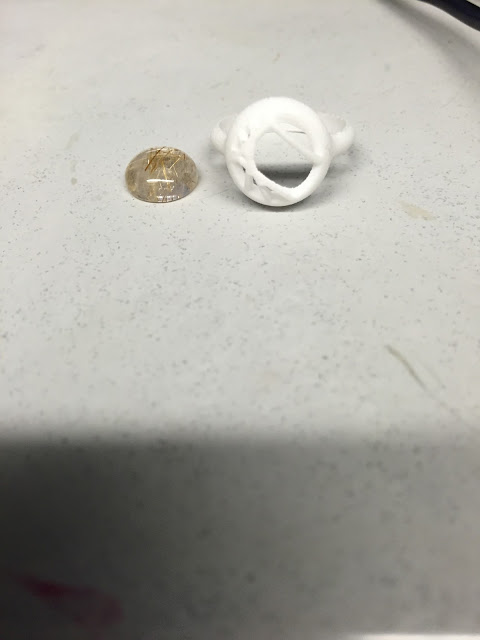
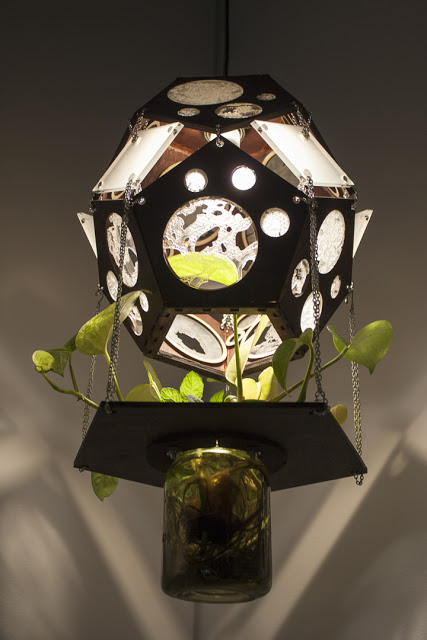
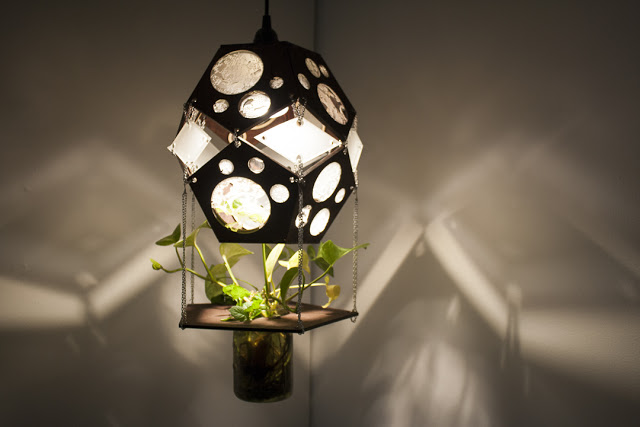
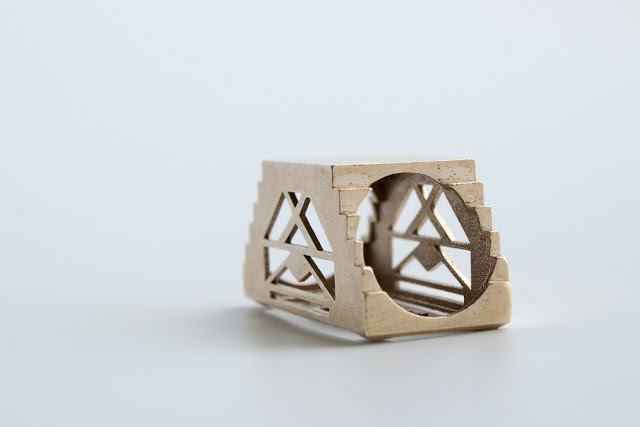
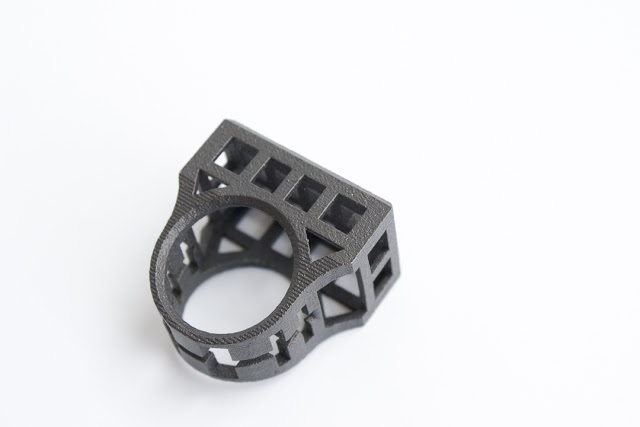
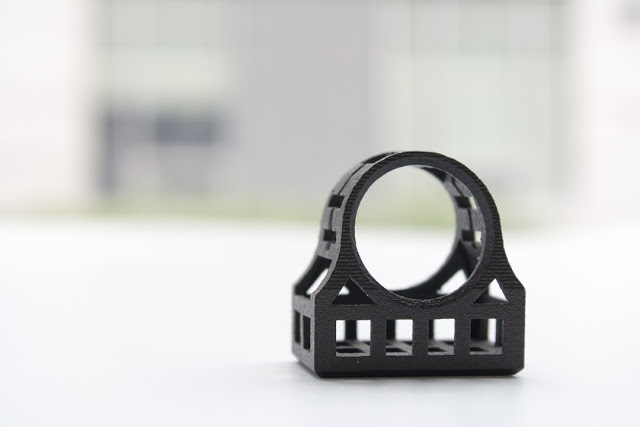
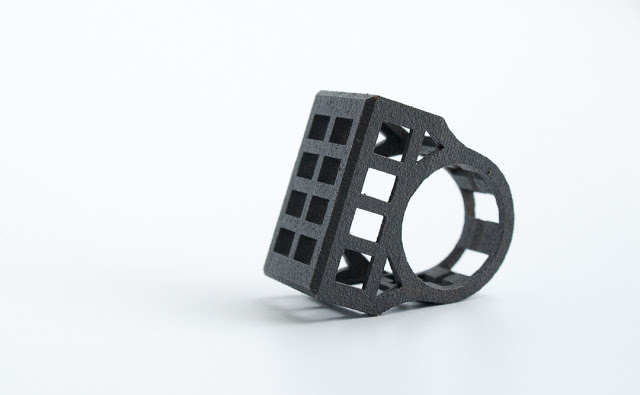
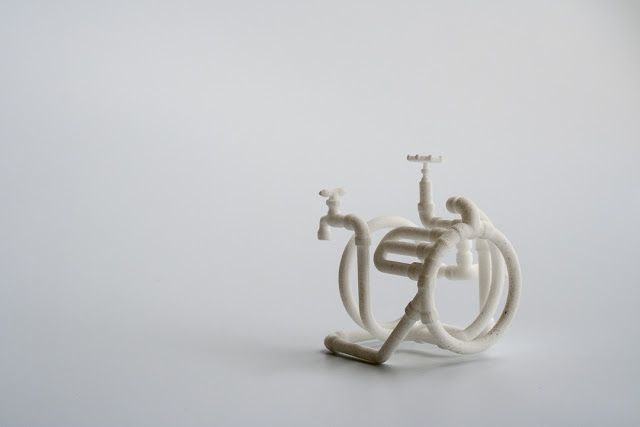
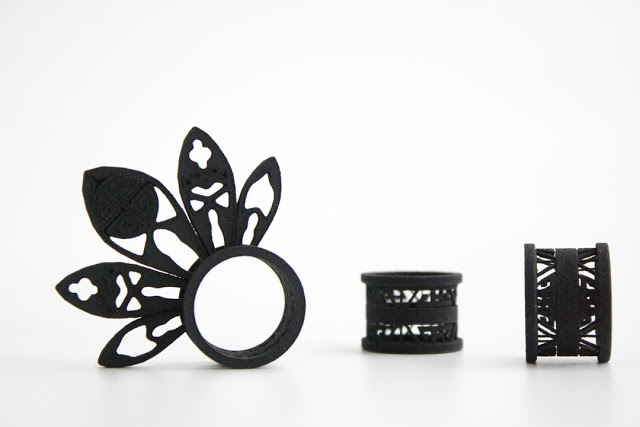
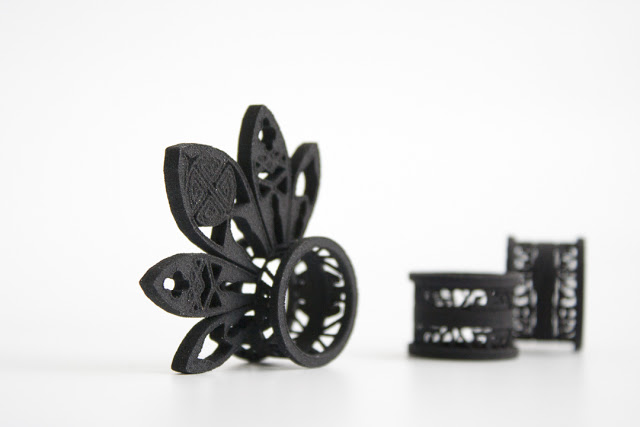
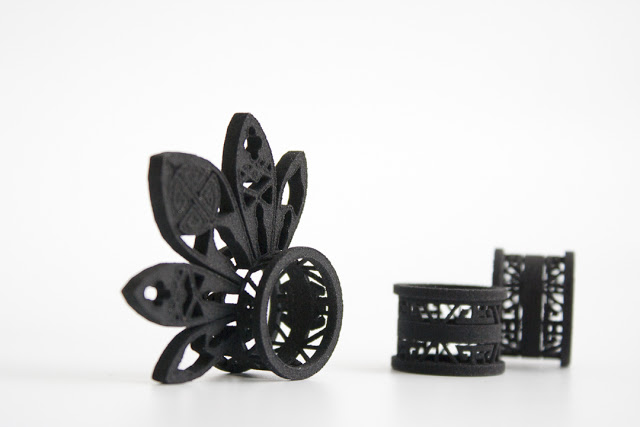
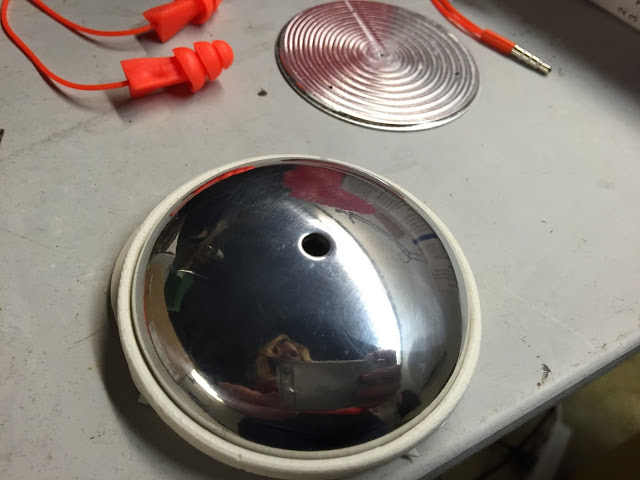
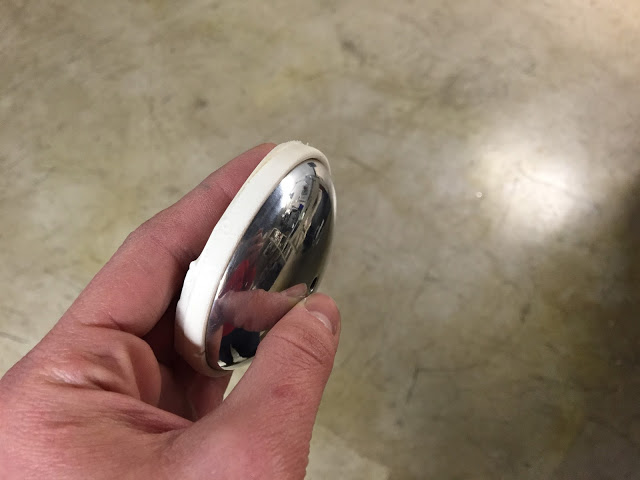
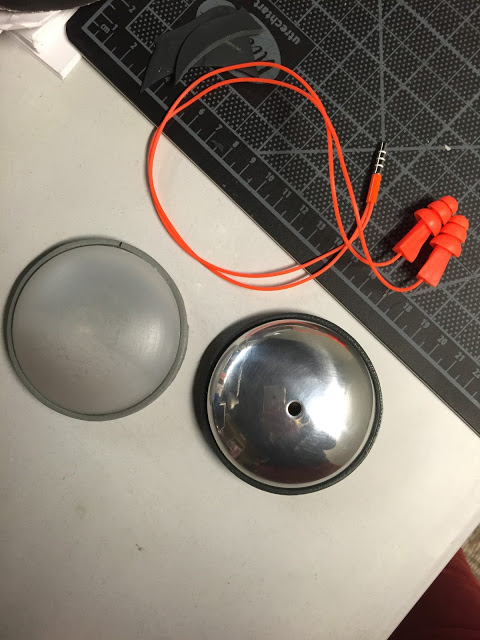
I went into the summer with some Rhino goals in mind, and I've been slowly working through a few of them with a series of ring samples. One of the goals was to increase my "organic" design skills, so I started with exploring curve networks. Coupling these curve networks with some solid primitive forms got me some simple but effective sample ring designs I was able to upload to Shapeways and get printed in a variety of materials. I think these samples will also be helpful to my students in ART277. I got various ring sizes printed to check the tolerances of printing, attempted to incorporate a "tension" held rutilated quartz stone and pushed scale limits. I've gotten about half of the rings from Shapeways, see below. TBC.
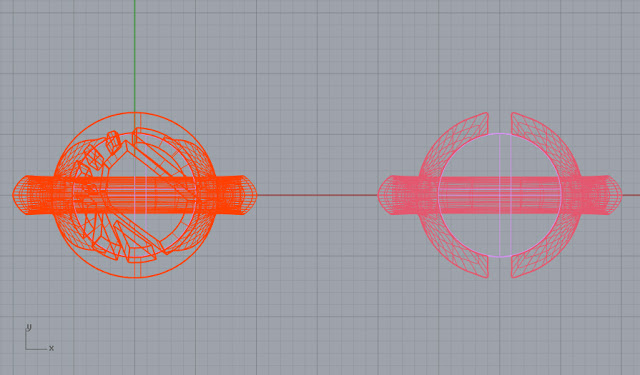
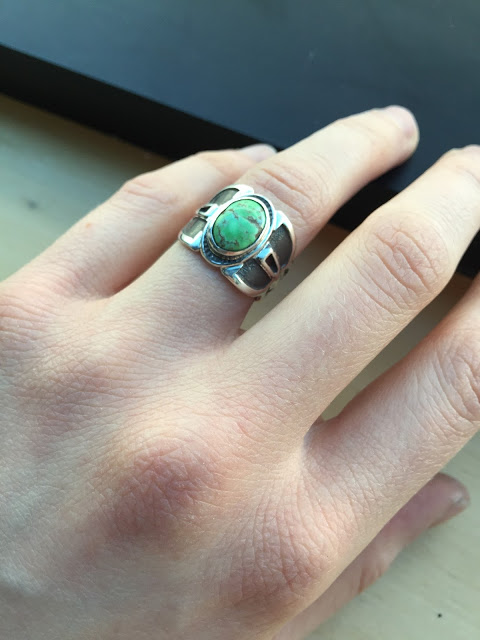
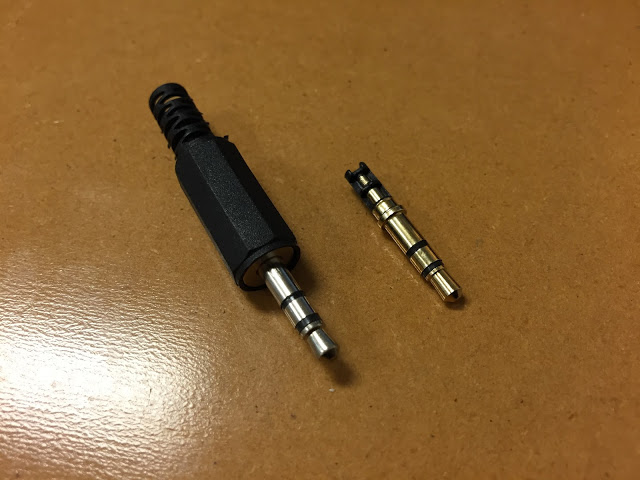
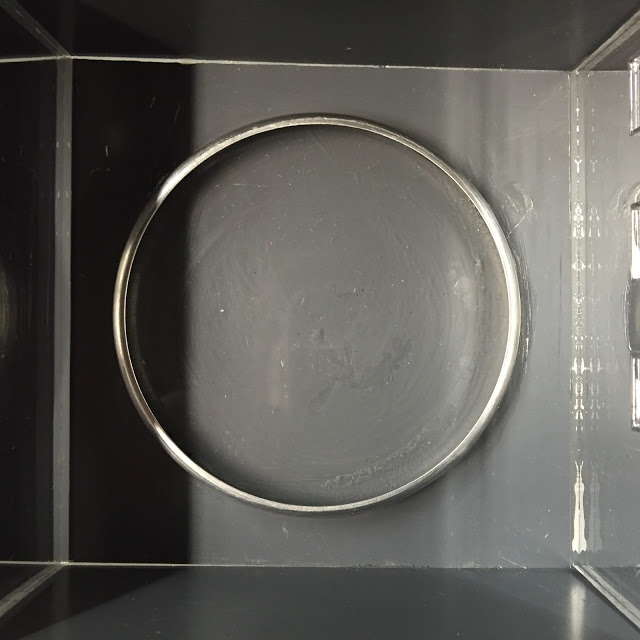
On the right in Pink - a stock band I created with curve network, attached to all ring samples. Left - Rutilated capture ring.
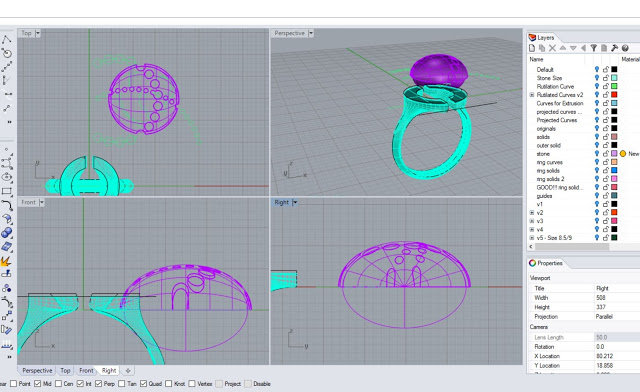
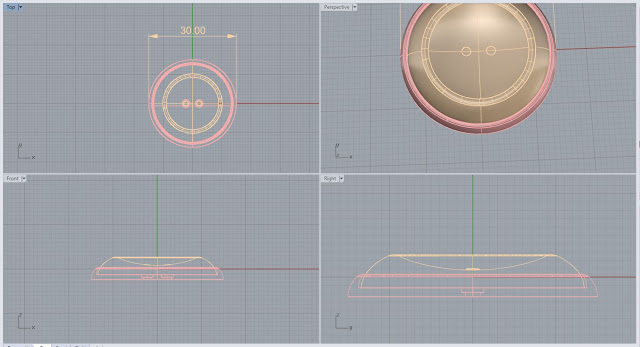
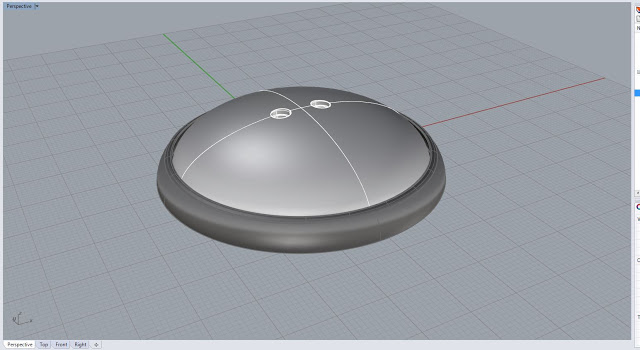
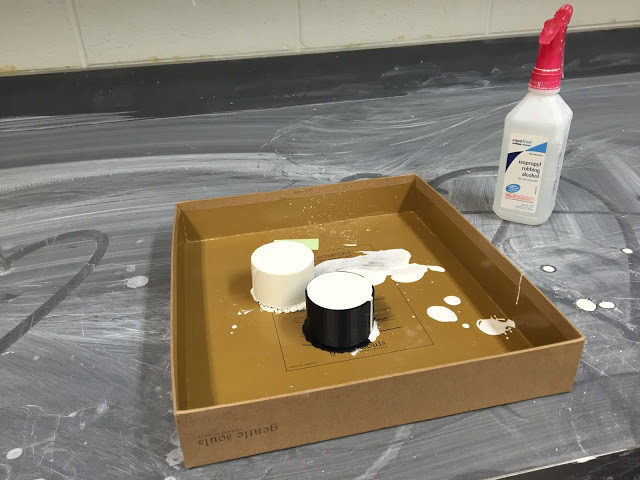
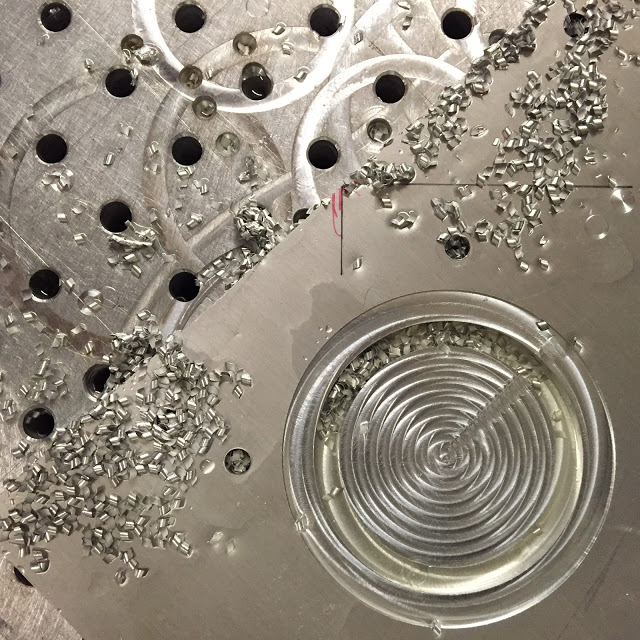
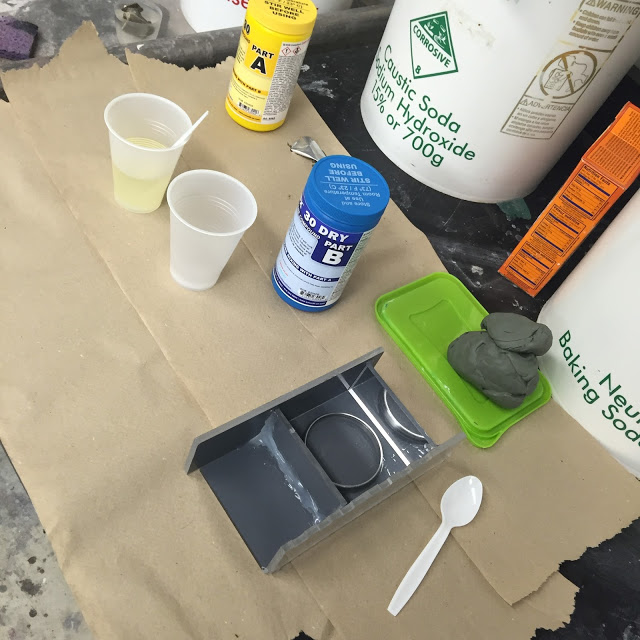
Process capture of creating designs from solids.
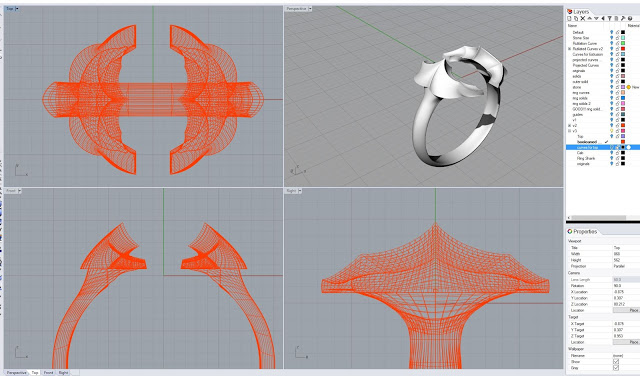
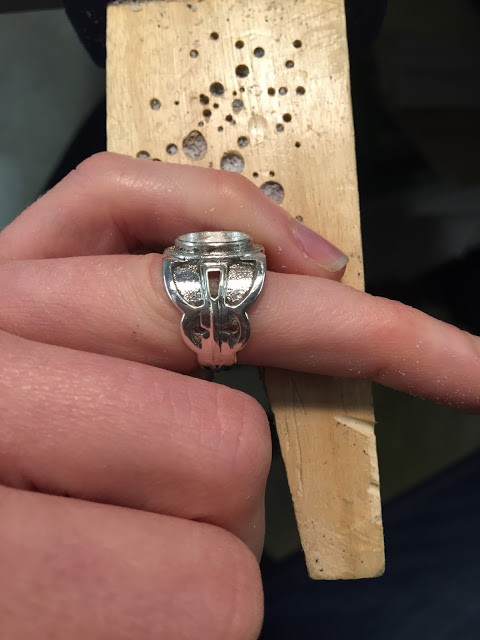
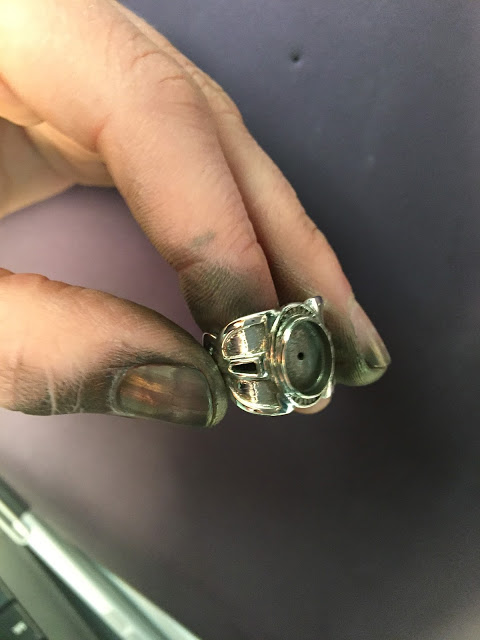
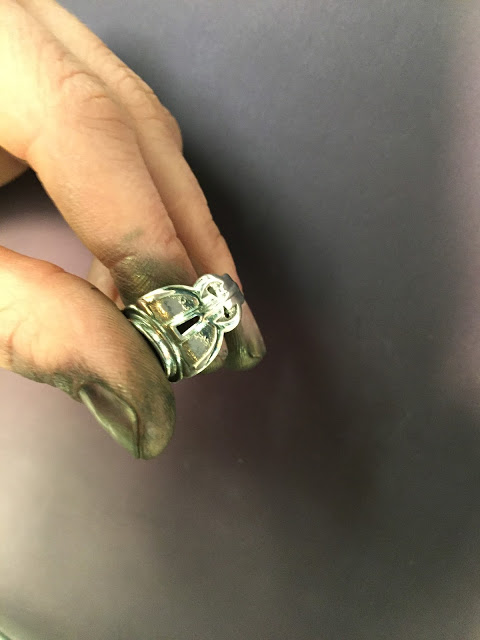
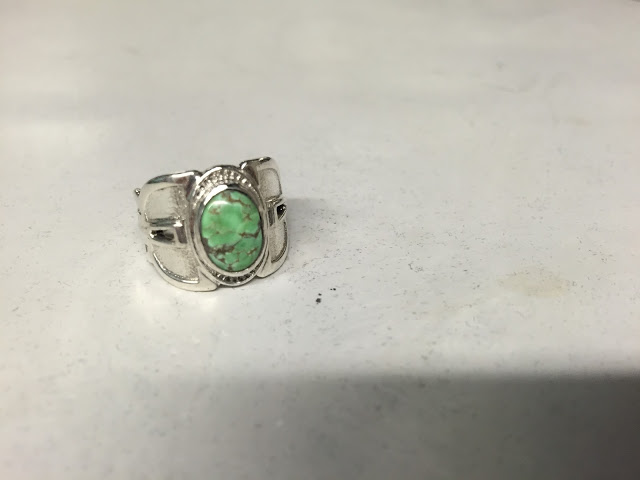
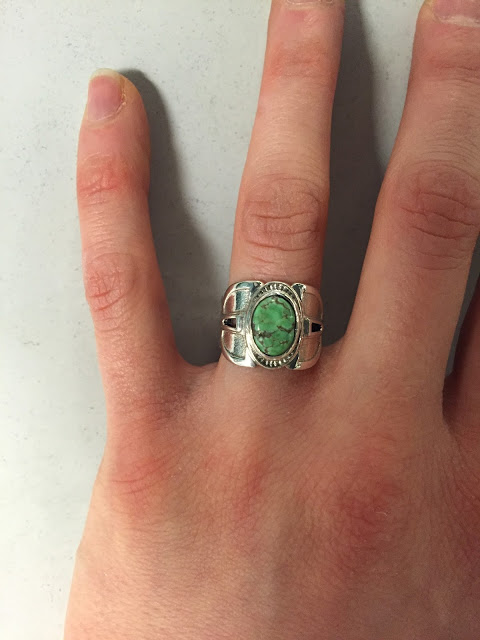
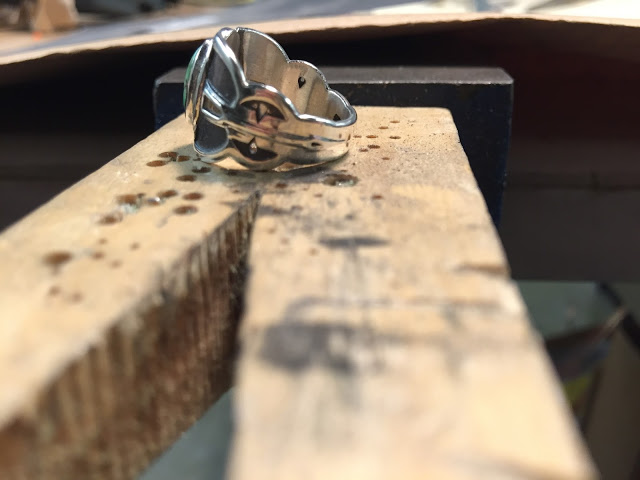
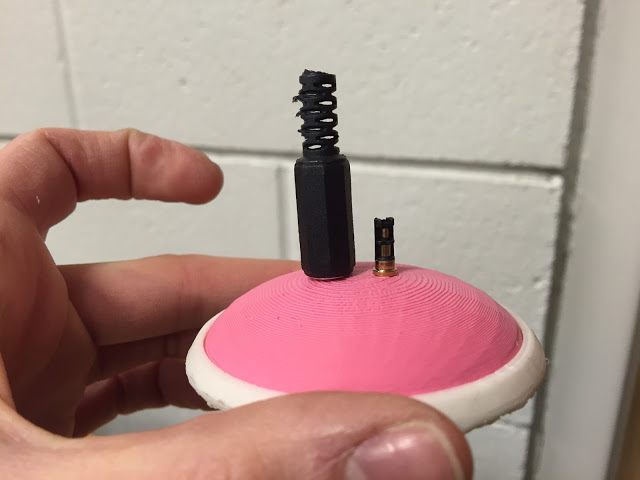
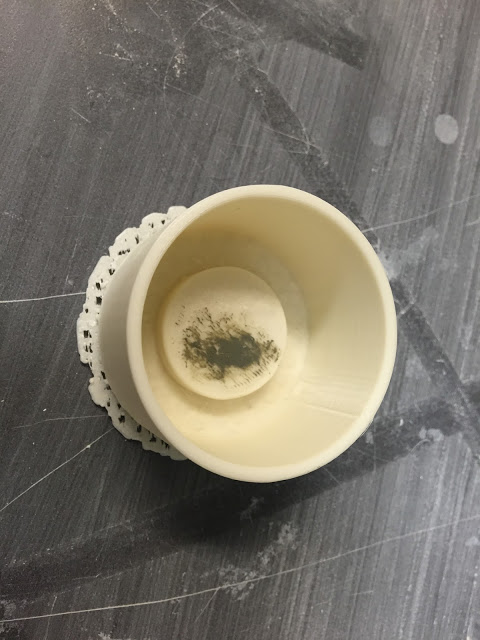
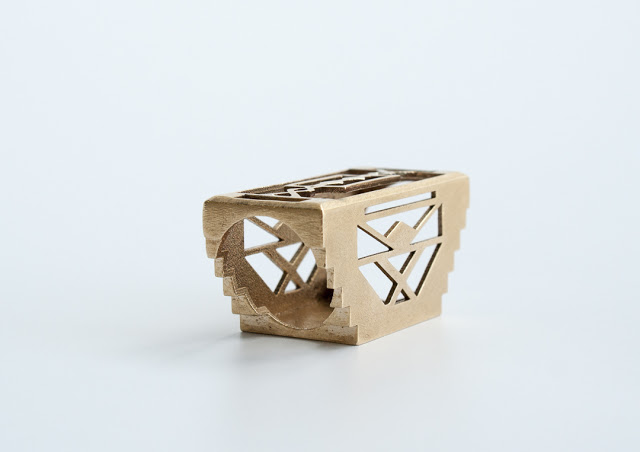
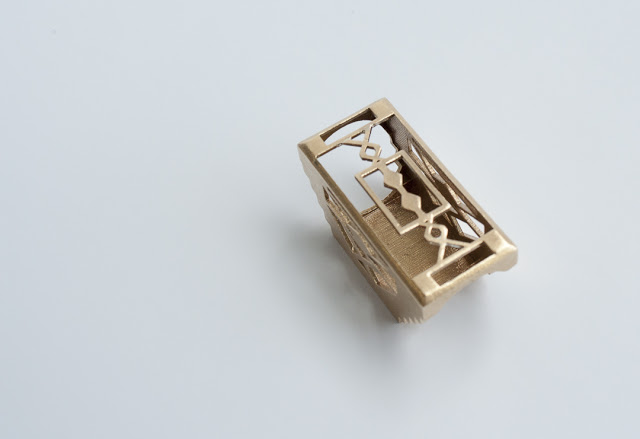
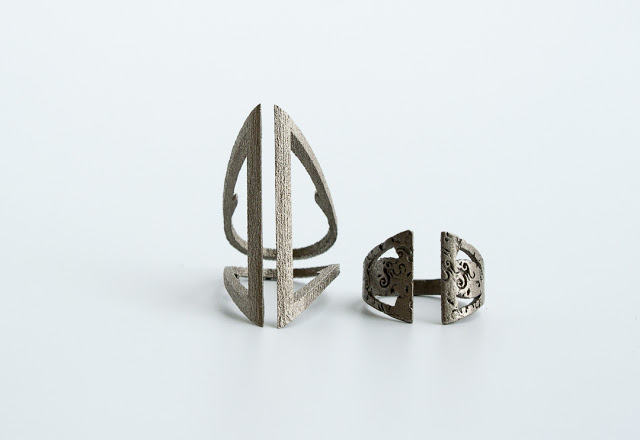
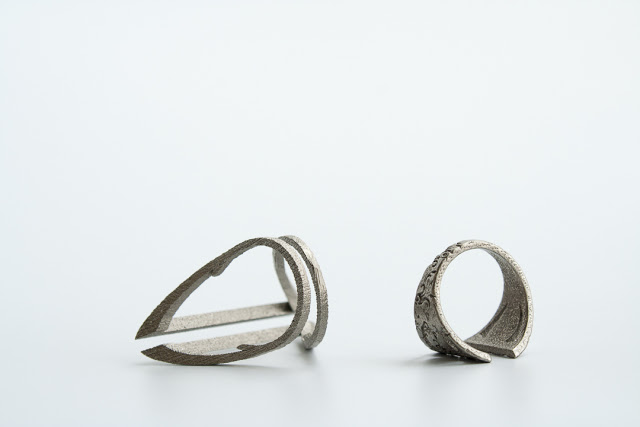
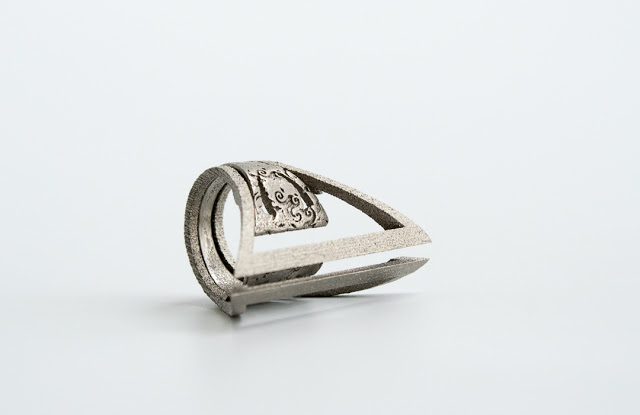
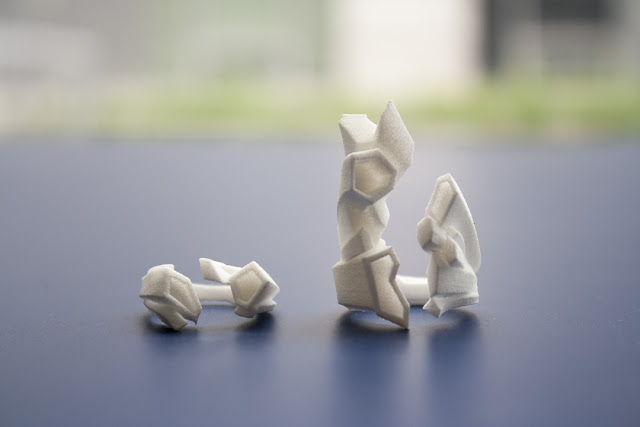
With this ring, I tried to go as tight as possible to the minimum limit of material thickness for the top design. I'm calling it the "bite ring." I learned a lot trying to create the curve network for the top.
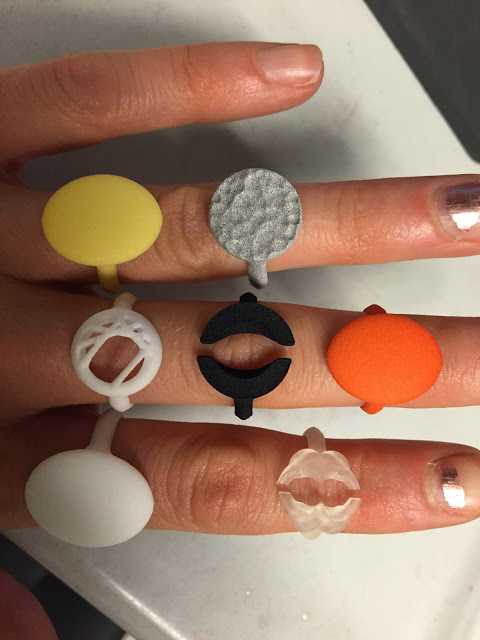
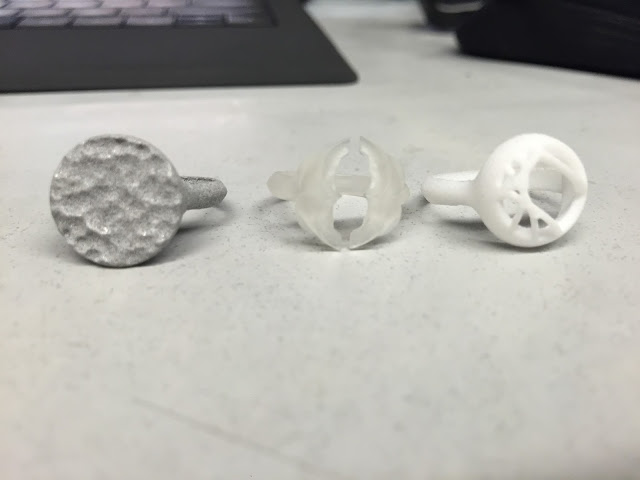
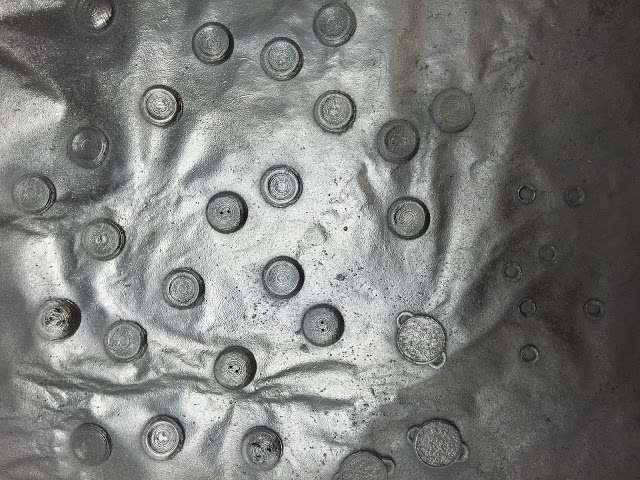
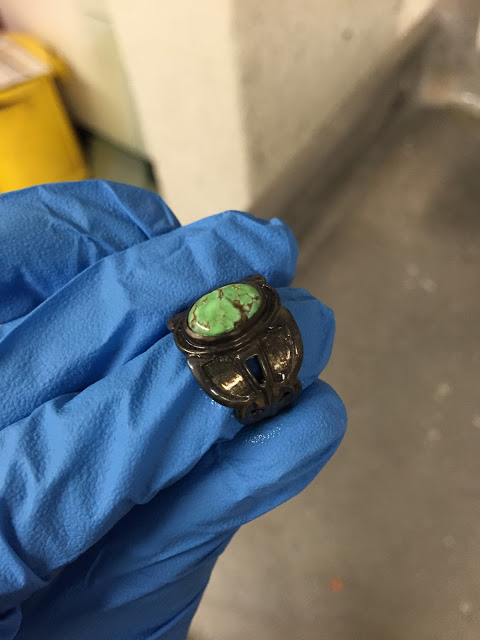
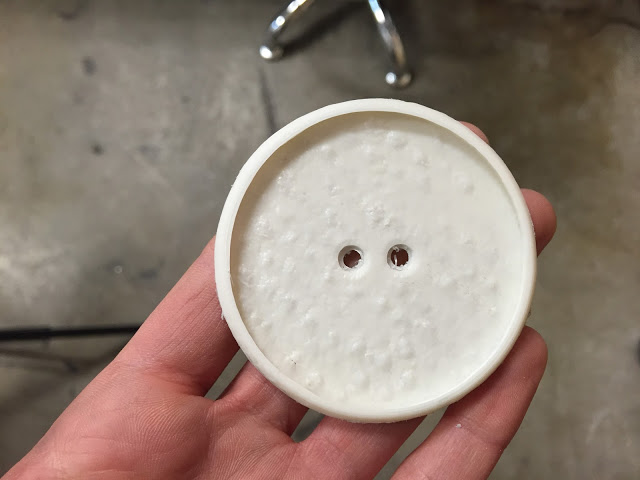
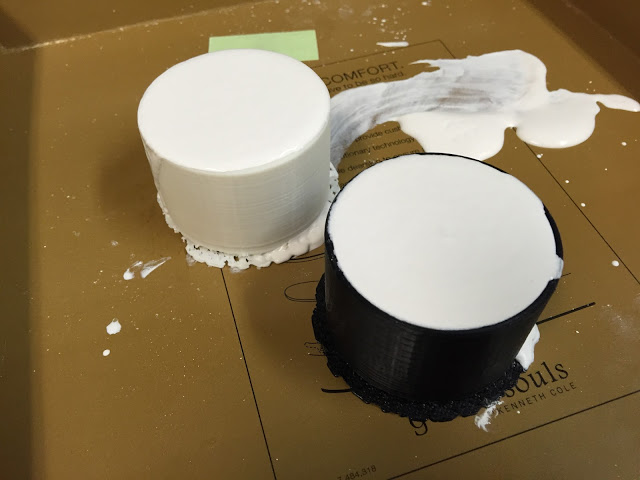
The aluminum plastic on the left is hilarious to me because the design I created is meant to reference hammer texture. Oh, metalsmith humor.


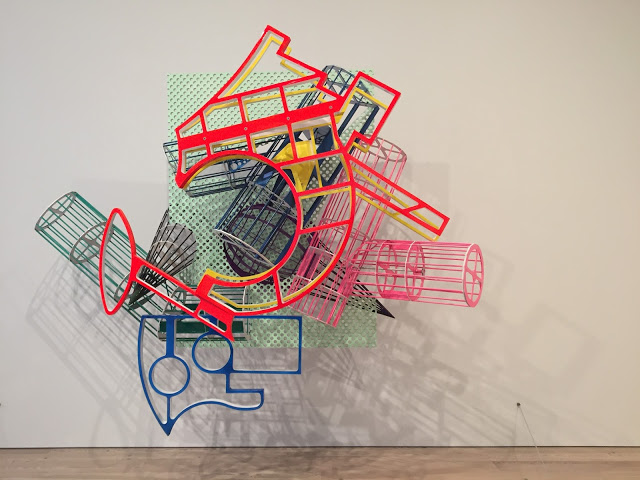 |
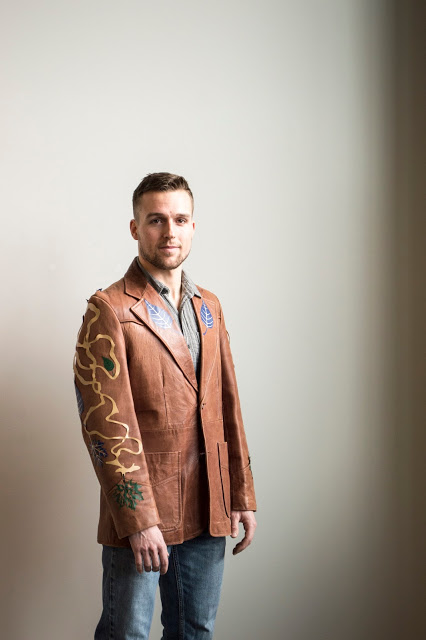
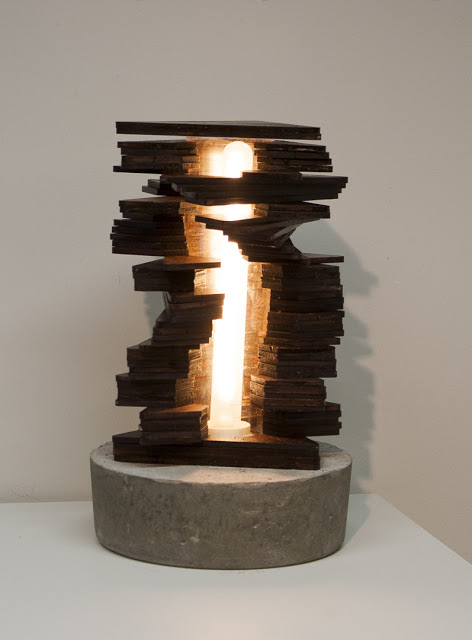
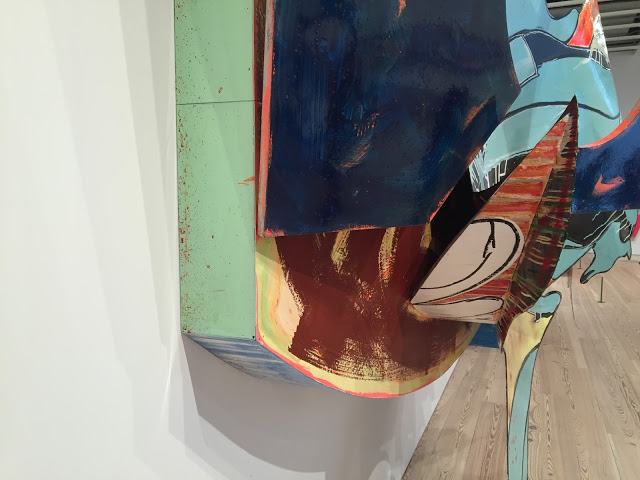
| La penna di hu, 1987-2009 Mixed media on etched magnesium, aluminum and fiberglass |
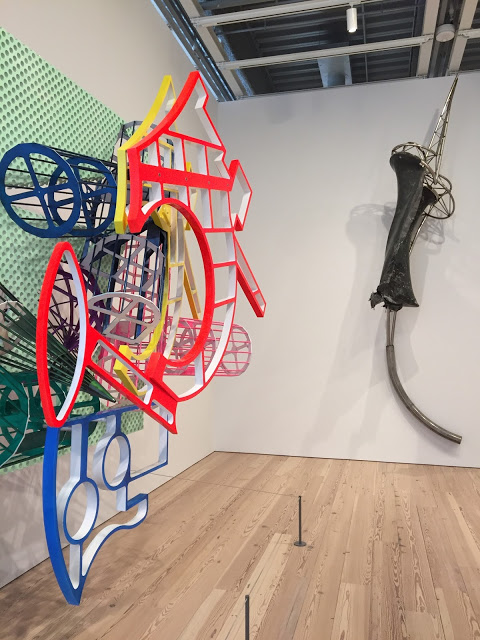 |
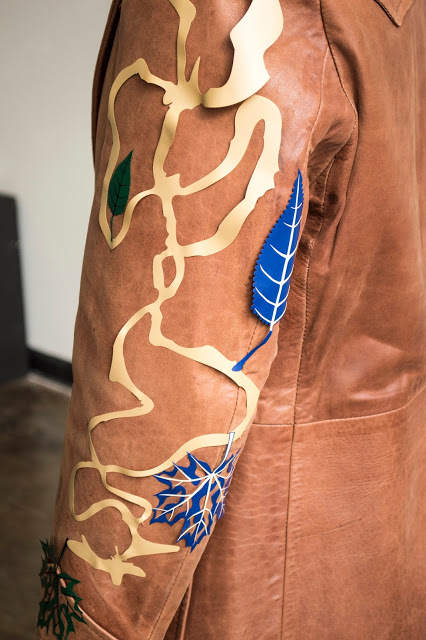
| La penna di hu, 1987-2009 Mixed media on etched magnesium, aluminum and fiberglass -- Side View |
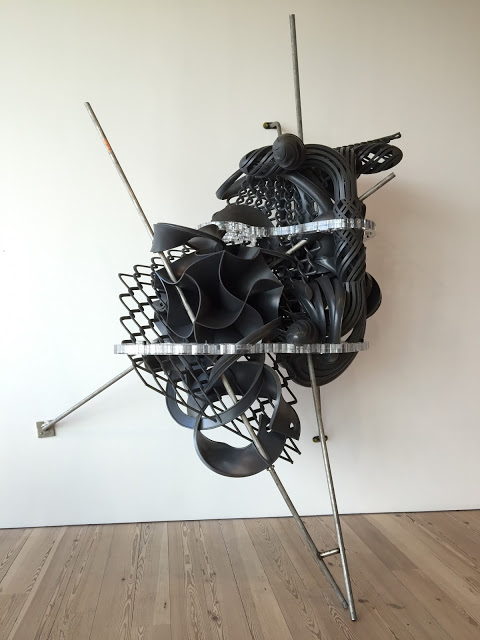 |
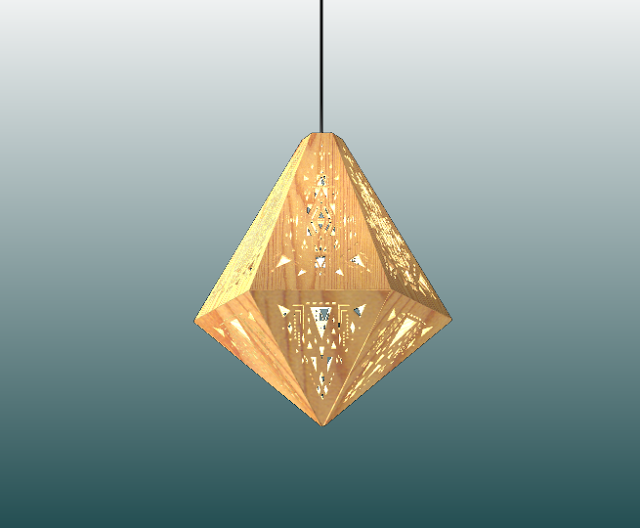
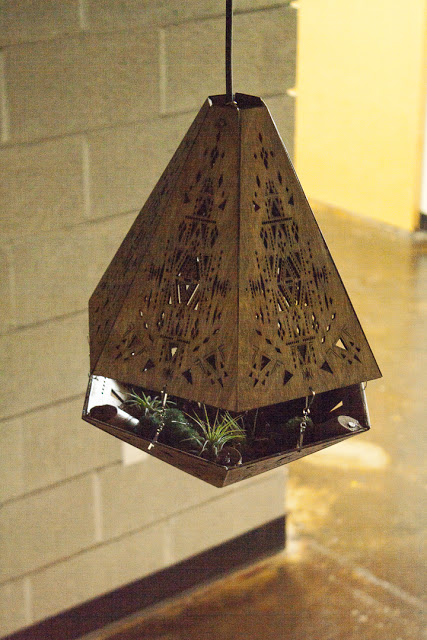
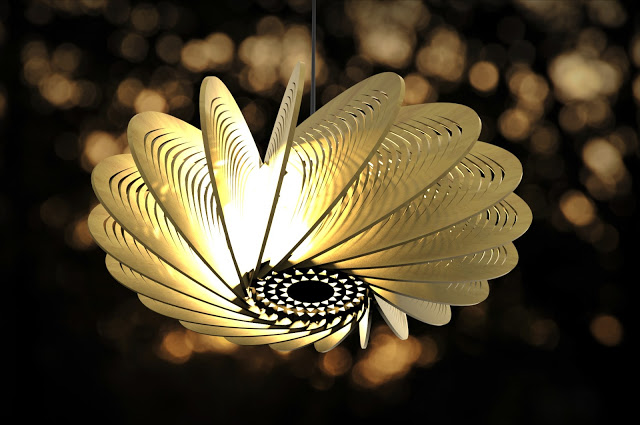
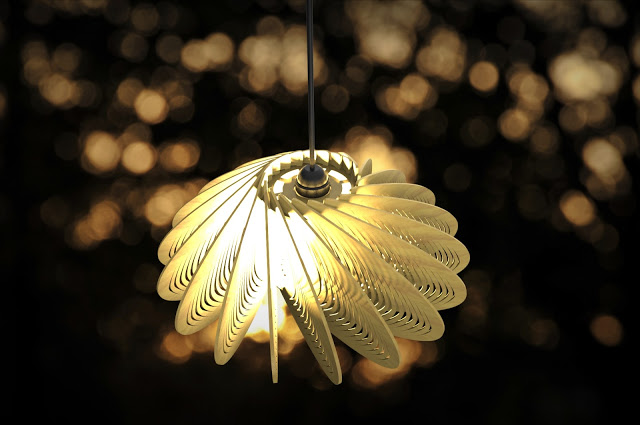
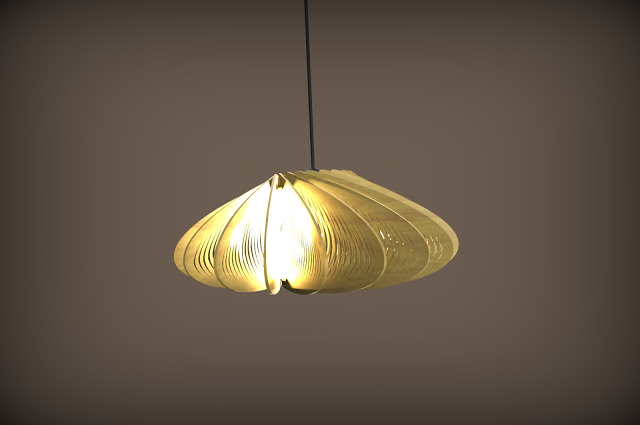
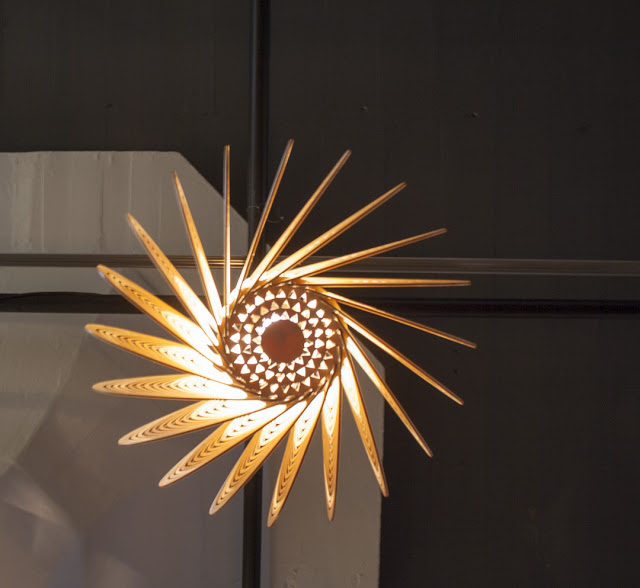
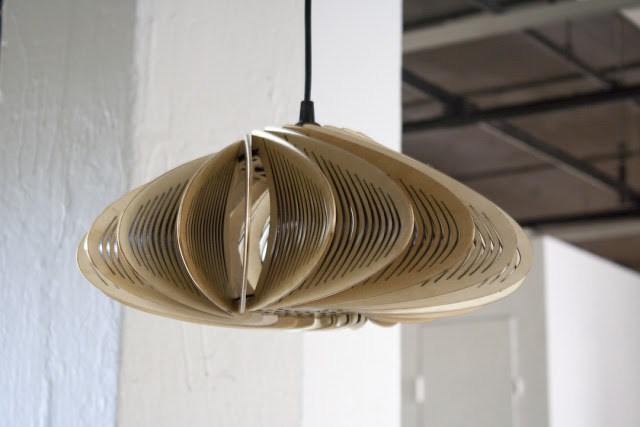
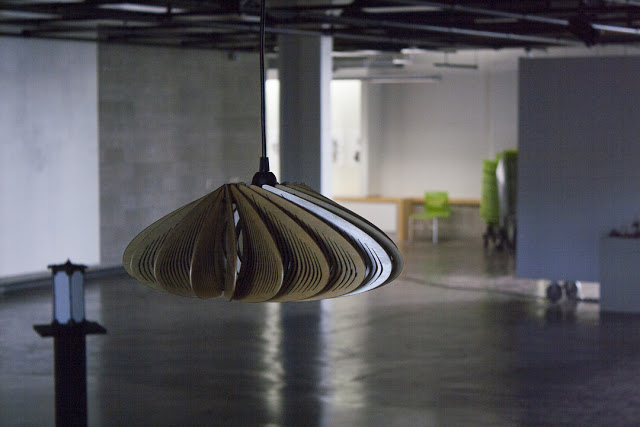
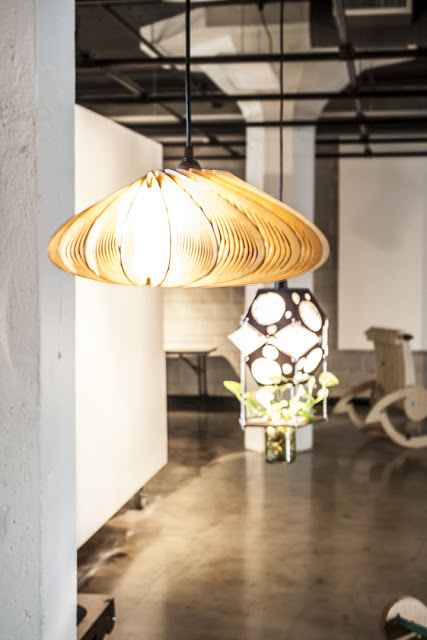
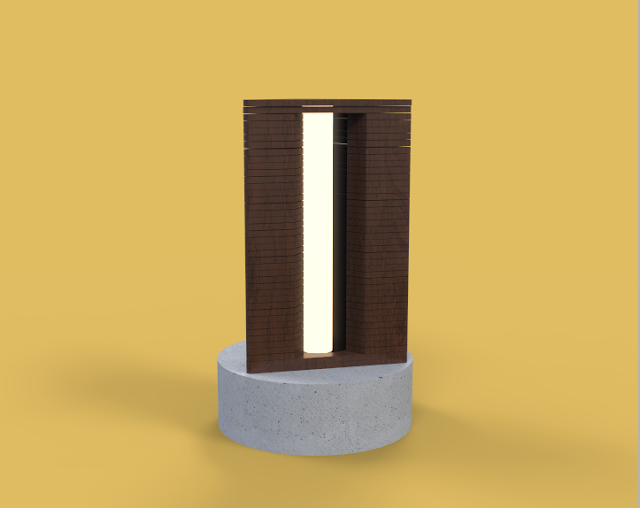
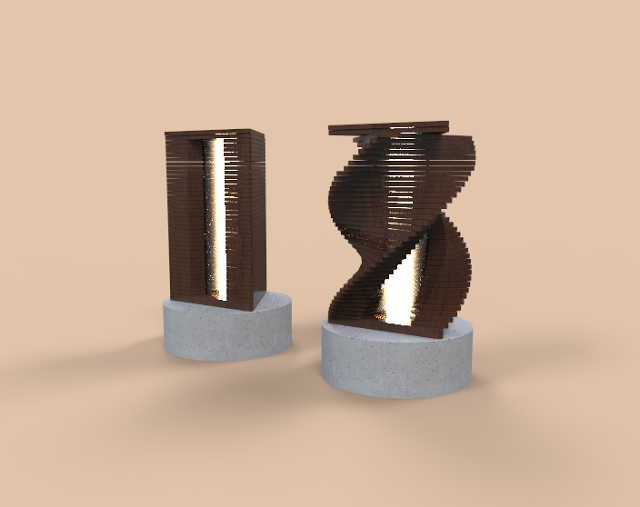
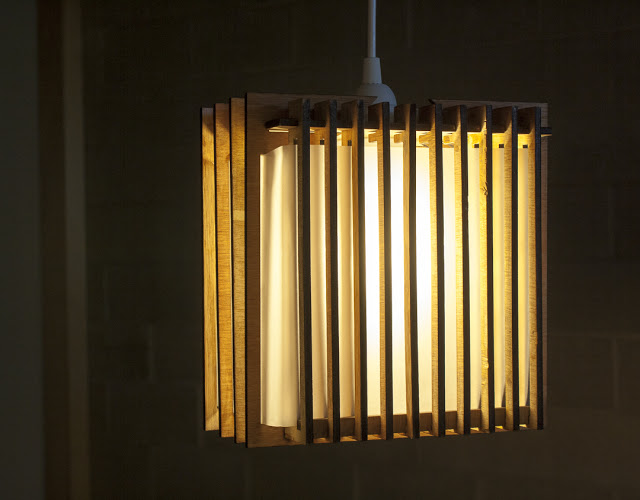
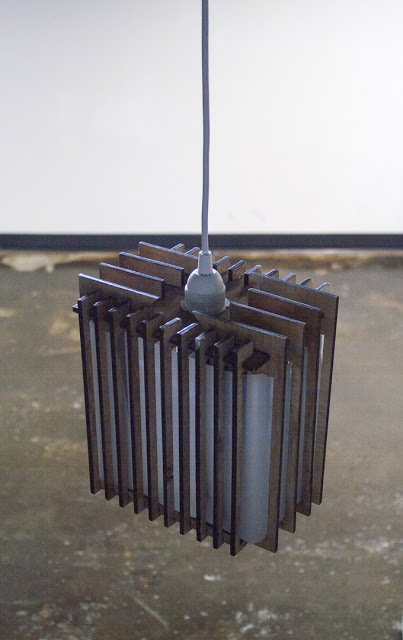
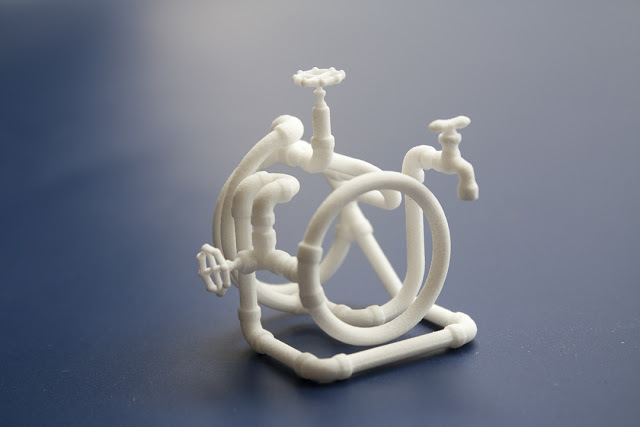
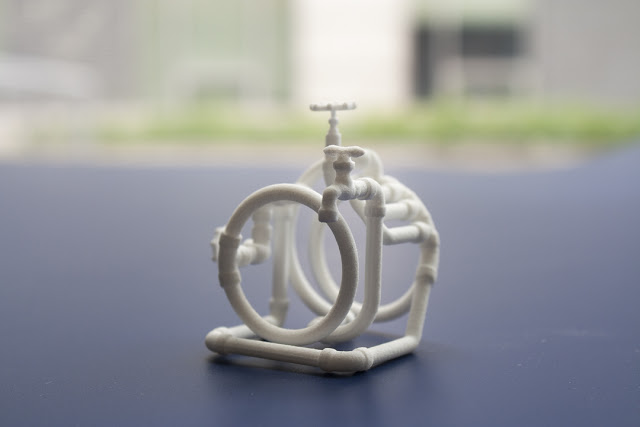
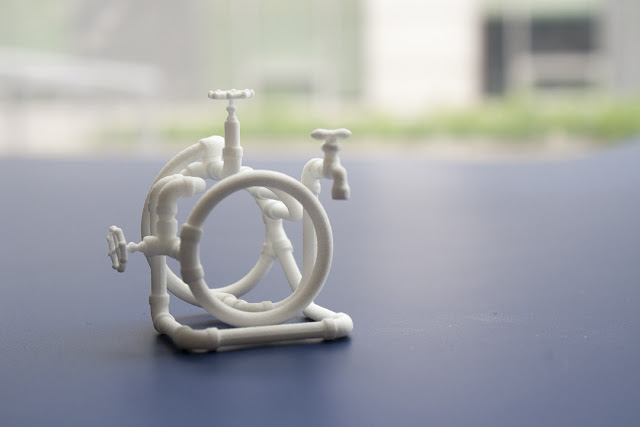
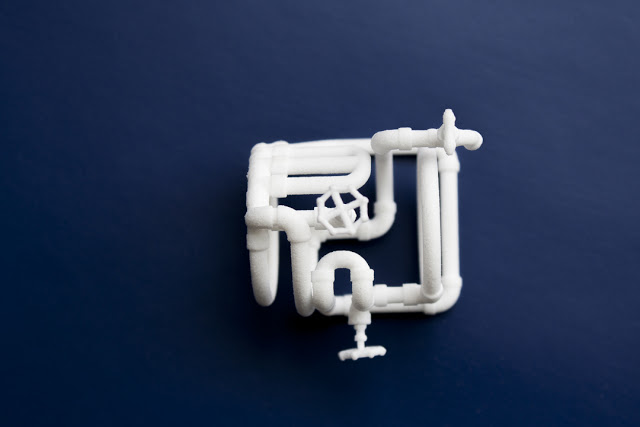
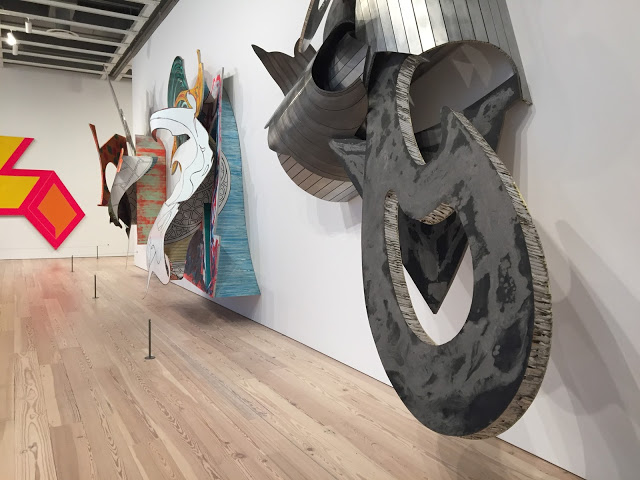
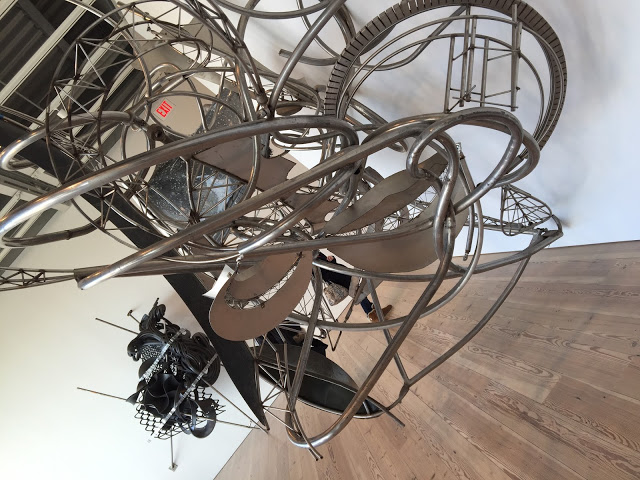
| K.459, 2012 Tusk SolidGrey 3000, plexiglass, and steel pipe |
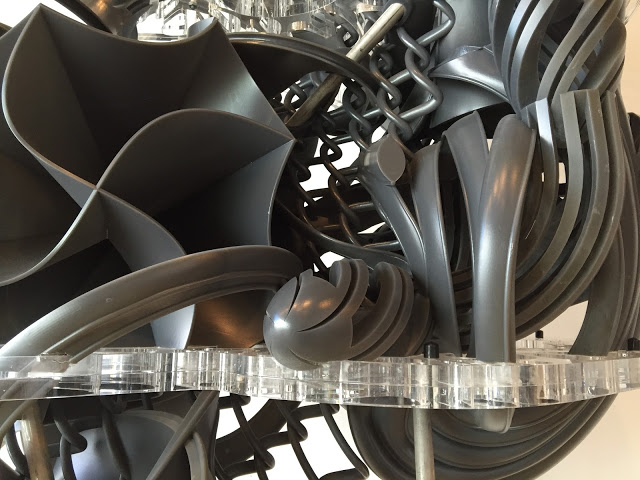 |
| K.459, 2012 Tusk SolidGrey 3000, plexiglass, and steel pipe |
 |
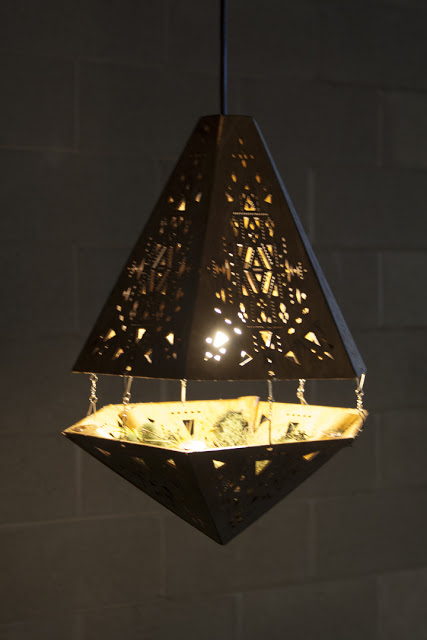
| K.459, 2012 Tusk SolidGrey 3000, plexiglass, and steel pipe |
 |
| K.459, 2012 Tusk SolidGrey 3000, plexiglass, and steel pipe |
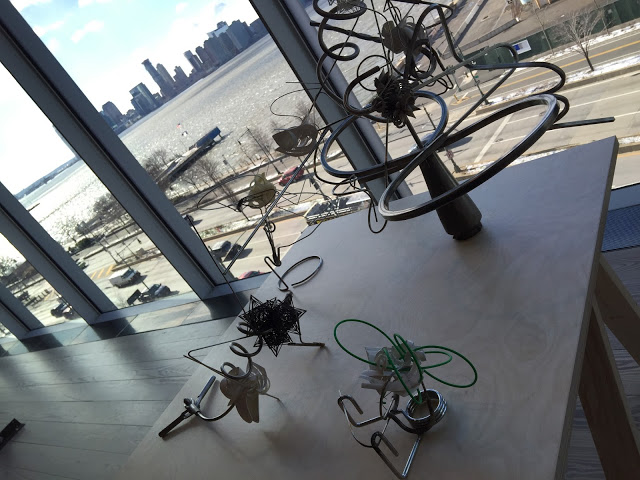 |
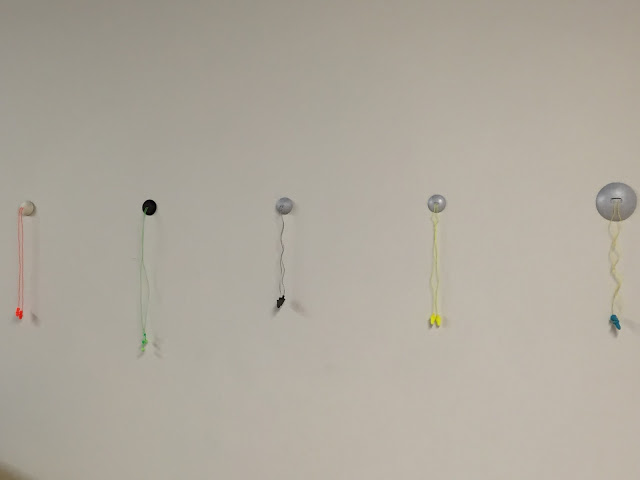
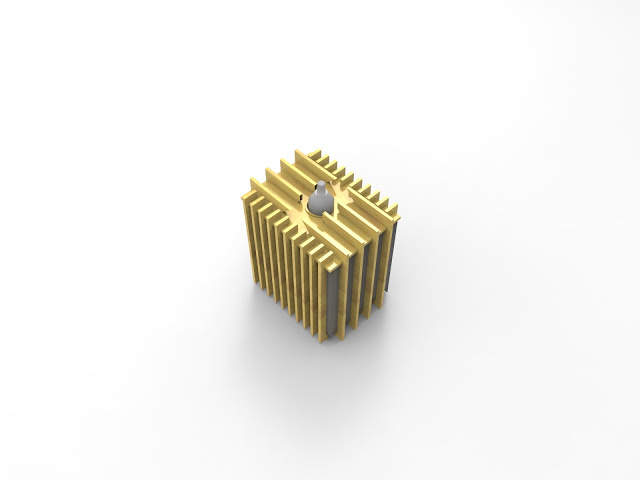
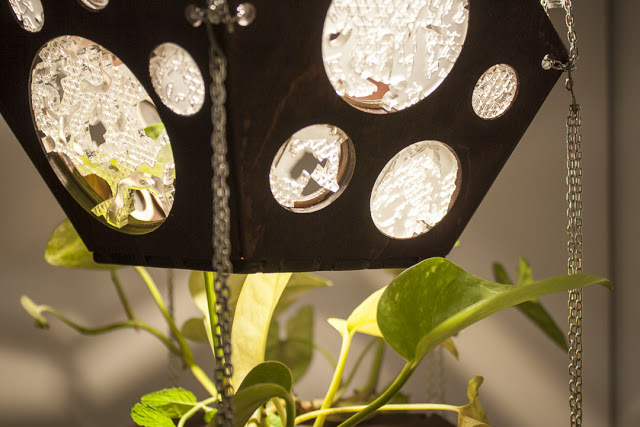
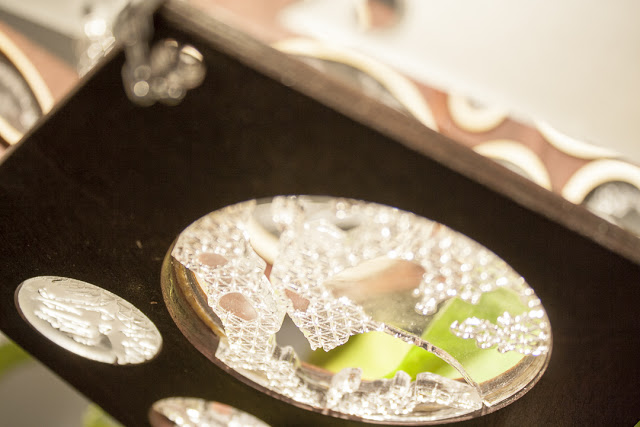
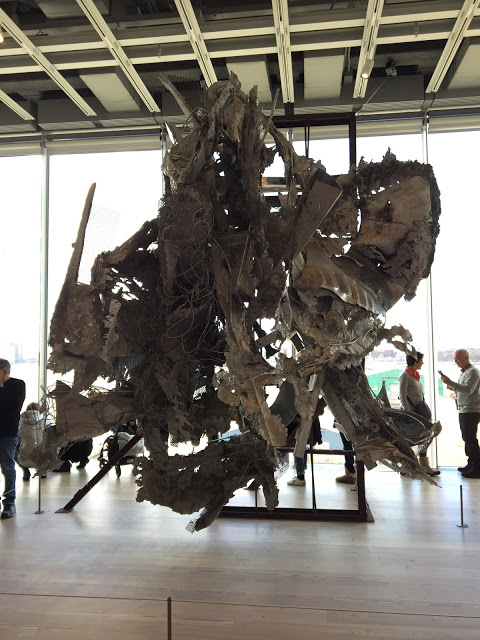
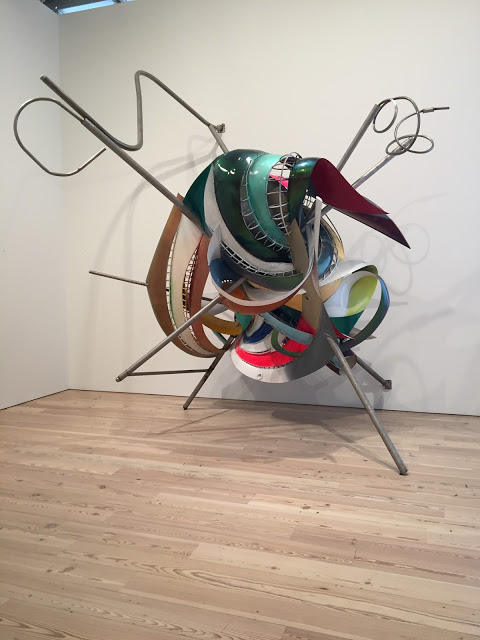
| Circus of Pure Feeling for Malevich, 4 Square Circus, 16 Parts,2009 Stainless steel tubing, wire, Protogen RPT |
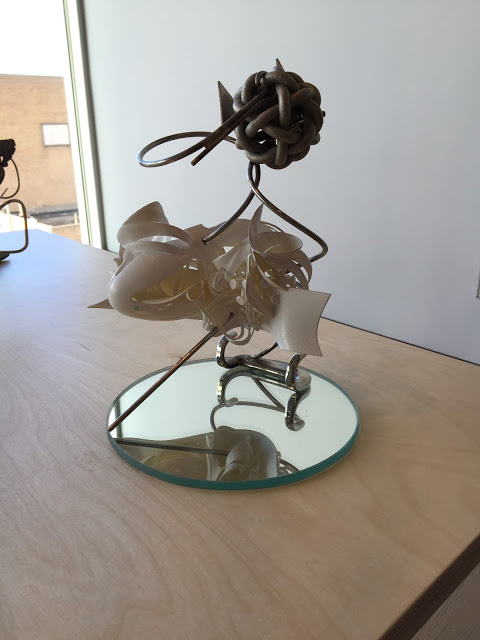 |
| Circus of Pure Feeling for Malevich, 4 Square Circus, 16 Parts,2009 Stainless steel tubing, wire, Protogen RPT |
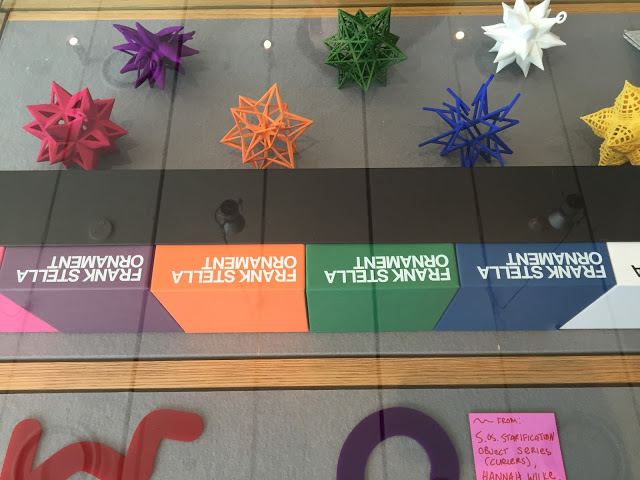 |
| And of course, some 3D printed Stella ornaments in the gift shop -- Stella knows what's up. |
 |
| https://www.oreilly.com/ideas/interface-and-interaction-design |