iAm packaging

Through this series of renderings, I am starting to consider the iAm project as a mindful, seemingly technological, product for mass consumption. These are my initial sketches for an internal packing method. I imagine expanding on this to include an insert about how to assemble the object, how to use the object, etc. All of this encased in a larger die formed or vacuum-formed container branded for sale.


Design for Digital Fabrication - Student Work - Pendent Lamps

 ART277 - Design for Digital Fabrication
Pendent Lamp - Renderings & Prototypes

For this project, students were asked to create a flat pack pendent lamp. They started by drawing the designs by hand, translated those into rhino and created a .3dm, rendered it, and then built a prototype from their files. They were encouraged to combine multiple processes from the class that they had learned so far: 3D printing, laser cutting, vinyl cutting. Here are a few renderings and projects exhibited at Arts Tech Night at Kenilworth.


IMA Final Project - Part 2


I am manipulating a few images of water that I recorded out at Atwater Beach last week for my final project in Interactive and Multimedia Art. I've been doing some writing about the work, so I'll just post that here too (below)... I'm not sold on the video presentation yet - so I'm not posting any video documentation until that's better under my control. To see the work live, check out Arts Tech Night at Kenilworth Square East on Wednesday, December 16 from 6PM - 9PM. 


Bound by Periphery is an interactive art object that explores aspects of peripheral awareness through human presence and touch. Upon approaching the object, the viewer’s presence and proximity are sensed; this reveals a moving image on a screen resting face up on the gallery floor. By crouching down and physically exploring the frame of the video, the imagery begins to change; the water imagery becomes clear, colors increase in saturation and the sound of waves and wind becomes evident. Through presence and an acute awareness of the boundaries of the object, the viewers experience becomes more dynamic and descriptive. In this way, Bound by Periphery explores various states of being contained and containing physically through objects as a metaphor for the mind. A container holds a screen, holding a sequence of video frames, playing over time. While screens can contain an endless amount of data, this object is restrained to the frame of the video. The video frame only allows us to experience what is in view, limiting our field of vision, but upon exploration of the periphery, the focus becomes clearer and transforms. By placing emphasis on the physical presence of the body on the edge of the object, the viewer is offered an incentive to explore, to relieve themselves of tunnel vision, to soften focus and play.

IMA - Final Project

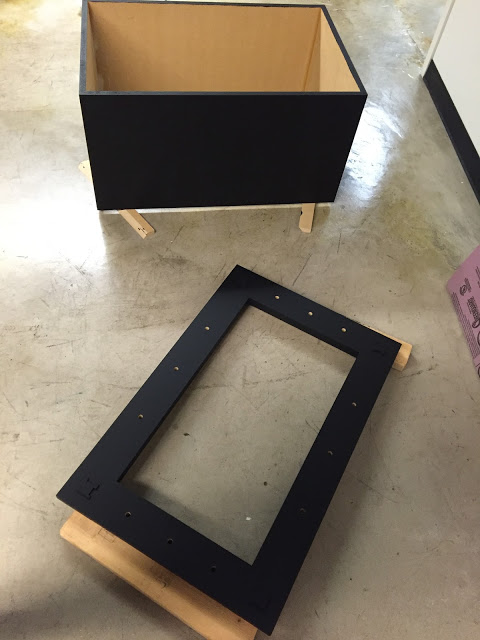
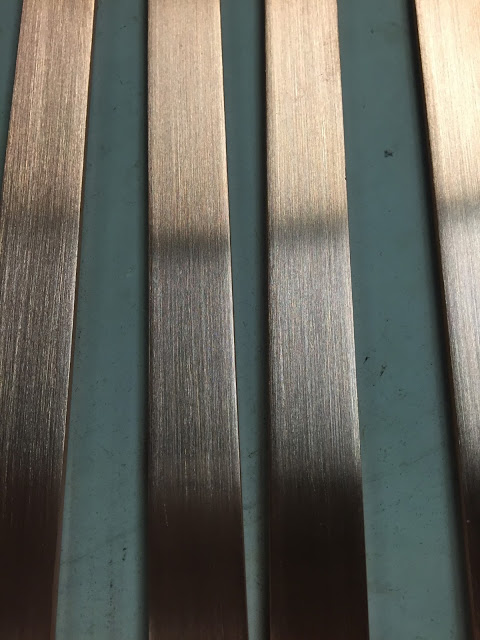
I've been working on an interactive object for my Interactive and Multimedia Art class... Here's a few images of the structure I've been creating to hold the TV over the weekend. I'll have some videos playing on the screen and then you will be able to manipulate the videos by sliding your fingers across the copper strips mounted to the surface of the frame.
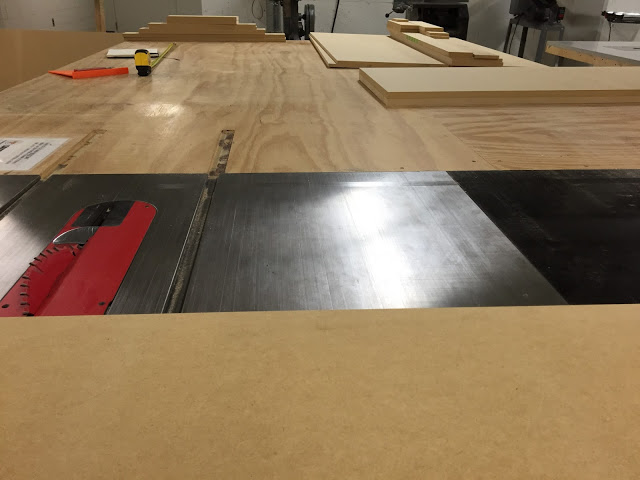
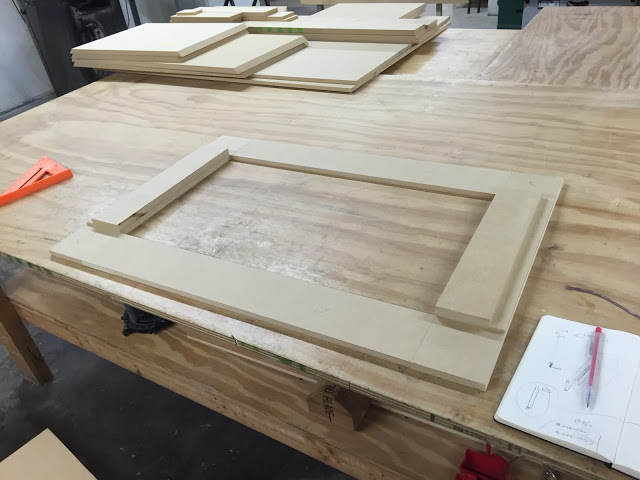
I had never done any angled cutting on the table saw so it was a bit tricky to get the right measurements at first, but with a little experimentation, I got exactly what I was looking for. It's really satisfying to work with wood, you can get such precise results relatively quickly if you have the right tools. 

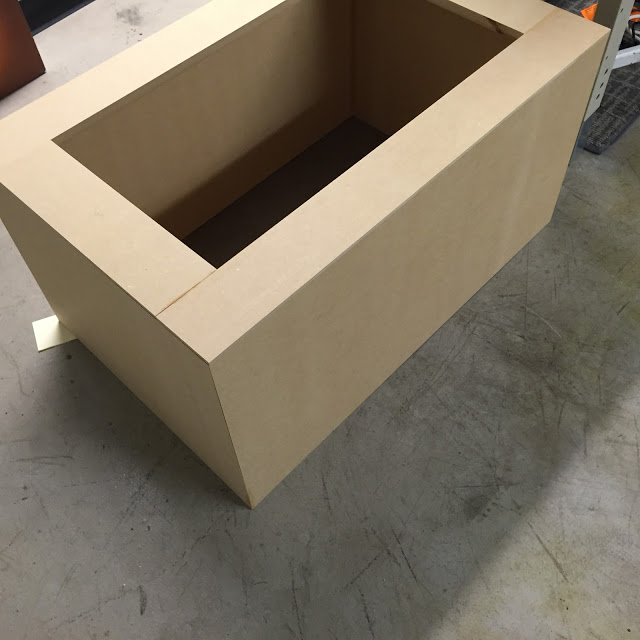
 I cut out a slot to inset the top frame into the top of the box structure. I needed to keep it hollow so that I can fit the tv, electronics, and laptop inside.
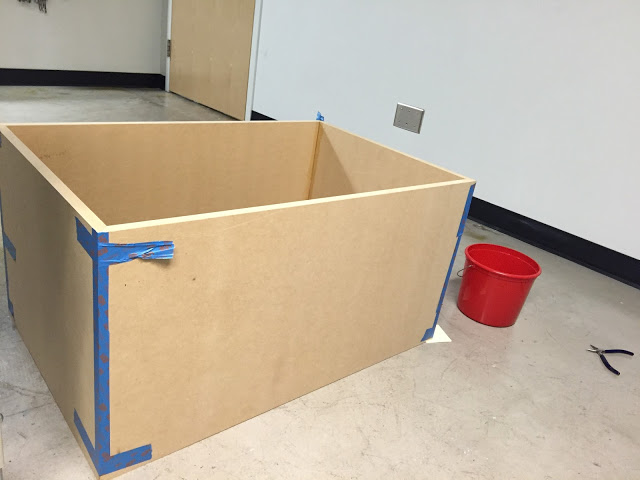
 On a recommendation from Broc, I decided to just use glue and tape to construct the pedestal. This worked good from what I can tell. He said this is the way a few professors on campus construct all of their pedestals, so we'll see if it stands the test of time and the wear of Arts Tech night!

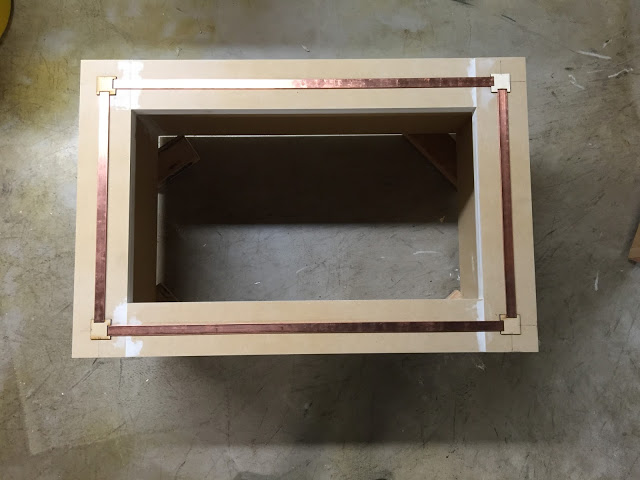
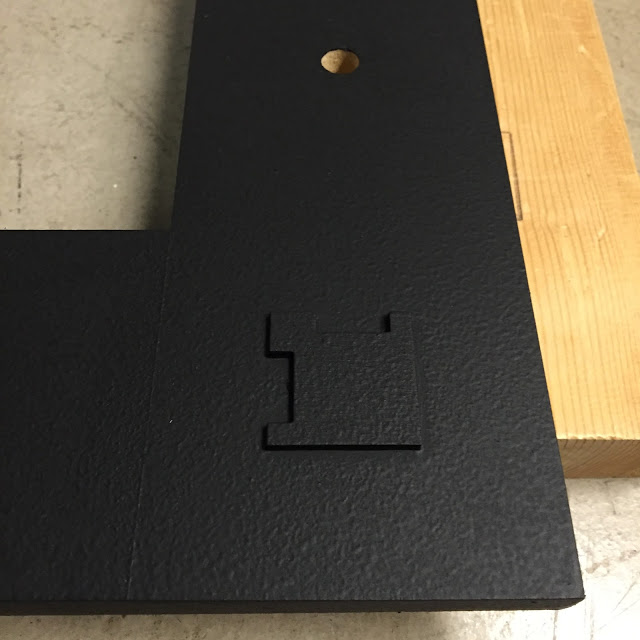
 I sanded out the overlaps with a little wood filler, to disguise the seams. Laser cut some corner strips (WOAH - DIGI FAB and HAND FAB - UNITED!)
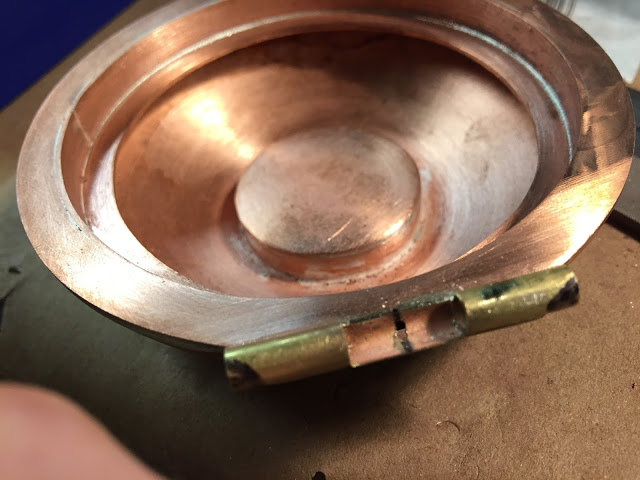
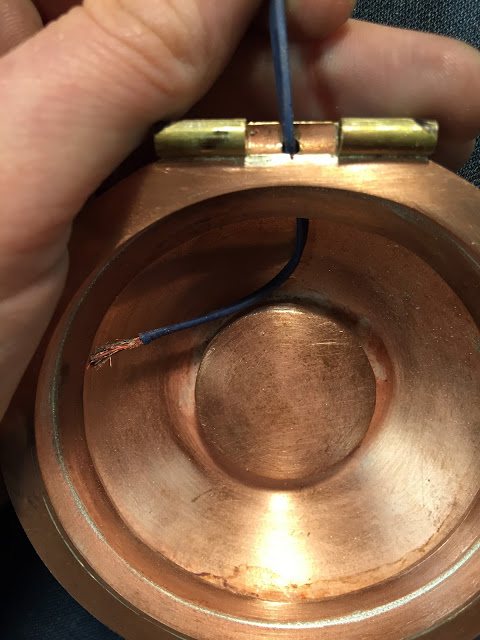
Drilled the holes for the wire to go through and made sure to attach the laser cut pieces to separate the four "buttons."

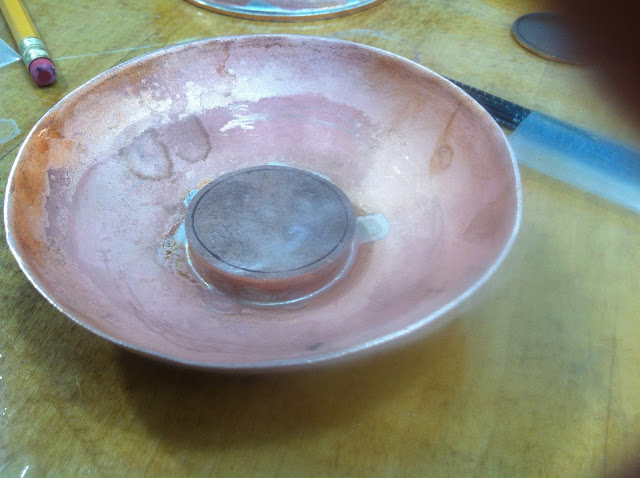
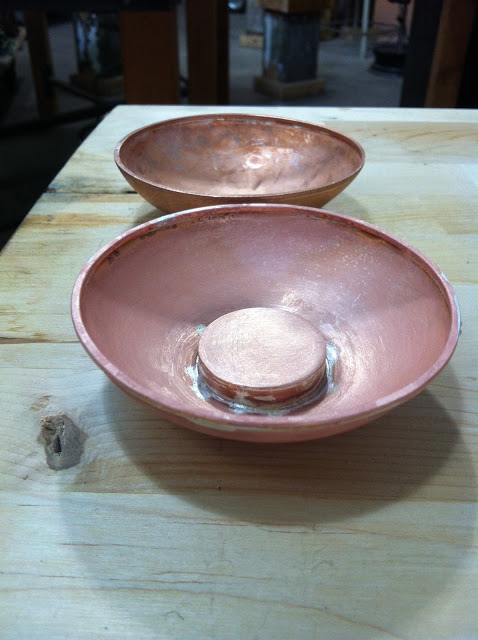
Finished the copper strips with a 150 grit sand paper. I will have to seal these with a spray acrylic to regulate the capacitance. 

Just waiting for it to dry now..... 

iAm Light milling

This weekend I machined a version of the iAm light out of polypropylene. I ran into a few issues with the break-chip drill operation, but luckily nothing detrimental. This series of operations only takes about an hour and a half, a significantly less amount of time than the aluminum versions of this shape (5 hours per piece, yikes!). I'm going to test out sandblasting on the back of the light to see if that diffuses the light a little more. I've got a 12 neopixel ring, trinket, and battery that all goes inside, so I'd like to be able to frost the dome a little more, so that the electronics don't distract. I've been thinking about the color of light I'd like the object to emit, and I think I've decided on hues of orange to go with the plugs. I'm really having a lot of fun with this project, all of the materials and all of the components are making it challenging to finish quickly, but I think taking my time with some of the decisions will pay off in the end product. 


Plug Packaging v1

I've been working on a high-end and a low-end packaging design for the iAm project's plugs. The "high-end" version will be 3D printed and then sealed in a vacuum formed case once the design is finalized. The "low-end" version will be laser cut out of a thinner plastic and engraved with the lettering. I see the high-end version of packaging being part of a set for purchase - socket, case, light and light case, vinyl tape, wires, battery, instructions, and the plugs. I see the lower end packaging being used in gallery spaces or public spaces and offered for free if the viewer is willing to participate in the experience of iAm. 


Compact Progress - Hinge Wires

So, I did it... I cut through the hinge. It doesn't look too bad! I'd like to think I knew this would work all along, but... Well you know I didn't mean to save this for the end.

Once I finish cleaning up the tubes, I think I'll solder together the magnet holders and start getting those inset into the opening and file out a little fingernail grip.

All is good.


I marked with a sharpie the part that is "unseen" when you move the compact hinge, in hopes to conceal the hole for the cords. 

I used a ball bur to "center punch" where I'd be drilling. 


The hole shows just slightly... not sure if I should square this out, or leave it rounded... thinking on it for a bit. 


Compact Progress - Internal Hardware Holder

For my compact, I am using (2x) 24 count LED Neopixel Ring from Adafruit, a Gemma microcontroler, and a LiPo Battery.

I took measurements off of each of these items and designed an internal hardware holder for inside both sides of the compact. The bottom has a more complicated holder because it is in charge of the battery and the microcontroller, while the top is simply holding one ring.
TOP of BOTTOM - neopixels & gemma

BOTTOM of BOTTOM - lipo & gemma
TOP - neopixels

Compact Progress - Laser Cut Acrylic Insets

I laser cut some acrylic to inset into the compact to diffuse the light of the neopixels. I got the top lid measurement perfect, it fits snug and needs the suction cup to remove it, but the bottom is a little off. I will cut a revised inset for that section. I might switch to a thicker acrylic, but for now I'm going to stick with the two layer approach and sandblast one of the layers for softer light. 


Compact Progress - 3D Printed Molds

I designed a couple different size molds for my compact's insulation... There are slight variations that account for the shrinkage that occurs during 3D printing and the shrinkage of the neoprene.... The molds are super simple, but if they work, I may think about creating more interesting molds to cast into.
I'm using a neoprene that I brought through critical coatings. It says on their website that painting the neoprene on is an option for creating a mold, this is something I might consider when doing the final piece and/or future pieces.

Compact Project - Progress Part 2

 I still have to clean up quite a bit of the exterior and patch a few pits in my solder joints before the piece is finished, but I'll save that until after I solder on the hinge - just in case more pits occur during that process.
Test hinge 1 - I am going to make another test hinge today with a design revision. 

  - Filing, making sure everything lines up - looks like I just missed one spot on my last big seam.
I ordered some rod from McMaster Carr today because the tubing I have isn't quite thick enough. Frankie is going to help me make thicker walled tubing out of the rod when it comes on Thursday.

Compact Project - Progress - 'smithin' is hard

I've made some significant progress on the construction of my compact mirror-like project... While it's been nice to flex my metalsmithing muscle - my actual muscles are definitely feeling it after two days of going hard at the bench. So, I took the day off of metalsmithing today to finish a few other things and hang out with my dad since he was in town. Here are some pictures from the last couple days...


Safety is not taking a selfie. 


Yes, I realize I should have done this first - but why not really test that smith-muscle and make it ten times harder and do it second ;). 


I've got to make the second one of these rims for the inset acrylic and then add a bottom flange-like thing so I can micro bold down the acrylic. 


I've also been working on a practice hinge - it's crooked, but its proving worth it (had to melt something today).  


TBC...