Compact Progress - Internal Hardware Holder

For my compact, I am using (2x) 24 count LED Neopixel Ring from Adafruit, a Gemma microcontroler, and a LiPo Battery.

I took measurements off of each of these items and designed an internal hardware holder for inside both sides of the compact. The bottom has a more complicated holder because it is in charge of the battery and the microcontroller, while the top is simply holding one ring.
TOP of BOTTOM - neopixels & gemma

BOTTOM of BOTTOM - lipo & gemma
TOP - neopixels

Compact Progress - Laser Cut Acrylic Insets

I laser cut some acrylic to inset into the compact to diffuse the light of the neopixels. I got the top lid measurement perfect, it fits snug and needs the suction cup to remove it, but the bottom is a little off. I will cut a revised inset for that section. I might switch to a thicker acrylic, but for now I'm going to stick with the two layer approach and sandblast one of the layers for softer light. 


S100 - The Arduino Stater Kit - Project 12

Knock Lock - This project was fun! I had to trouble shoot the knocking a lot but eventually got the lock mechanism to work. In this project a piezo is used as an input. Depending on the number of knocks the piezo hears it will move the servo to "lock" or "unlock."


I really like the serial monitor, it makes the transition between tech and real easier to understand.

S100 - The Arduino Stater Kit - Project 11

Crystal Ball - These tutorials just keep getting better and better - I loved this one... it's so easy to customize. I also really liked the tilt switch... You just move the switch upside down and a little bearing inside of it activates a change in the switch state. I could see integrating this mechanism into another type of object like the compact mirror seamlessly.


And then the ego took control...............


S100 - The Arduino Starter Kit - Project 08

The LED Hourglass project is essentially learning how to tell time with light. This is a very controlled way to work with outputs. The tutorial recommended programming the LEDs to turn on every ten minutes... but really, who has time to wait an hour for results? So, I programmed mine to come on every 6 seconds... Not a very "square" way to tell time, but it gets the job done.  36 IS the new 60.

S100 - The Arduino Starter Kit - Project 03

Love-O-Meter! In the video you will see the results I got from the project. The sensor doesn't change very quickly, like I had originally expected it to... I watched the serial monitor a lot during the testing phase... I also modified the temperature variables in the code quite a bit... The temperature range settings I got to work are less drastic than what was recommended.


S100 - The Arduino Starter Kit - Project 02

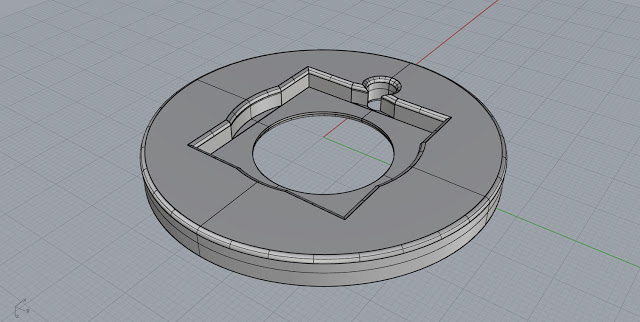
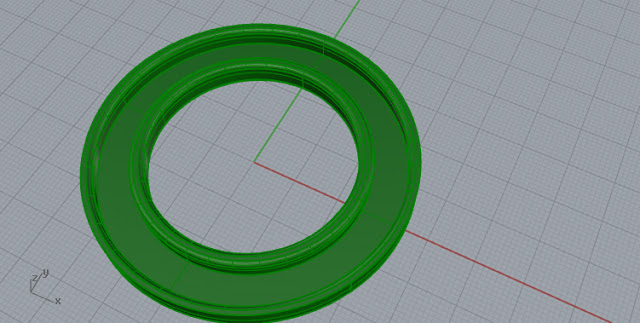
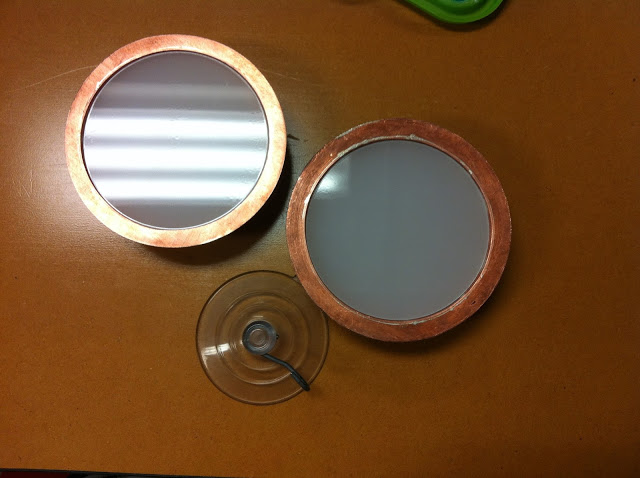
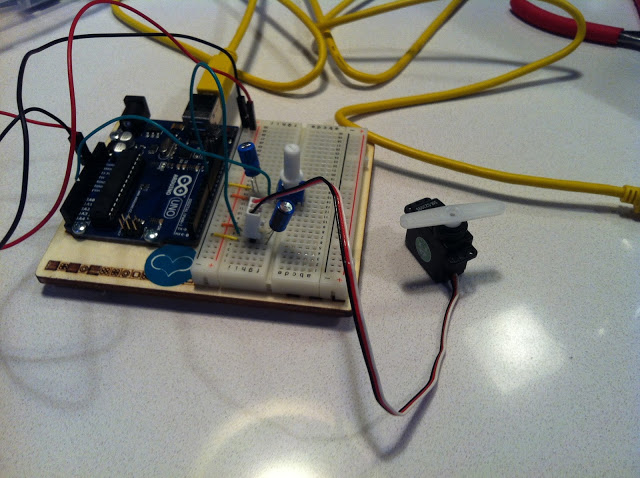
Project 02 : Spaceship Interface

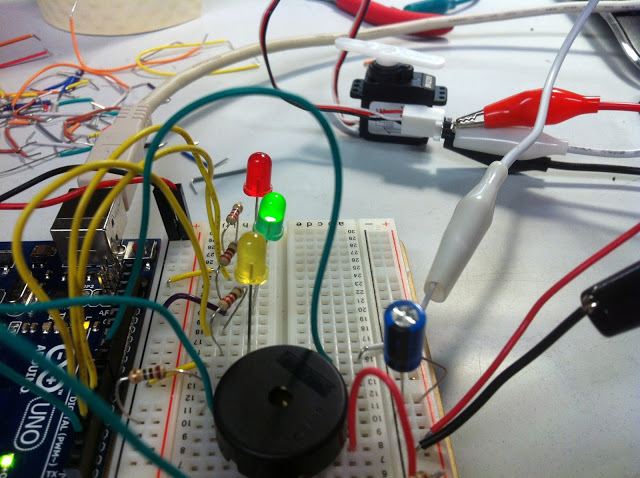
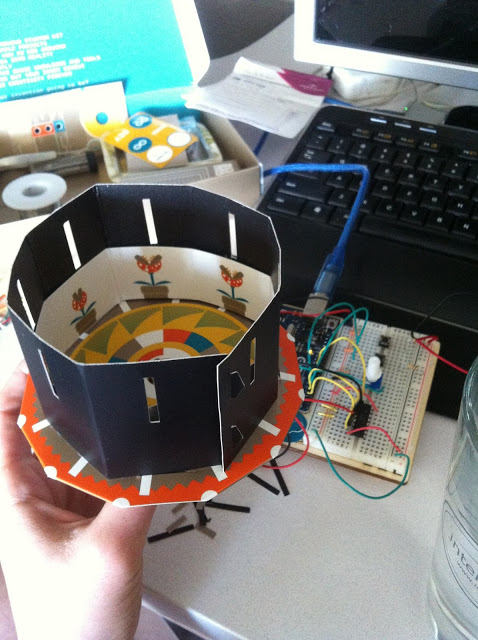
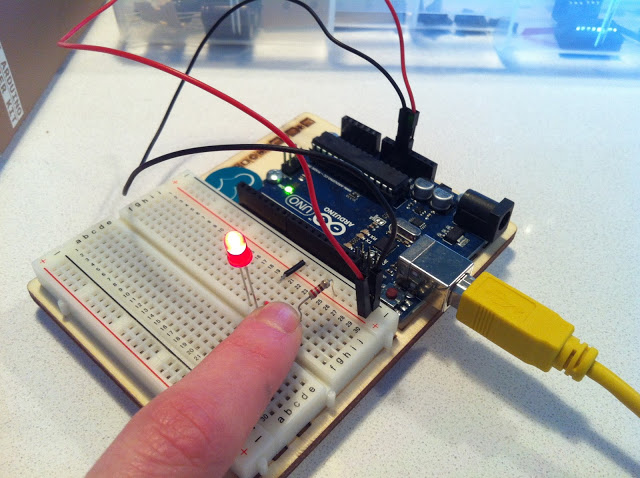
In this project, I was introduced to the basics of digital input and output, writing code, programming, and specifying variables.  The kit came with this super-glitzy-gold piece of paper to help me set the mood for the action scene of my sci-fi movie - "ENGAGE HYPER-SPEED" (per the instructions).


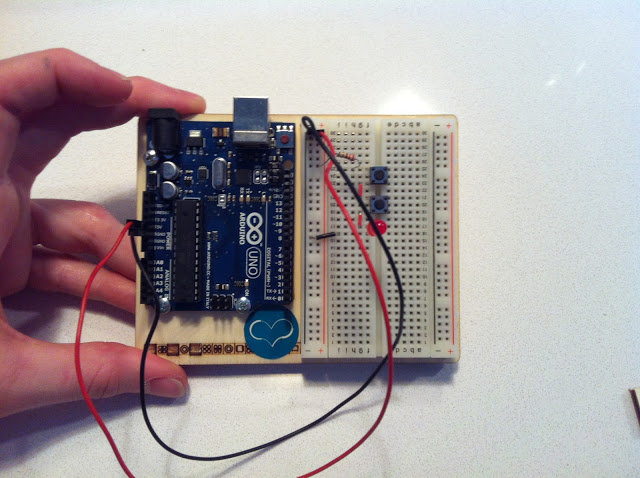
I have been utilizing arduino programs for the past year or so, but have never really sat down to learn what everything means. Today, that world opened up to me. While the majority of the coding for this specific project was laid out for me, it was extremely helpful to learn what each function means and some of the "grammar" of coding (; and // for example).

S100 - The Arduino Starter Kit - Project 01


YES, the Arduino Starter Kit is packaged with just as much thought as each of the tutorials inside. I am blown away by how thorough this kit is. In just one tutorial, I feel like I've learned more than I did all last year on my own! Don't get me wrong - I definitely learned a lot last year - but never in such depth. It goes to show - sometimes it's worth spending the money on a "professional." Thank you, Mr. Arduino Starter Kit. 

STEP ONE: 

My first interactive circuit, using a switch, a resistor and an LED:


Series Circuit:


Parallel Circuit: 


... and, OF COURSE, a little bit of playing around got me a big green letter-C.