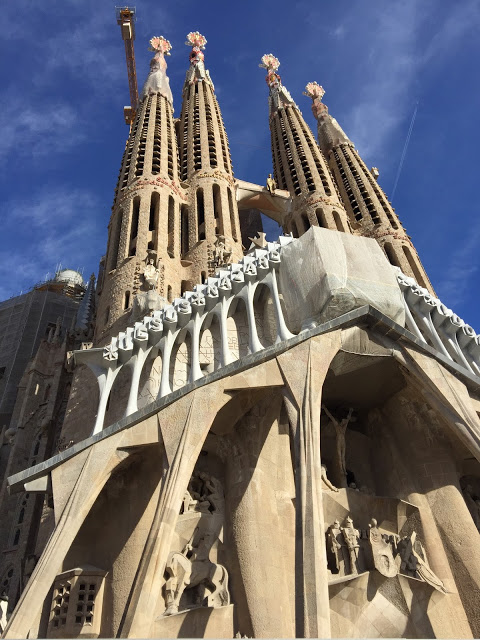
iAm - sockets

A couple weeks ago I started experimenting with plasti-flex, the material I am casting the iAm sockets out of. This part is currently functioning as an interface with the wall, a transitioning material. The initial mold was created out of a 3D printed prototype and some left over Oomoo rubber. I wanted to test out the plasti-flex so when I heard someone in the studio had some extra rubber, I just quickly grabbed the test print and a Tupperware to make a test mold. The makeshift mold allowed me to quickly test the colors and flexibility of the material. The fit turned out really nice. 
I've since re-designed and machined a new socket piece for the final mold and have poured some ReoFlex30 over it. I should have some really nice sockets once this mold is ready to be used. TBC


Basilica de la Sagrada Familia - Antoni Gaudi

I visited the Basilica de la Sagrada Familia in Barcelona over winter break. I knew that I was going to be in awe of the architecture, but I hadn't considered the possibility of finding something so familiar. As I came upon the structure I started having the nerdiest thoughts, "I wonder if they did that with a CNC? I bet they did that with a CNC! I could do that. I can't believe this entire thing is being built with a CNC!" The entire thing hasn't been built with a CNC because they started construction in the late 1800's but, a lot of today's fabrication is... It's pretty amazing to walk around the outside and inside of the basilica and to be able to notice process in the aesthetics.


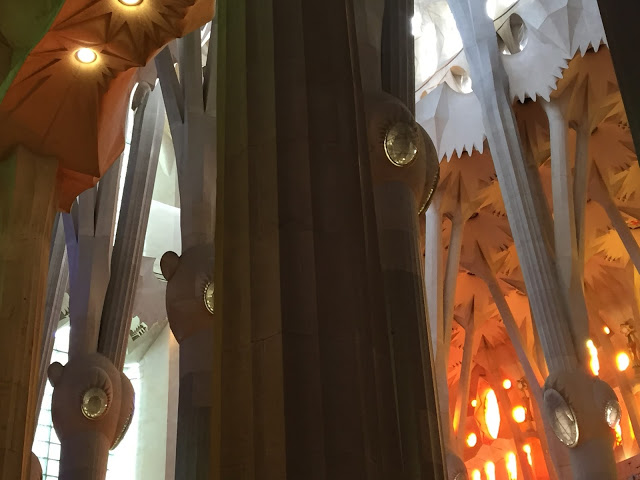
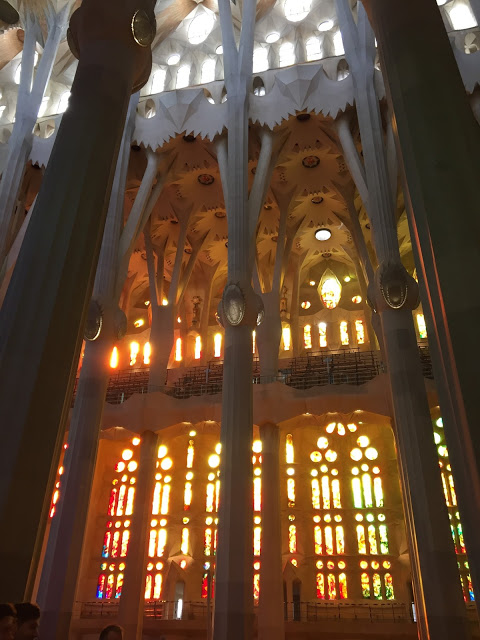
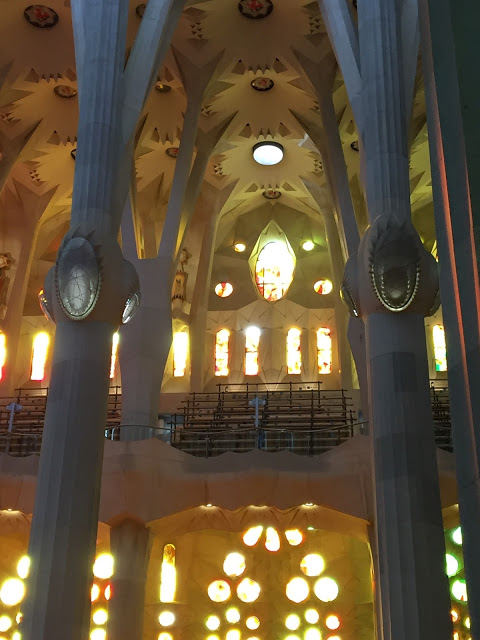
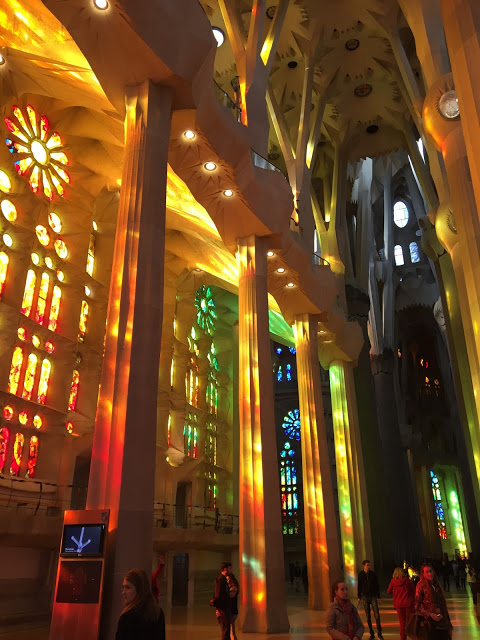
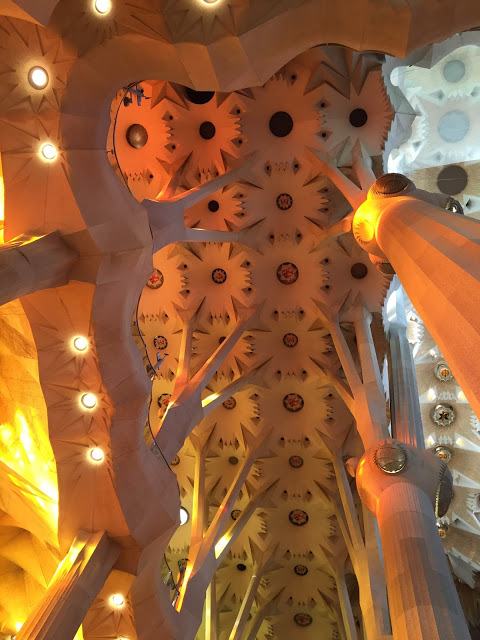
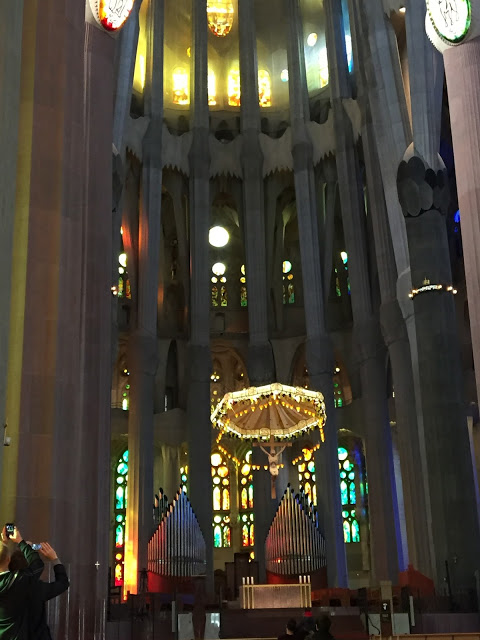
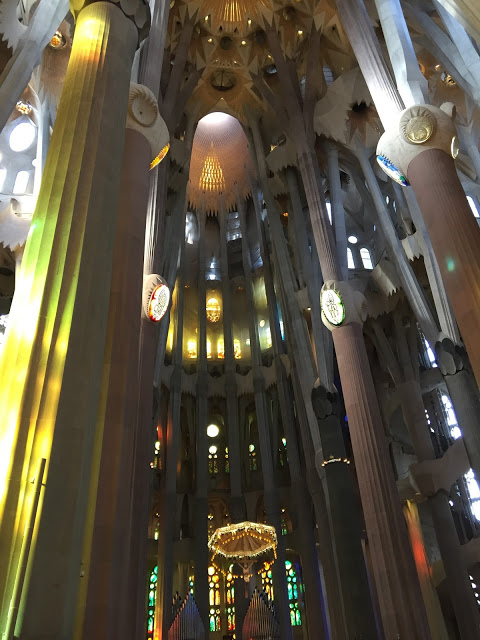
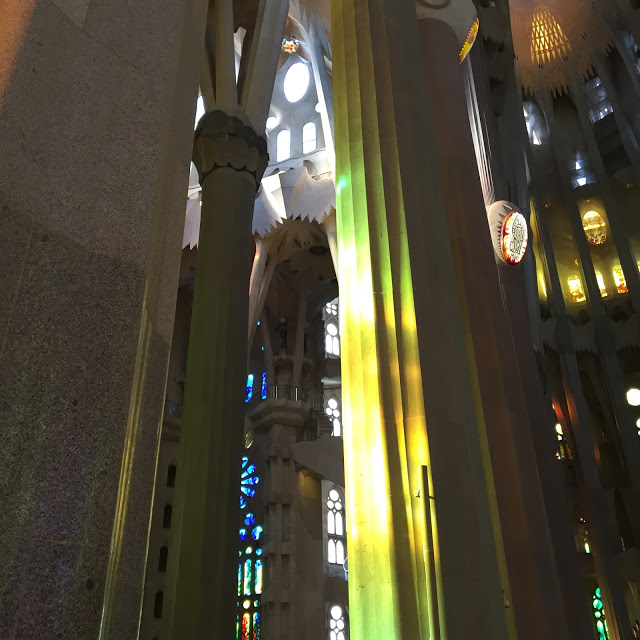
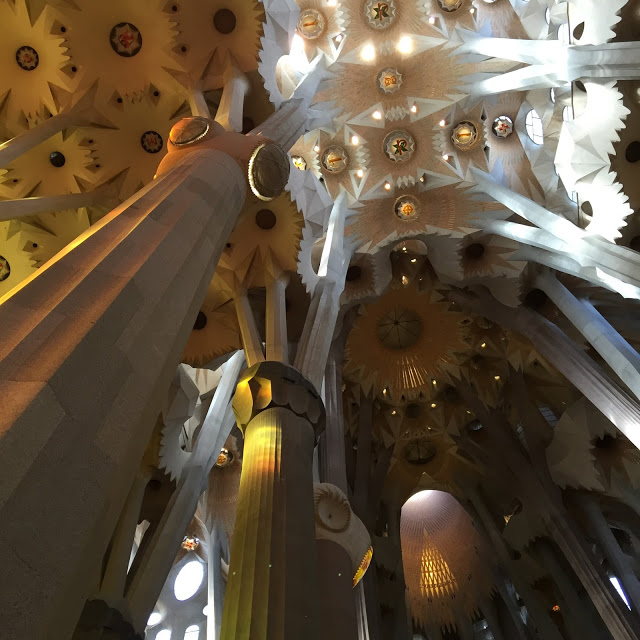
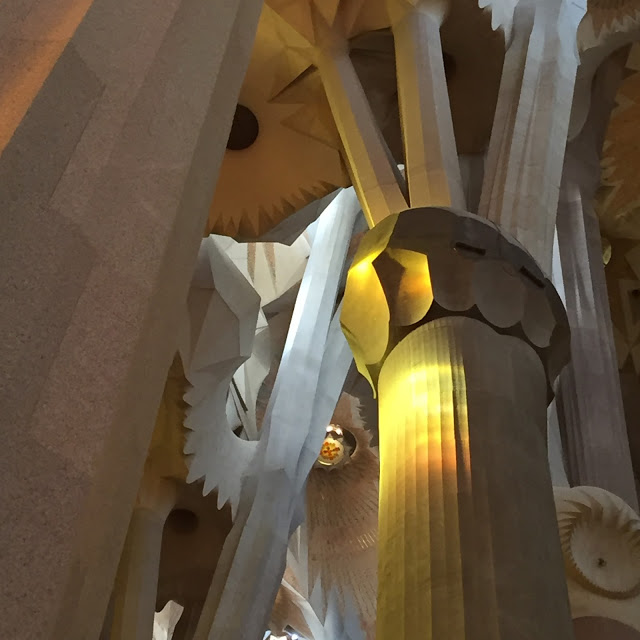
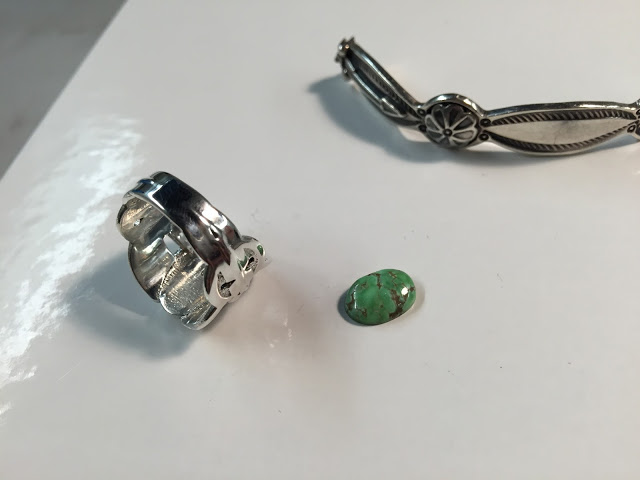
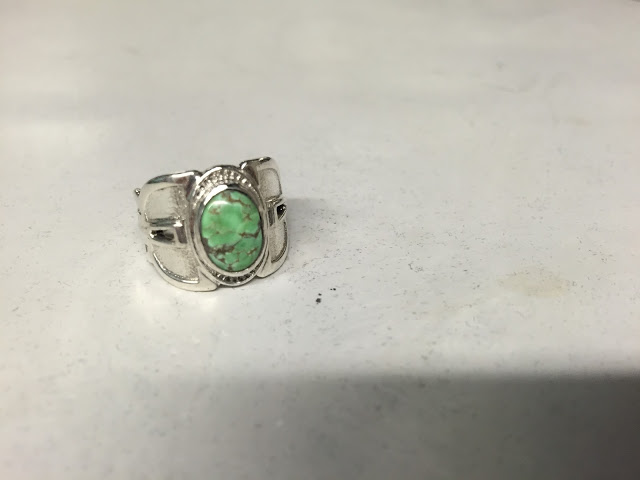
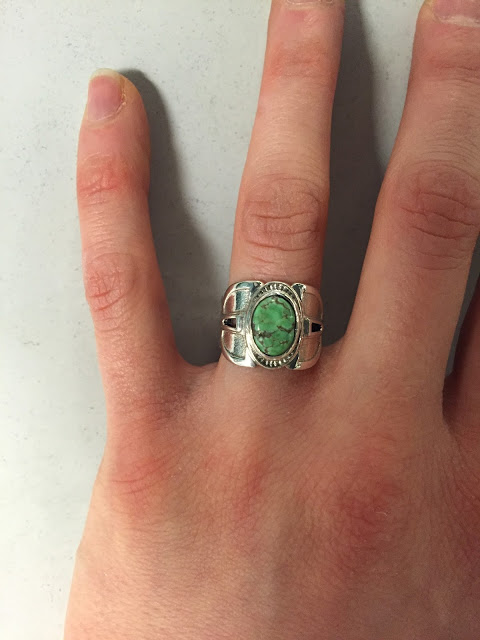
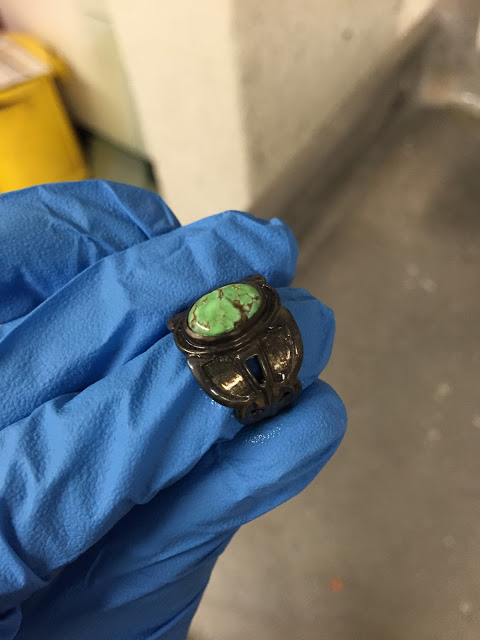
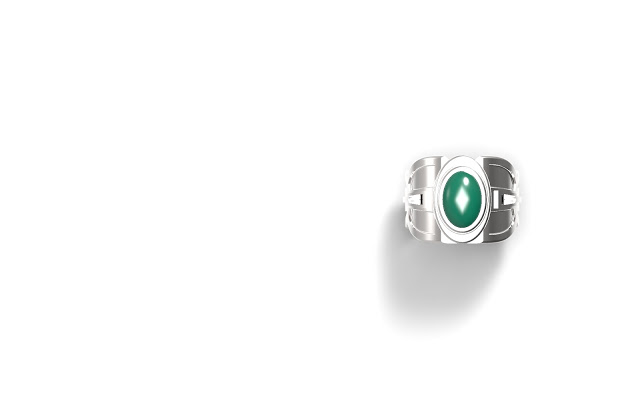
 I absolutely loved how the lights on the capitals reminded me of cabochon jewels, but also fruit hanging from the palm trees.

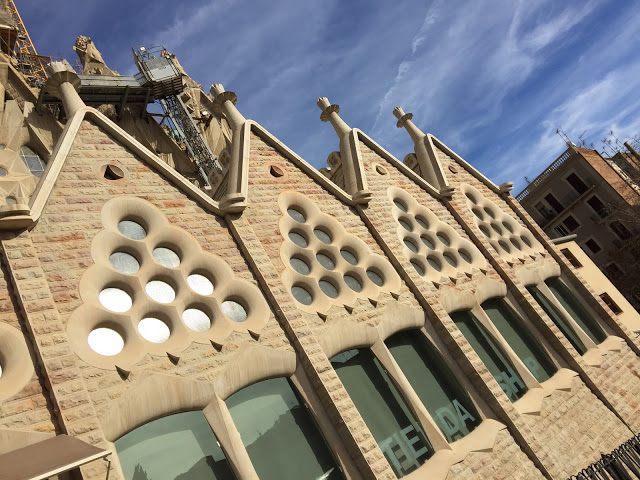
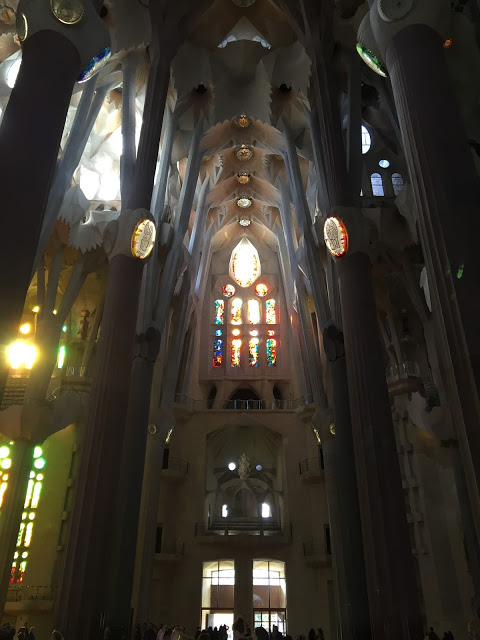
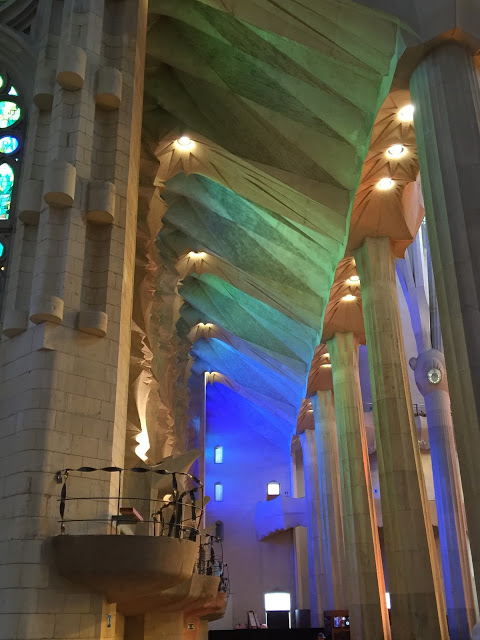
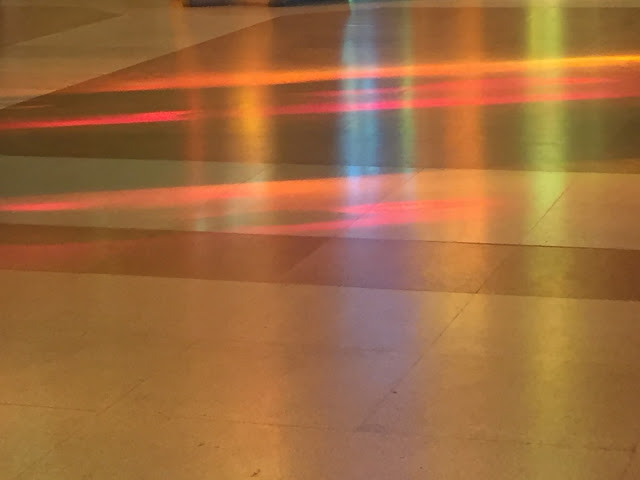
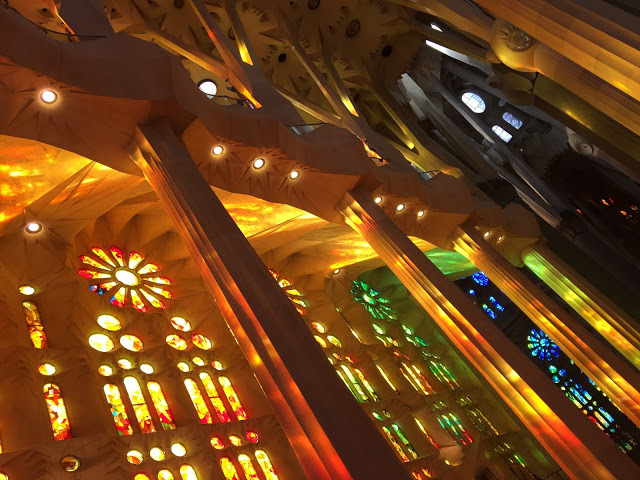
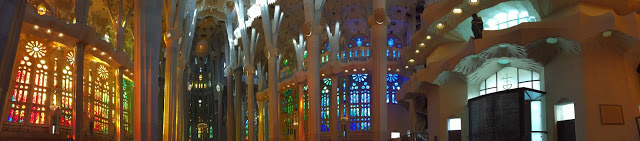
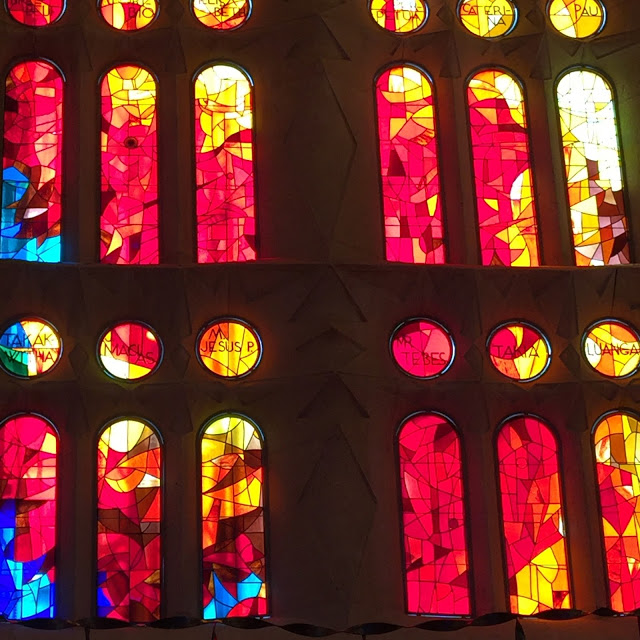
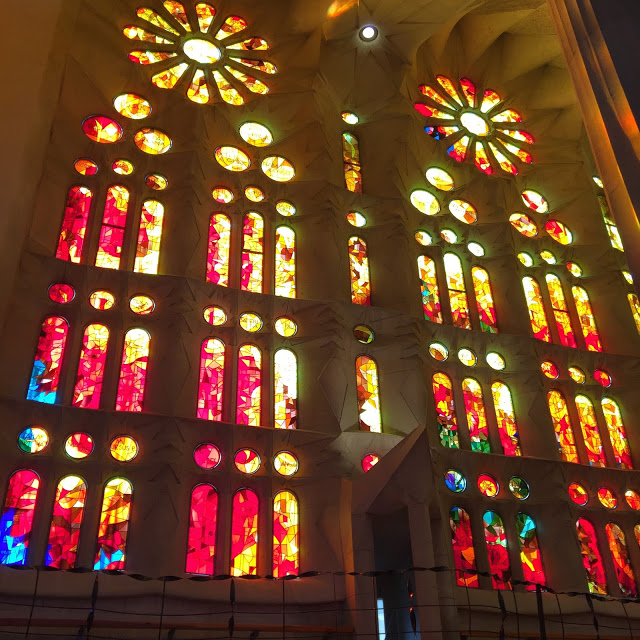
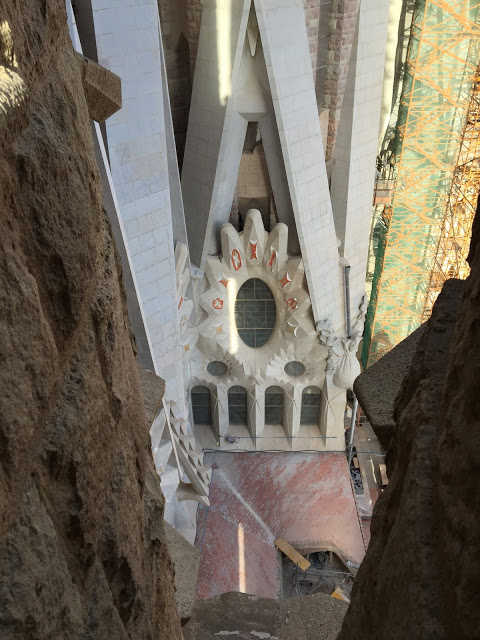
The light through the windows was absolutely stunning, these images don't do it nearly enough justice. 


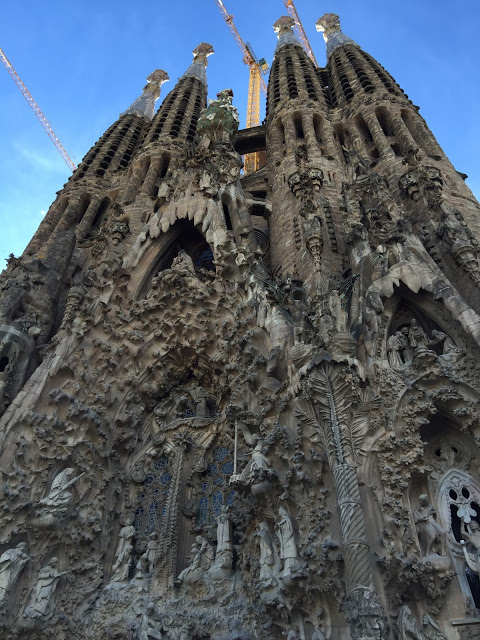
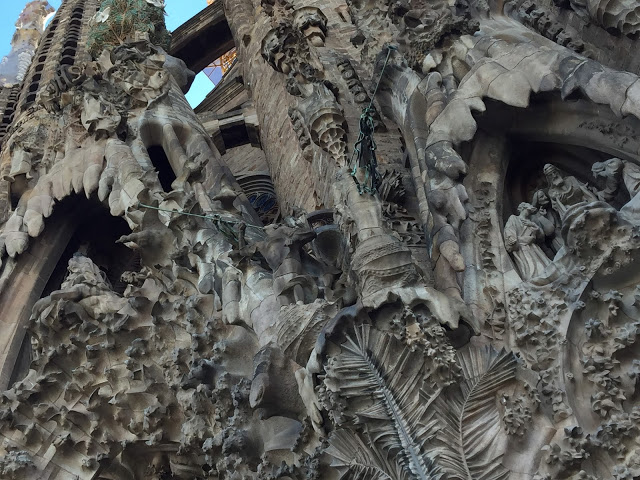
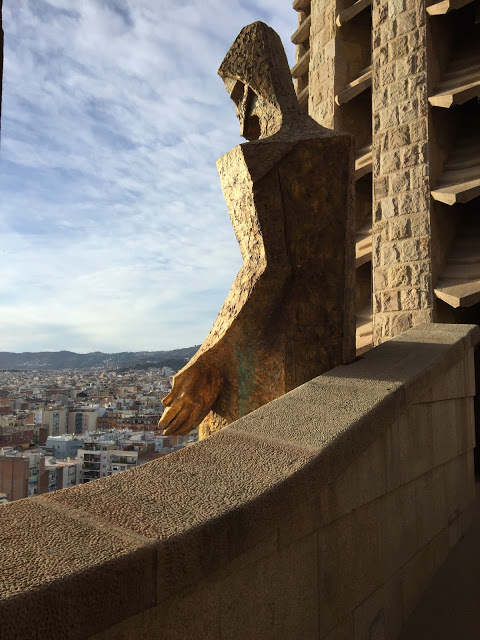
Every single detail has been considered. 


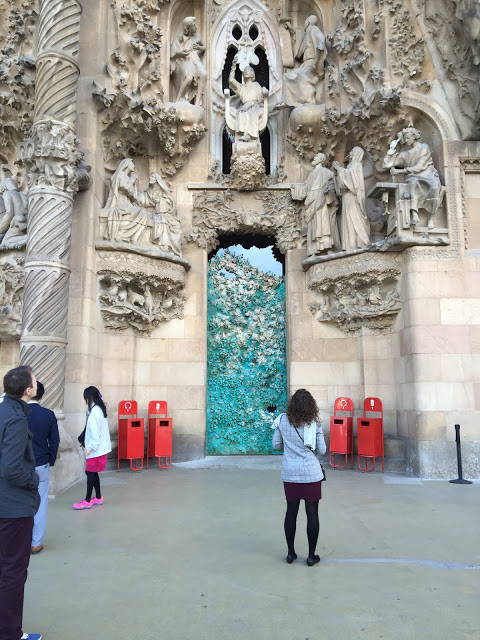
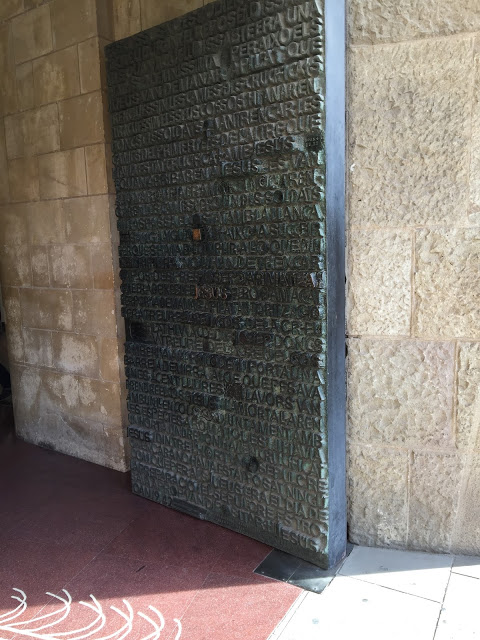
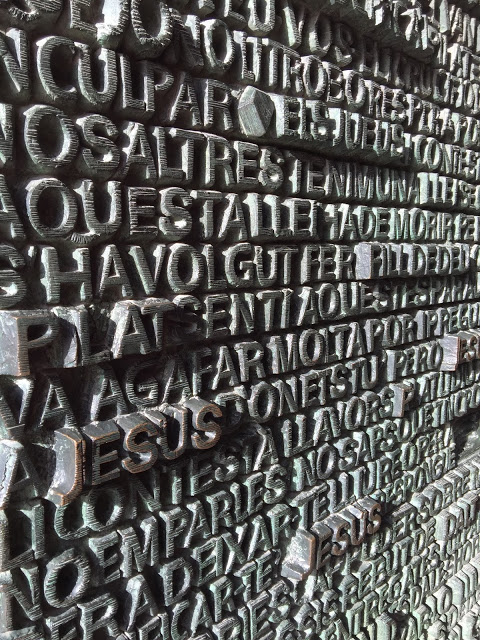
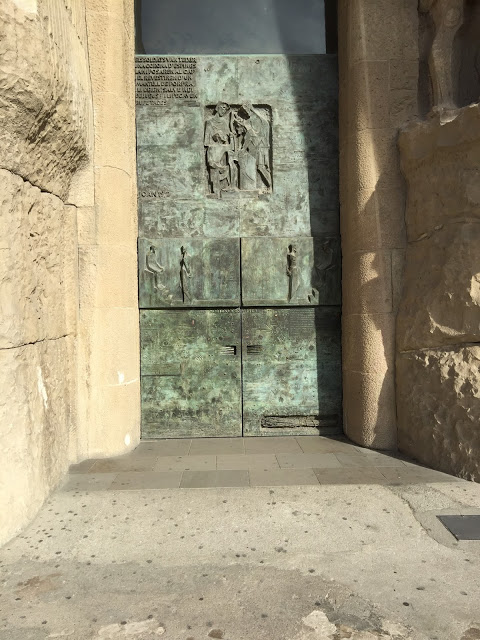
These giant metal doors made me drool.


 THIS WAS THE ICING ON THE CAKE: 
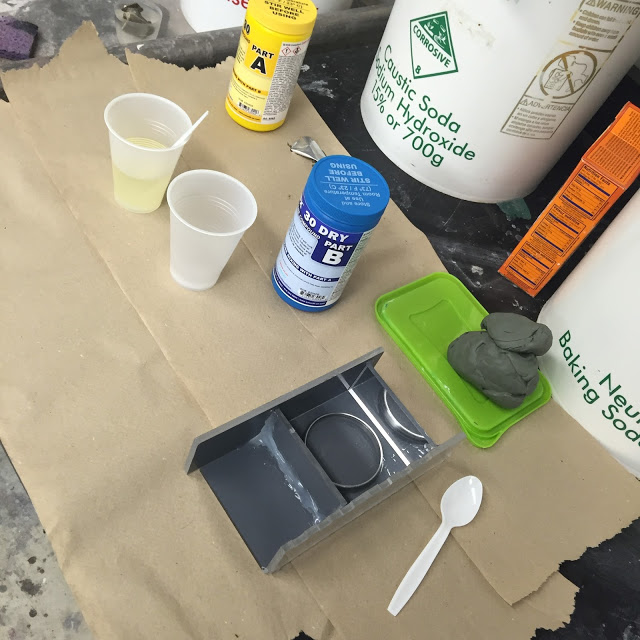
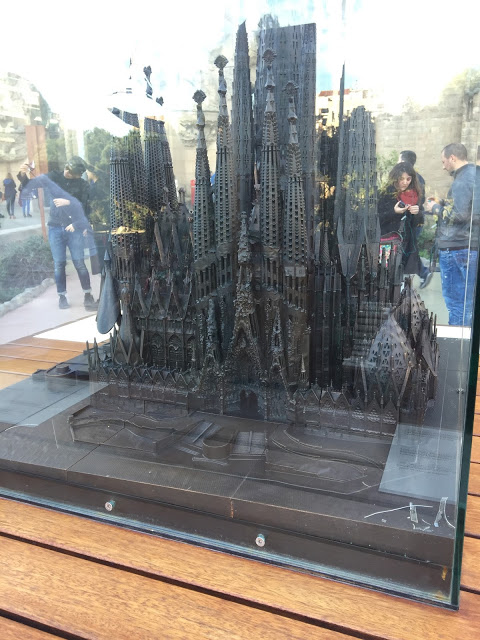
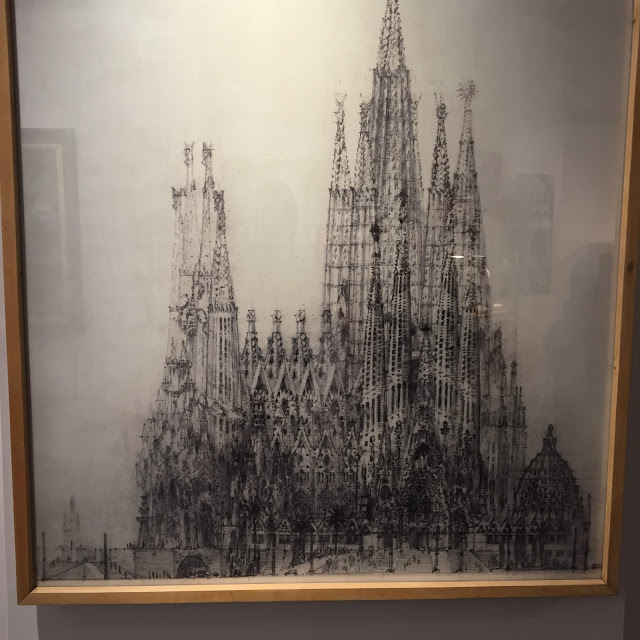
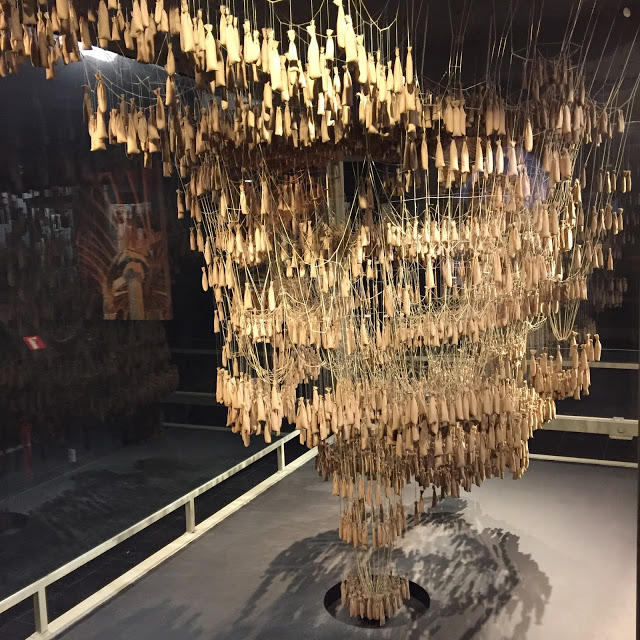
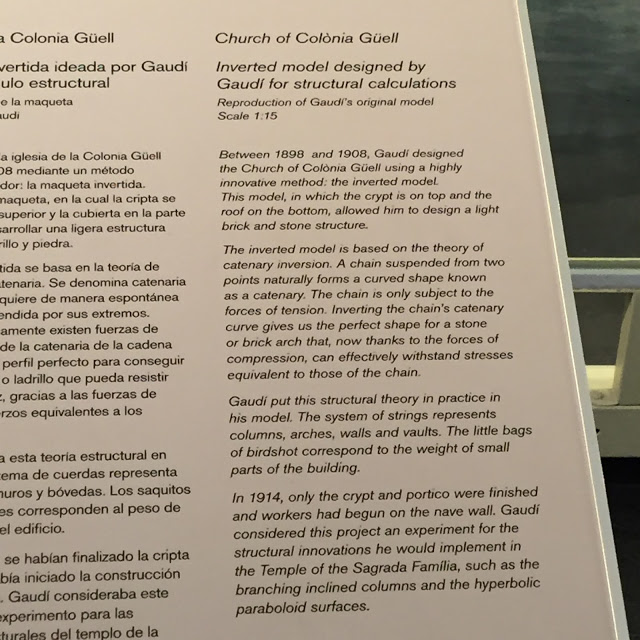
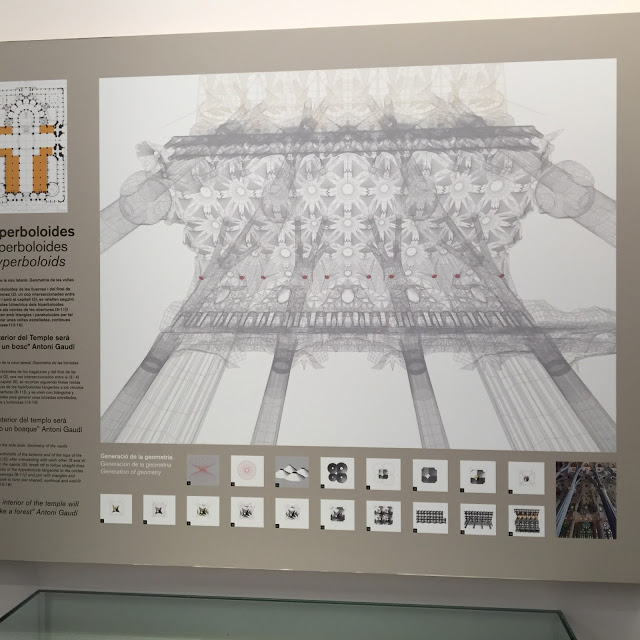
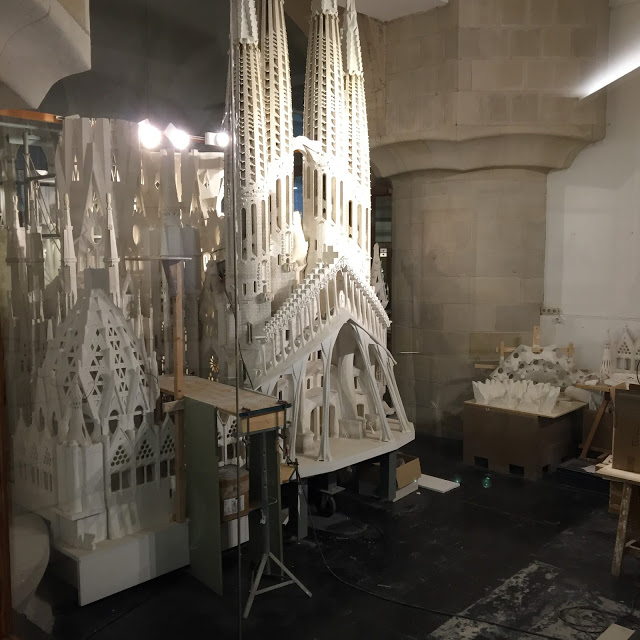
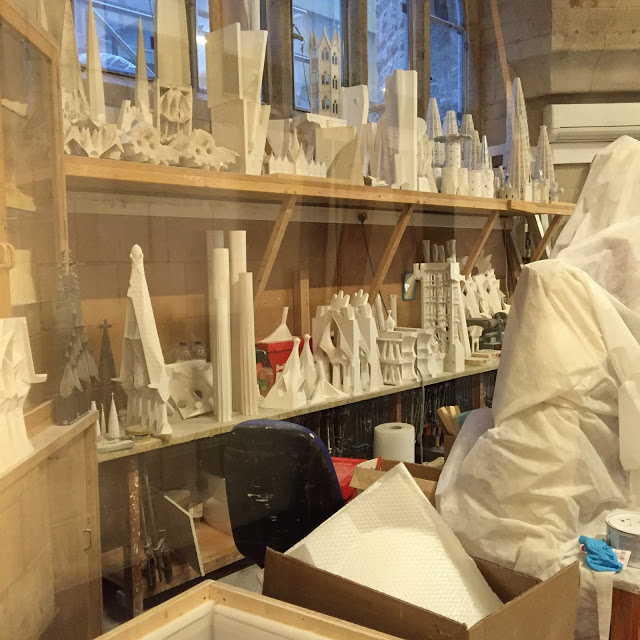
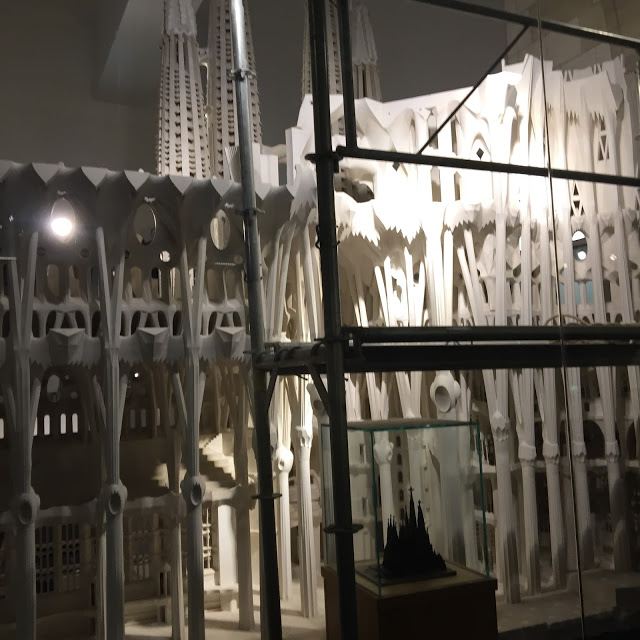
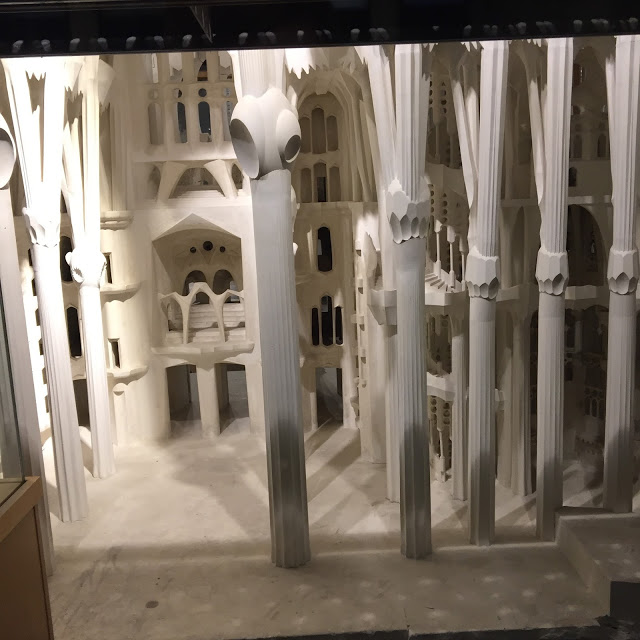
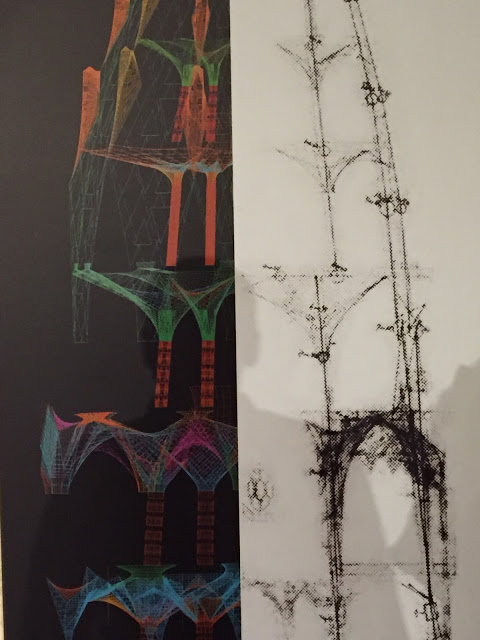
 Below the Basilica was a whole museum dedicated to the process that housed many original architectural models, drawings and current models and drawings. 


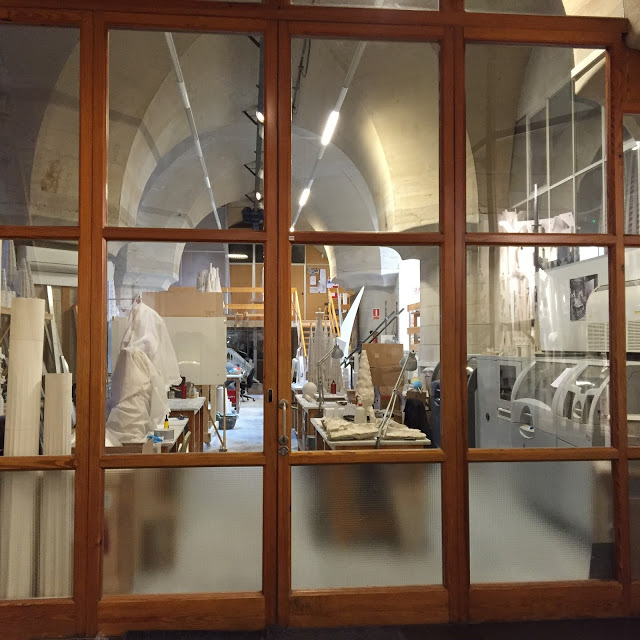
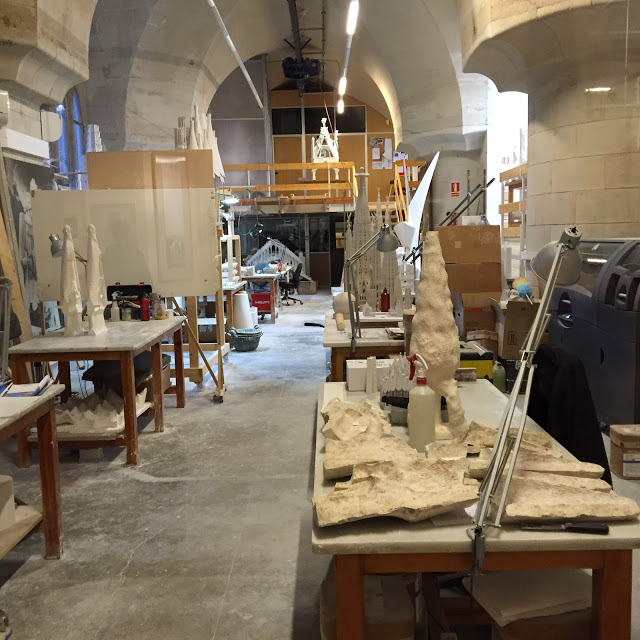
 When we walked by this room Tom goes, "Look, their own DCRL!" Be still my heart.

 I'd love to see the crew in action. 


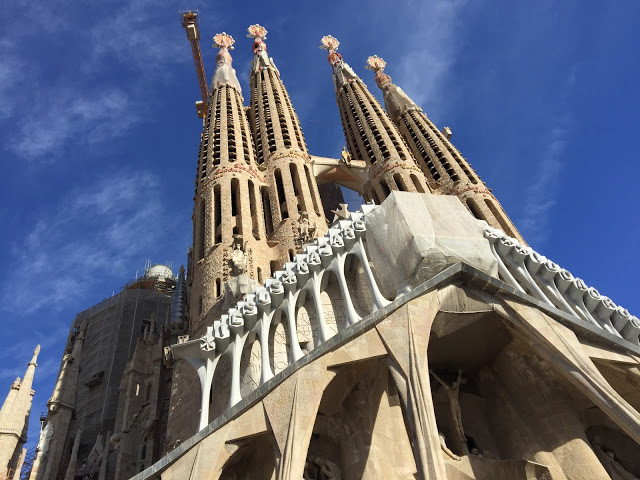
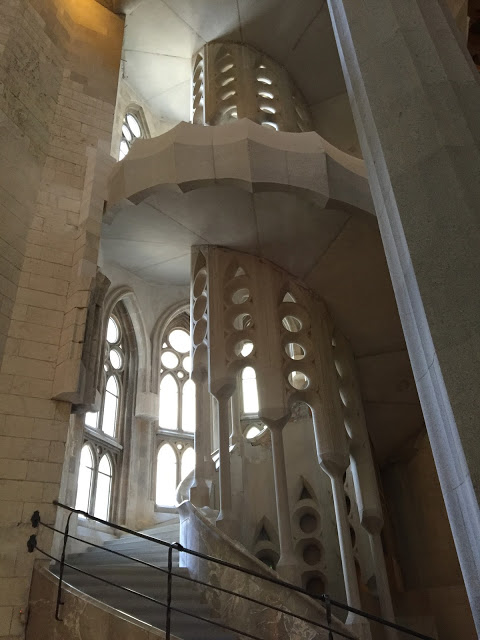
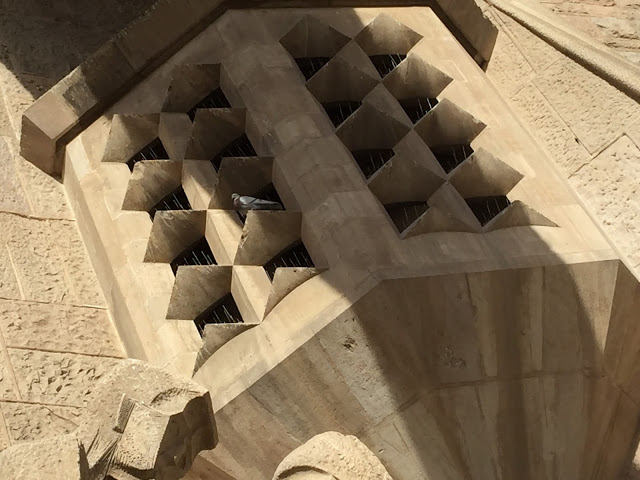
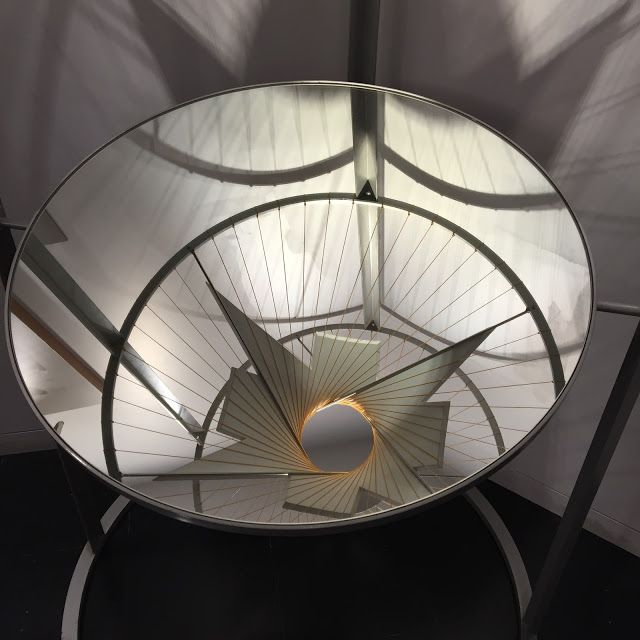
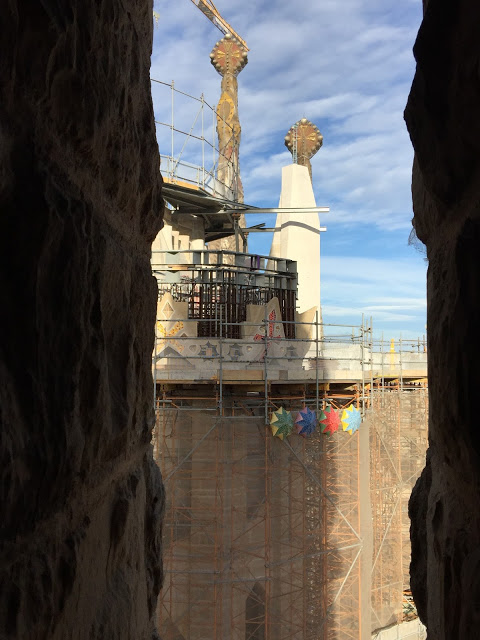
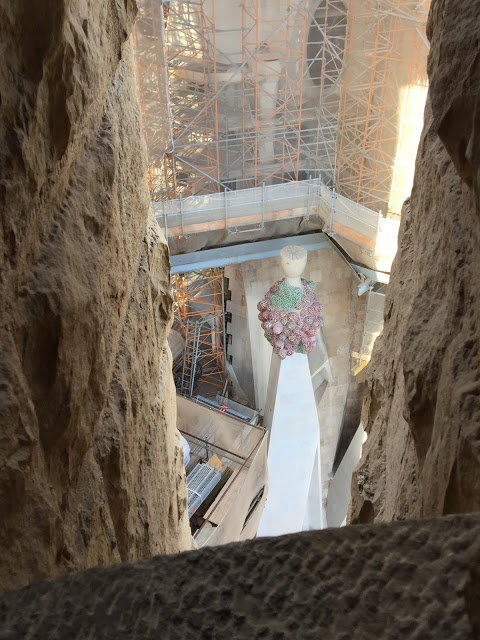
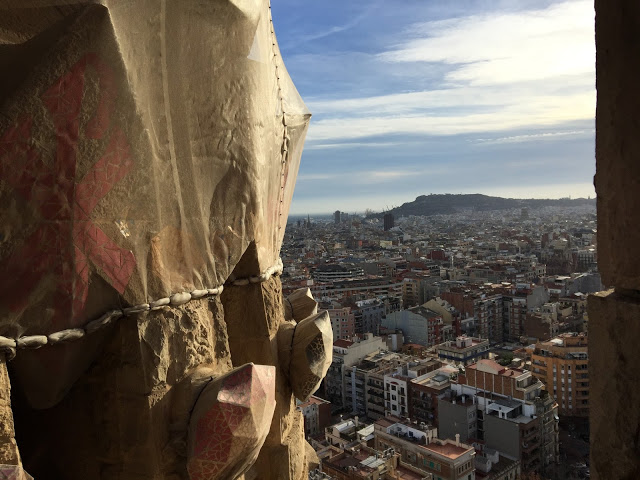
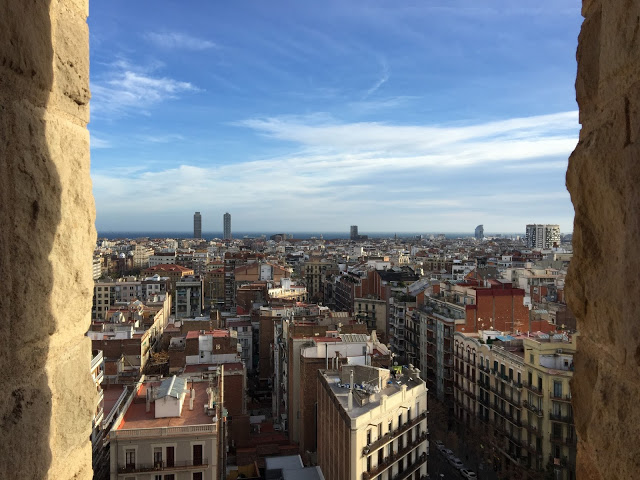
We rode the elevator up to the top of one of the towers and walked down the spiral staircase. It was actually terrifying because it was so windy, but the structure didn't move at all... so that was reassuring. The tops of the towers have mosaic "finial" type structures of fruit and vegetables. They catch the light just right. 


Sheila Ring - Finished - it's about time!

So, I finally finished up the ring to bracelet redesign. I am super happy with how the whole process turned went - from designing my first 3D modeled ring, to using a casting service and then post-processing myself. I definitely would get other objects cast in silver through Shapeways. While the cost was only $50.00 to get the design cast in silver, I did spend a considerable amount of time designing, cleaning up the ring, finishing, and setting the stone... so if I had to price out the piece for production, I would probably need to sell this particular ring design starting at around $175.00 to make a profit.  $50.00 for casting, 3 hours for post-processing labor per ring @ $20.00/hr and packaging, plus %60 mark up for profit, with design hours being paid for after the first 2 sales. Compared to a company like Skydog, price is right on par... And their paying rent in LA, which means their jewelry is a steal - GO SHOP NOW!


S100 - Rhino Gold - Bracelet to Ring - Progress

I finished up my sample Shapeways print today - working with my friends bracelet, transforming it to a ring... There were a lot of possible ways to take this design, I just tried to do a bunch of different techniques to test out the service and quality of the company's silver prints. I ended up ordering the final in raw silver, so I will do finishing and patina when the piece comes, as well as set the stone after I take it out of the bracelet. The final design is kind of clunky looking in the rendering... but I'm hoping it won't be so once it's printed... But, worse case scenario I just hack into it to feminize the form a litte more. 


Compact Progress - Pouring Neoprene

So, basically you pour the neoprene that's already mixed into the mold, let it settle for a few hours while water evaporates out of the mixture, and then you can top it off. You can also make hollow-skin like casts with the neoprene if you cast in plaster... I have no idea if this will work in the 3D printed mold without a mold release, but it specifically said on the website not to use mold release, so I'm giving it a shot! This weekend, I think I'll try and pour some neoprene into a plaster mold and see how that goes.


Compact Progress - Internal Hardware Holder

For my compact, I am using (2x) 24 count LED Neopixel Ring from Adafruit, a Gemma microcontroler, and a LiPo Battery.

I took measurements off of each of these items and designed an internal hardware holder for inside both sides of the compact. The bottom has a more complicated holder because it is in charge of the battery and the microcontroller, while the top is simply holding one ring.
TOP of BOTTOM - neopixels & gemma

BOTTOM of BOTTOM - lipo & gemma
TOP - neopixels

Compact Progress - 3D Printed Molds

I designed a couple different size molds for my compact's insulation... There are slight variations that account for the shrinkage that occurs during 3D printing and the shrinkage of the neoprene.... The molds are super simple, but if they work, I may think about creating more interesting molds to cast into.
I'm using a neoprene that I brought through critical coatings. It says on their website that painting the neoprene on is an option for creating a mold, this is something I might consider when doing the final piece and/or future pieces.

S100 - Vacuum Casting with Anna

Anna has been casting a lot this summer and I love casting so I've been her assistant on a couple occasions. In undergrad, I always did centrifugal casting, so watching Anna do the vacuum casting was exciting for many reasons... One is that if I ever decided to do casting after I graduate, I will not need to invest in a centrifuge and a vacuum table, potentially. Two is that this seemed more do-able on my own. 

S100 - Rhino Gold - Bracelet to Ring

A friend of mine asked me to do something with this a long time ago - and I think I'm finally going to put in some work on it. Her mom had gotten her this bracelet when she was little and it unfortunately broke. I did a 3D scan of the object the other day and took some preliminary pictures of the ring... My plan is to design a ring using Rhino Gold, get it printed through Shapeways in wax, cast, and set the stone after. I've never done a ring design in Rhino Gold - or printed from Shapeways before - so this will be a nice low risk experiment.