Ring Samples

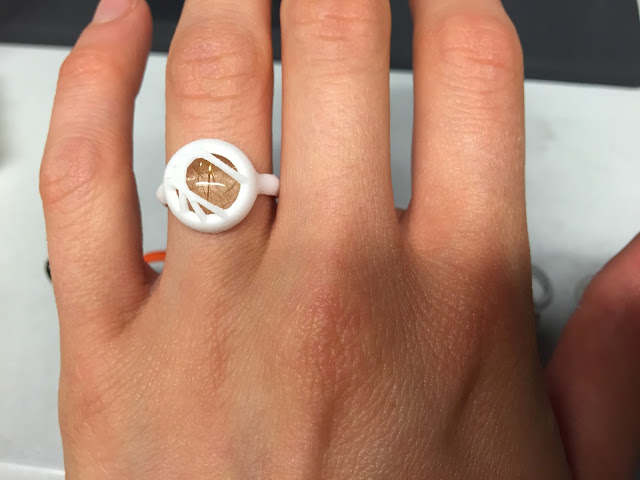
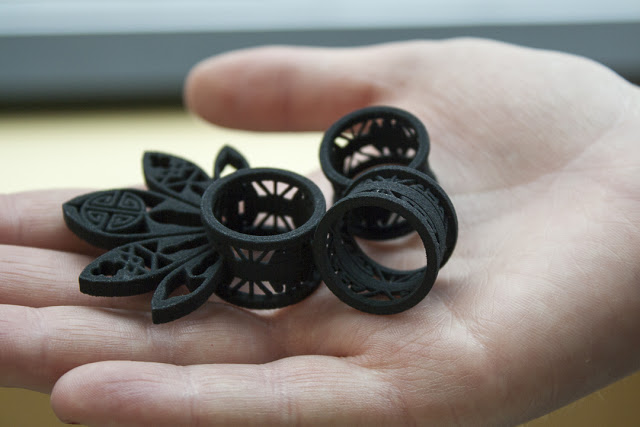
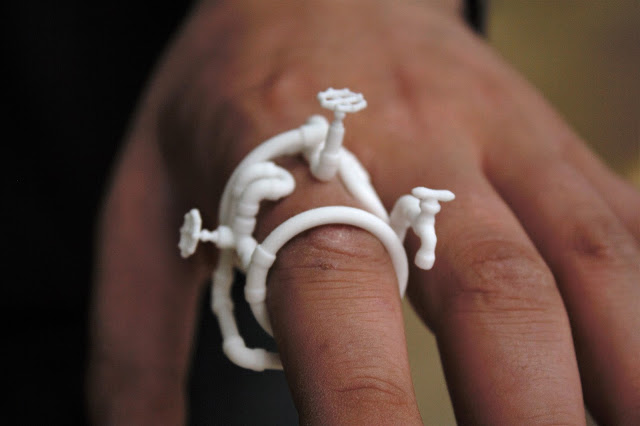
I went into the summer with some Rhino goals in mind, and I've been slowly working through a few of them with a series of ring samples. One of the goals was to increase my "organic" design skills, so I started with exploring curve networks. Coupling these curve networks with some solid primitive forms got me some simple but effective sample ring designs I was able to upload to Shapeways and get printed in a variety of materials. I think these samples will also be helpful to my students in ART277. I got various ring sizes printed to check the tolerances of printing, attempted to incorporate a "tension" held rutilated quartz stone and pushed scale limits. I've gotten about half of the rings from Shapeways, see below. TBC.

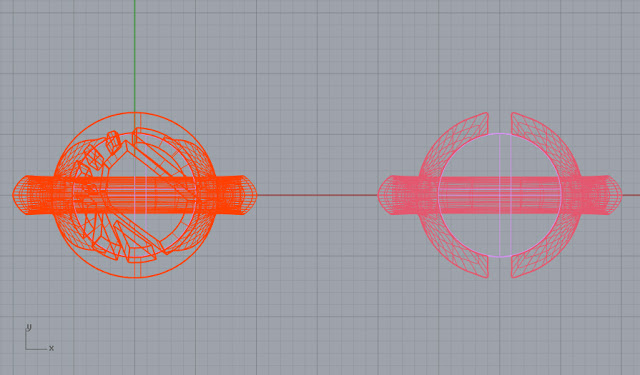
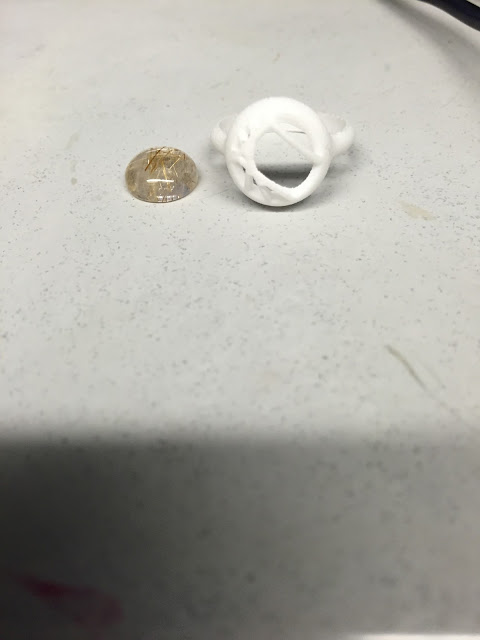
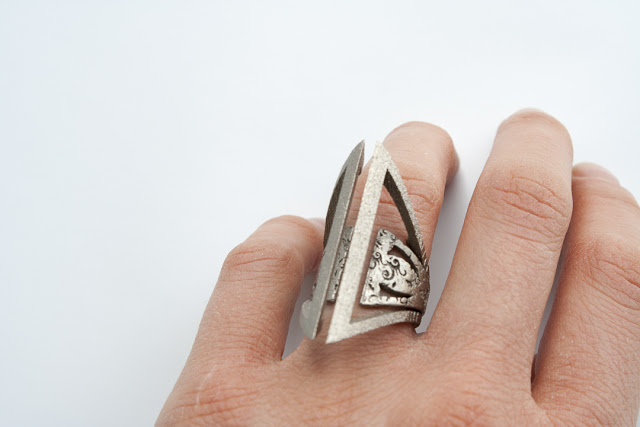
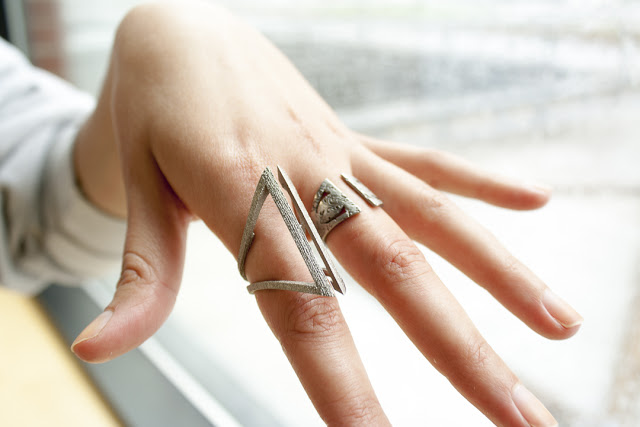
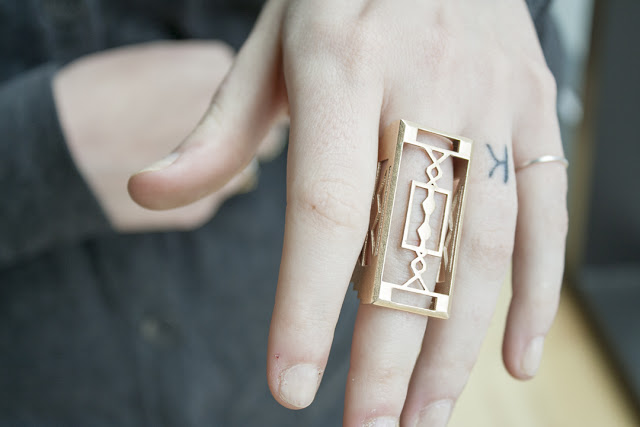
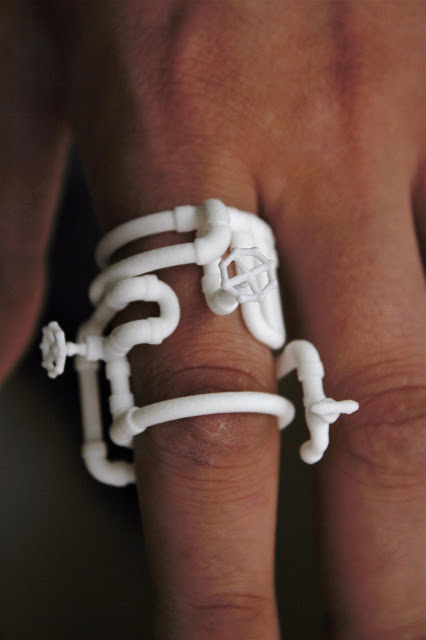
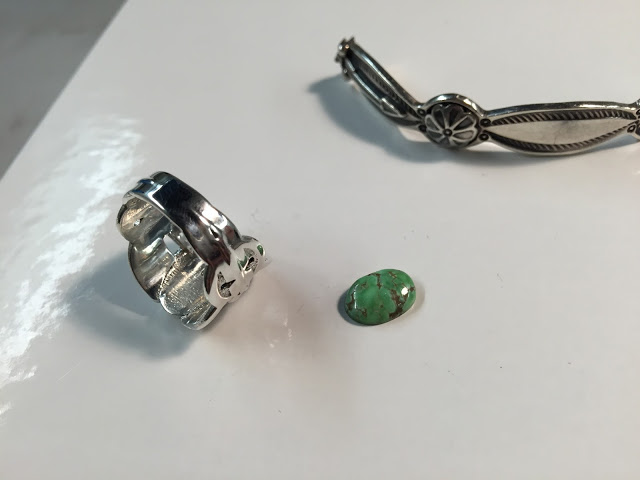
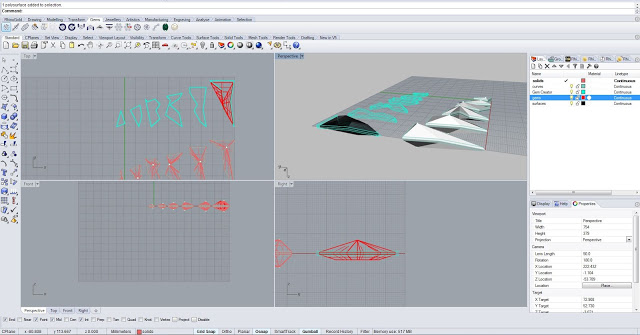
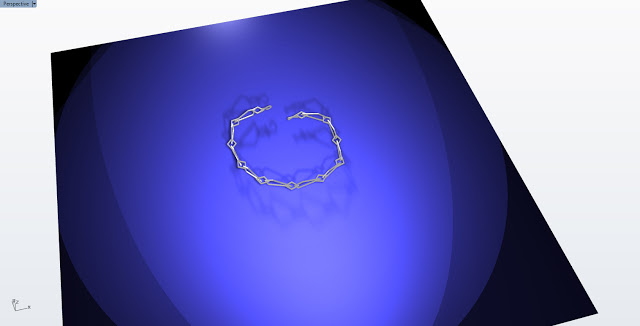
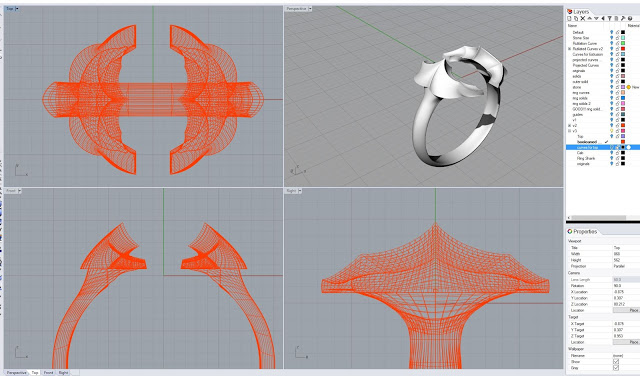
On the right in Pink - a stock band I created with curve network, attached to all ring samples. Left - Rutilated capture ring. 

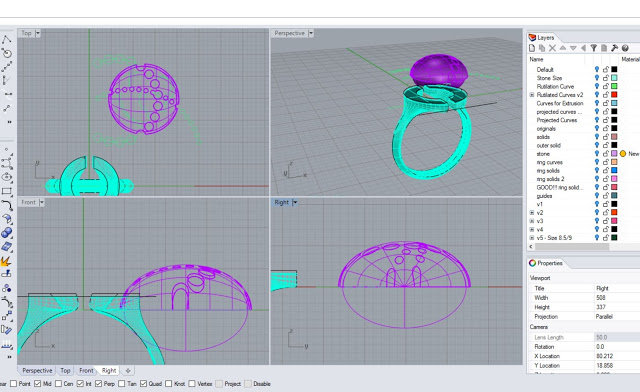
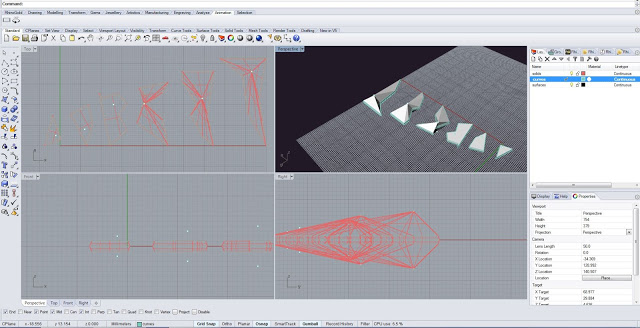
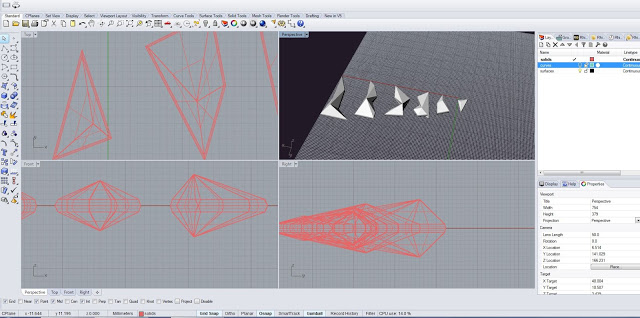
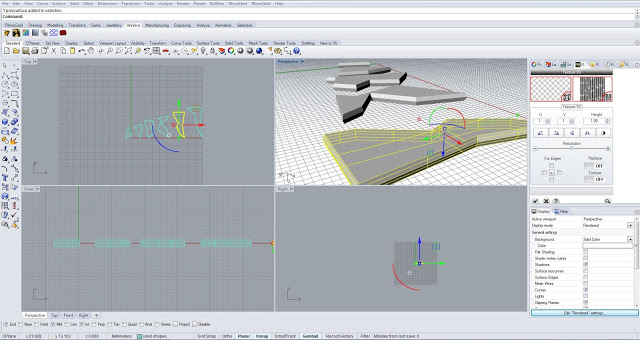
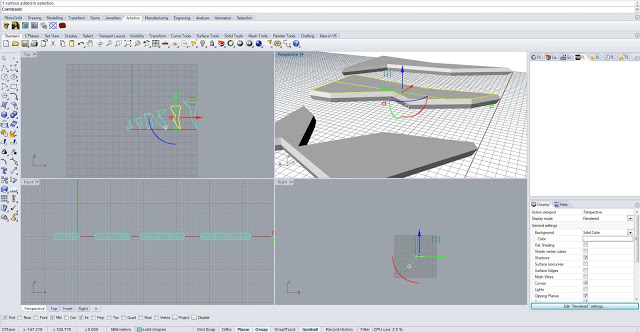
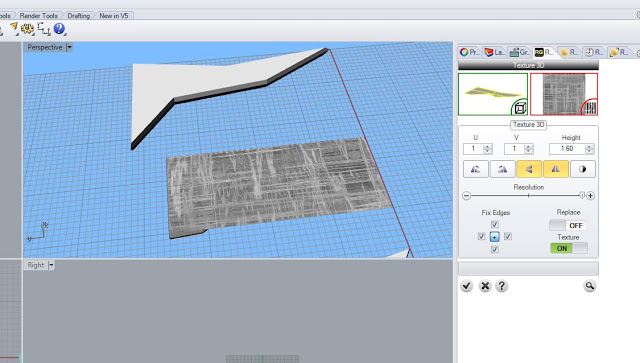
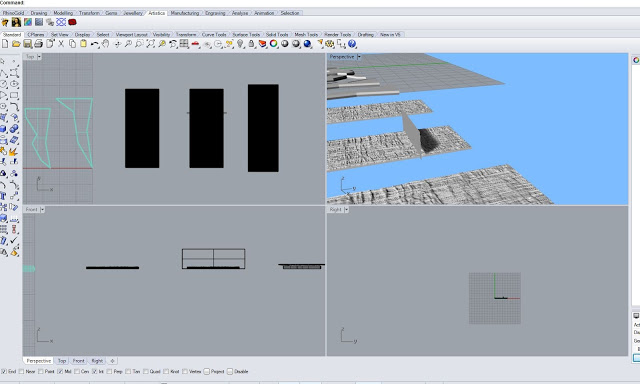
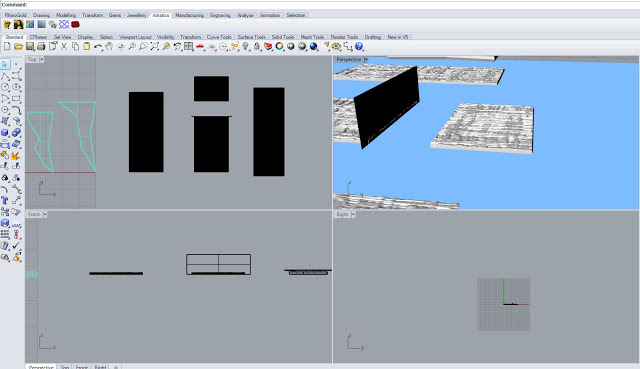
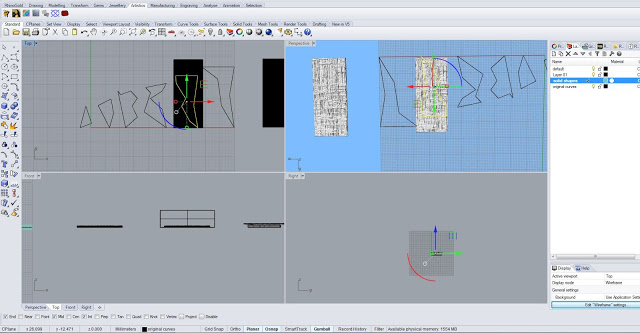
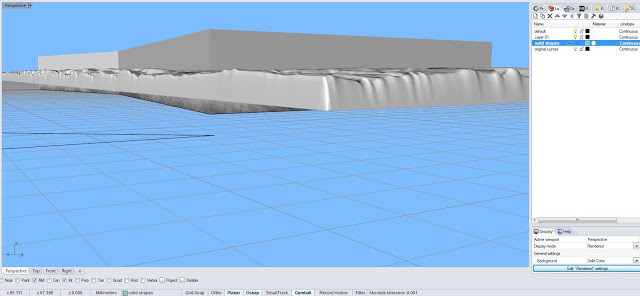
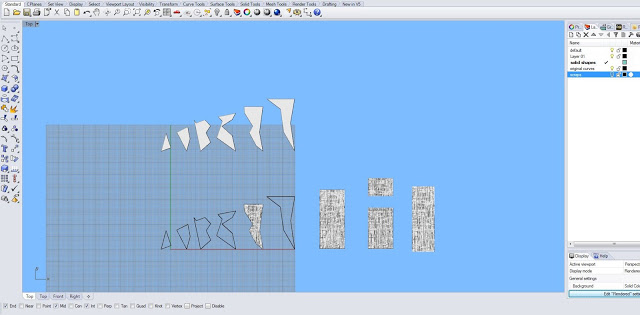
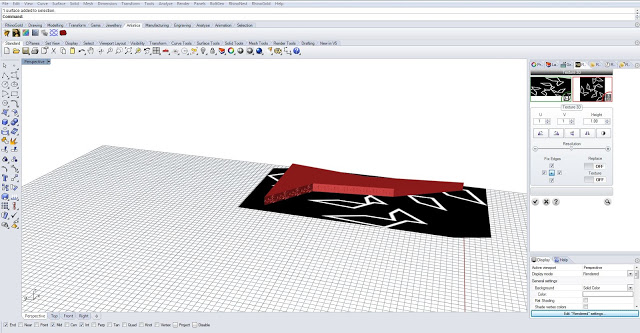
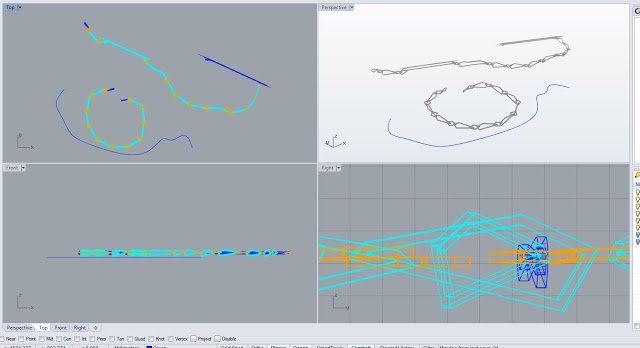
Process capture of creating designs from solids.

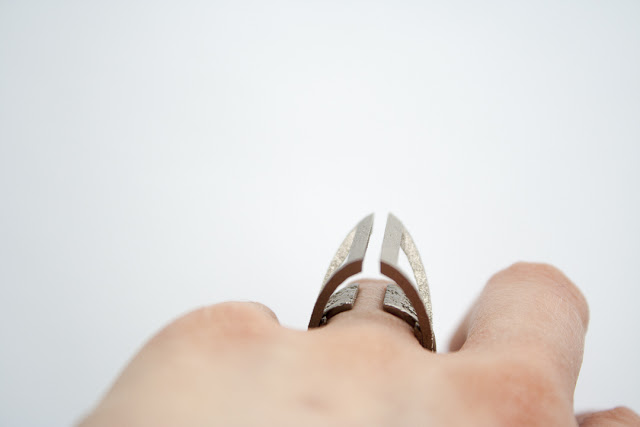
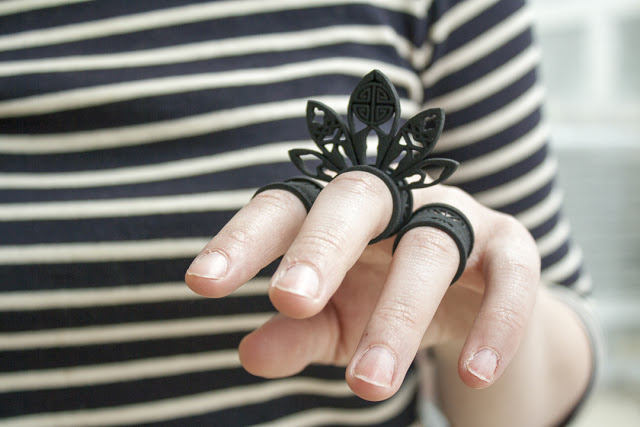
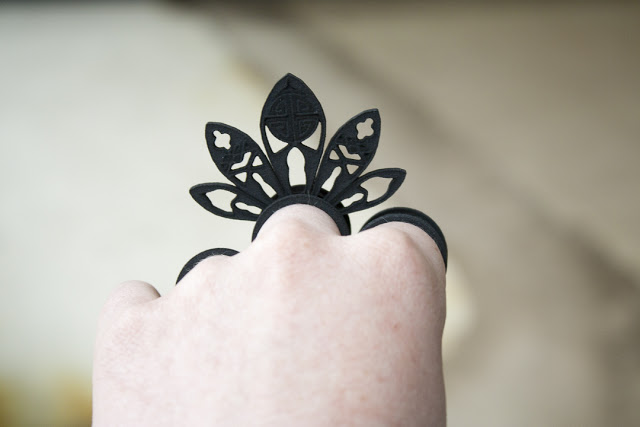
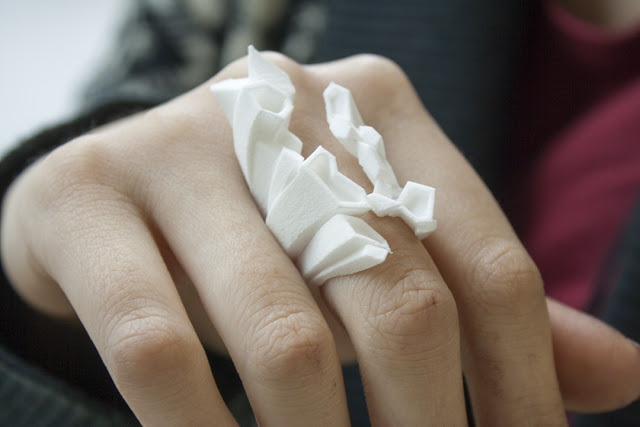
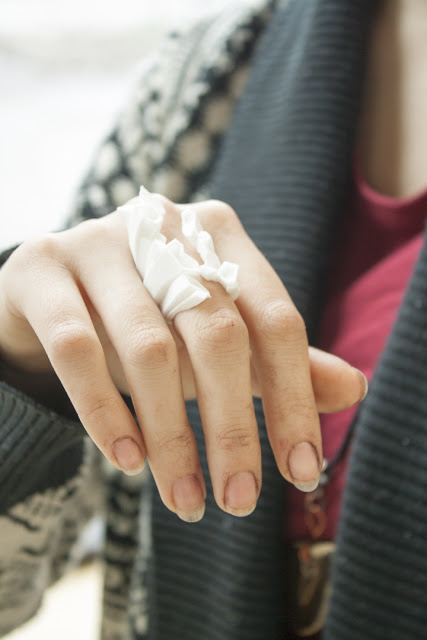
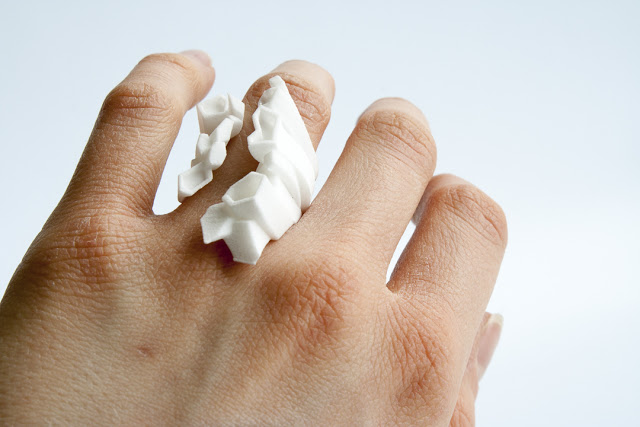
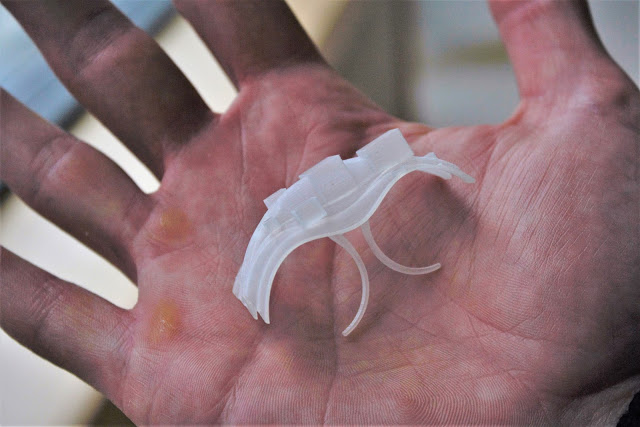
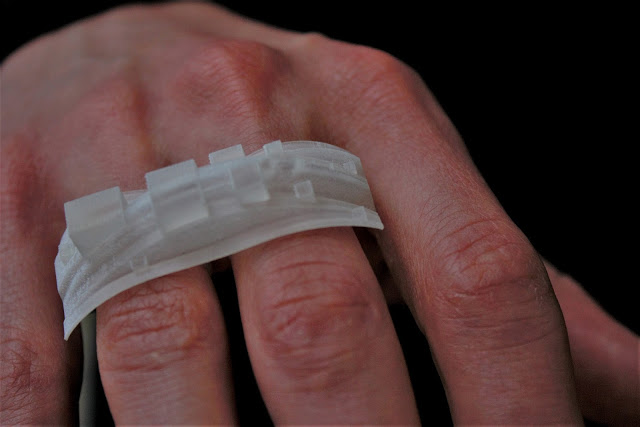
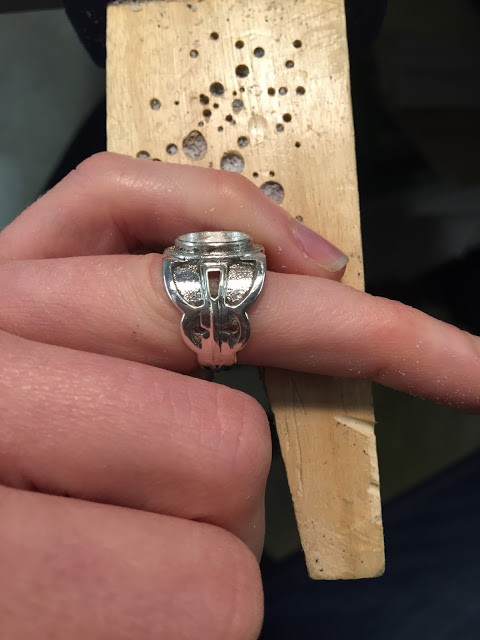
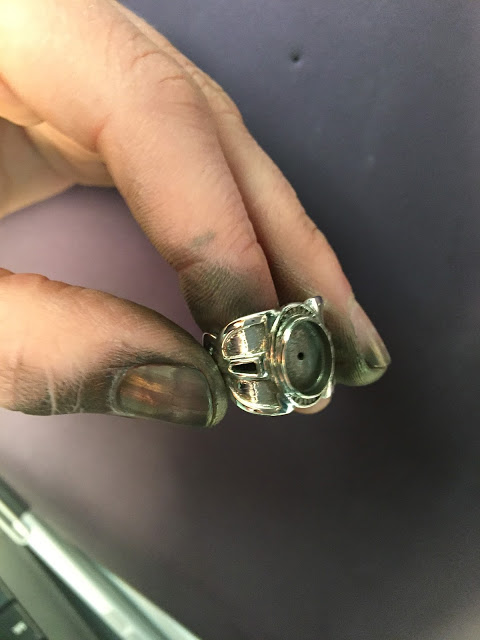
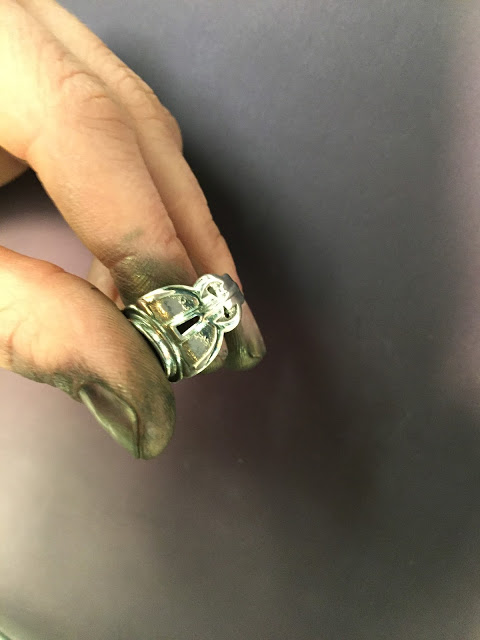
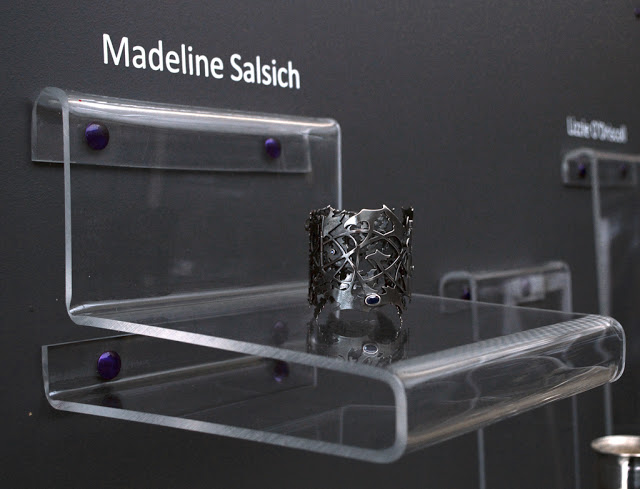
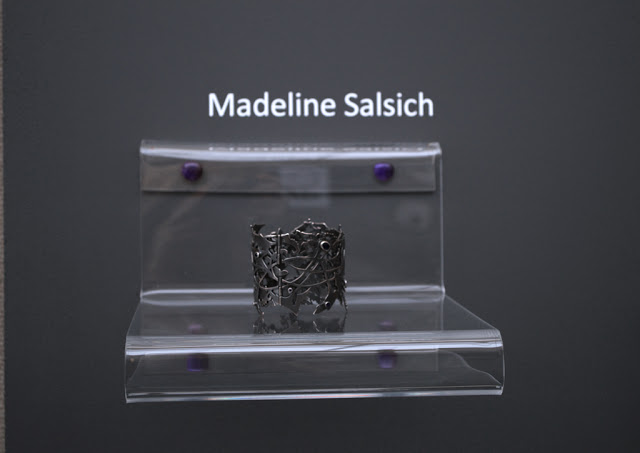
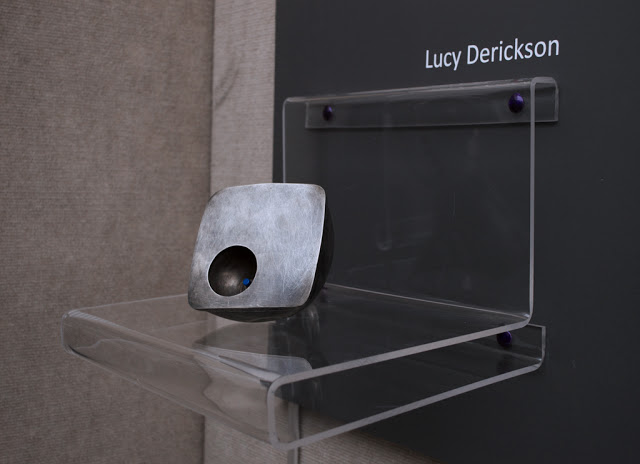
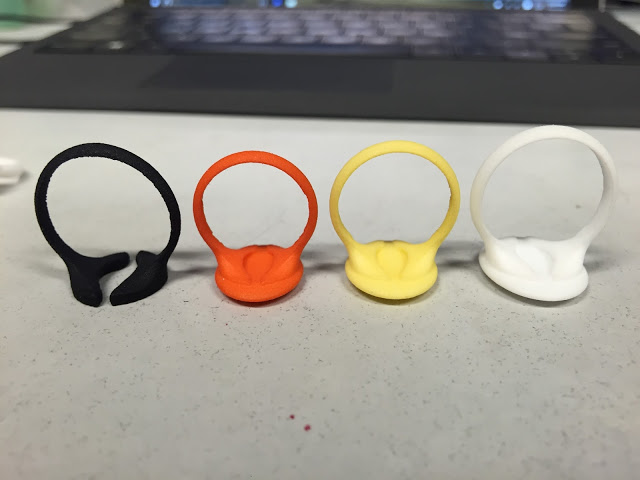
With this ring, I tried to go as tight as possible to the minimum limit of material thickness for the top design. I'm calling it the "bite ring." I learned a lot trying to create the curve network for the top.  

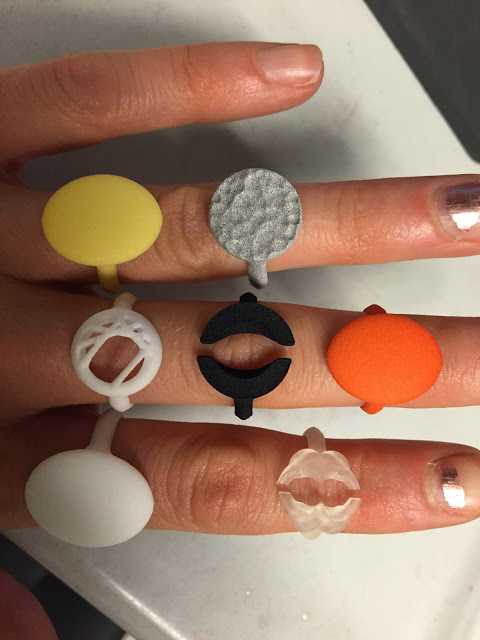
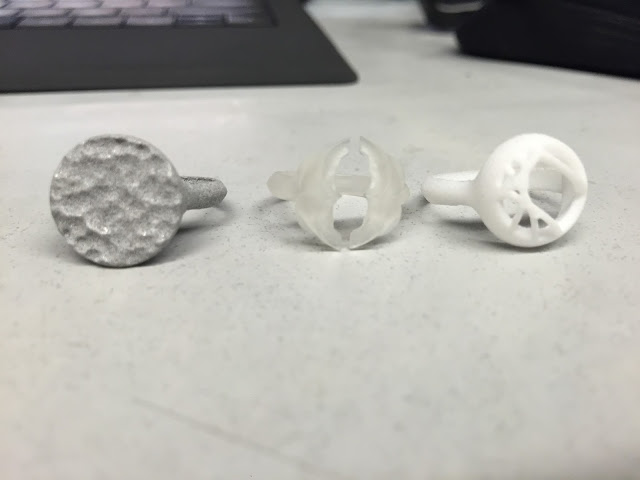
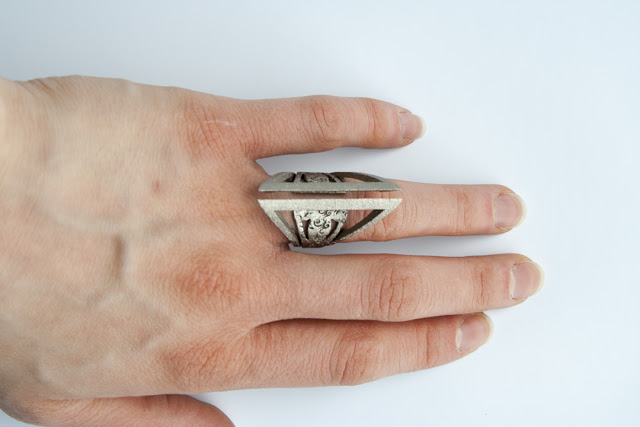
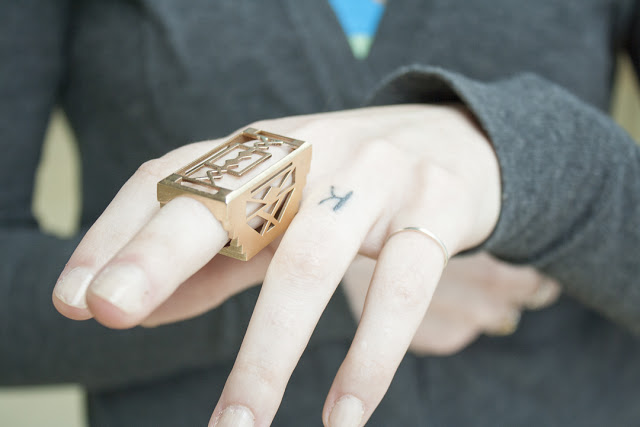
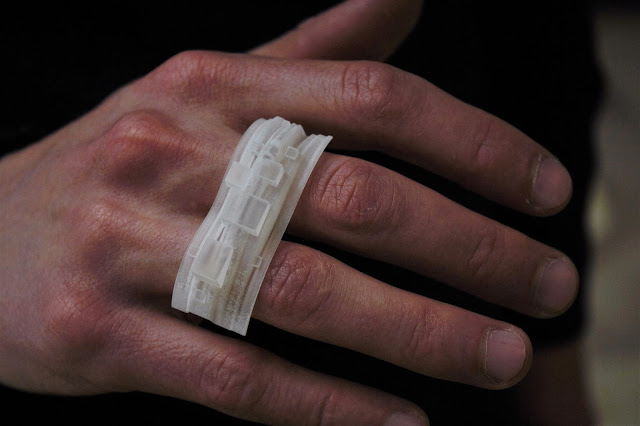
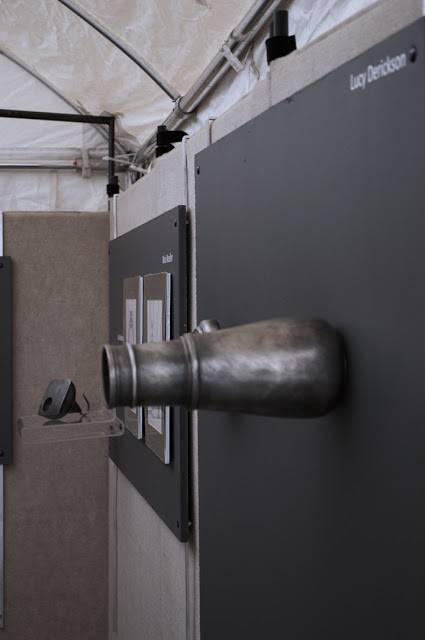
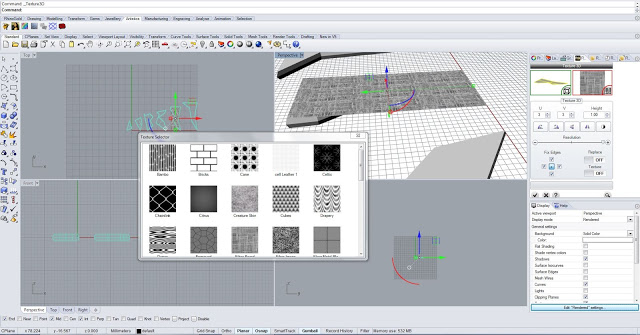
The aluminum plastic on the left is hilarious to me because the design I created is meant to reference hammer texture. Oh, metalsmith humor. 

Design for Digital Fabrication - Student Work - 3D Printed Ring Documentation on the Body

ART277 - Design for Digital Fabrication
3D Printed Architecture Inspired Ring

For this project, students used Rhino to design a ring inspired by architecture. Students printed their own preliminary ring size tests on the Makerbots in the DCRL, and then got the final designs printed through Shapeways. They all fit!


Sheila Ring - Finished - it's about time!

So, I finally finished up the ring to bracelet redesign. I am super happy with how the whole process turned went - from designing my first 3D modeled ring, to using a casting service and then post-processing myself. I definitely would get other objects cast in silver through Shapeways. While the cost was only $50.00 to get the design cast in silver, I did spend a considerable amount of time designing, cleaning up the ring, finishing, and setting the stone... so if I had to price out the piece for production, I would probably need to sell this particular ring design starting at around $175.00 to make a profit.  $50.00 for casting, 3 hours for post-processing labor per ring @ $20.00/hr and packaging, plus %60 mark up for profit, with design hours being paid for after the first 2 sales. Compared to a company like Skydog, price is right on par... And their paying rent in LA, which means their jewelry is a steal - GO SHOP NOW!


S100 - Vacuum Casting with Anna

Anna has been casting a lot this summer and I love casting so I've been her assistant on a couple occasions. In undergrad, I always did centrifugal casting, so watching Anna do the vacuum casting was exciting for many reasons... One is that if I ever decided to do casting after I graduate, I will not need to invest in a centrifuge and a vacuum table, potentially. Two is that this seemed more do-able on my own. 

S100 - Rhino Gold - Bracelet to Ring

A friend of mine asked me to do something with this a long time ago - and I think I'm finally going to put in some work on it. Her mom had gotten her this bracelet when she was little and it unfortunately broke. I did a 3D scan of the object the other day and took some preliminary pictures of the ring... My plan is to design a ring using Rhino Gold, get it printed through Shapeways in wax, cast, and set the stone after. I've never done a ring design in Rhino Gold - or printed from Shapeways before - so this will be a nice low risk experiment.


S100 - UWM @ Morning Glory - FORM event photographs

Here are some images I took of the show this past weekend at Morning Glory. FORM was intended to showcase a cross-section of work from recent UWM alumni. Each object represents an aspect of their individual creative practice that was formed in the Jewelry and Metalsmithing program at UWM. Find more information at the exhibition website > here

We made all the displays custom for this show... which was a lot of work, but it surely paid off... I think we had one of the best looking booths at the event. There is still definitely room for improvement, but overall I'm impressed we were able to pull it off in essentially a week. 


S100 - RhinoGold - Gem Creator

I have been creating these gem forms in Rhino for a couple days now by hand... Starting with a profile curve, extruding a small girdle, creating a duplicate edge of the girdle and then extruding that curve to a point...
The forms are turning out relatively nice - I'm getting interesting facets but they aren't true gem forms as both sides are the same. 
I was browsing through the RhinoGold tool panel and noticed the Gem Creator tool and decided to give it a try. All this tool requires is the outline curve to create the gem shape and from there you are just selecting options on a tool panel. It significantly reduces the time spent modeling. This tool is a definite win. 
Below you can see the gray gems are the ones I've created by hand, and the black were created by the Gem Creator tool. 

I appreciate the ability to easily achieve consistency in the Gem Creator - You can also save your gems to a library to use them with other functions like the array and channel commands. I can definitely envision myself using this tool a lot in the future in jewelry to create and utilize custom stones/forms. 

S100 - RhinoGold - 3D Texture

I've figured out a few things about RhinoGold's 3D Texture tool....
You cannot apply 3D texture to multiple surfaces at once... 

You can create your own surface textures! 
You cannot apply surface textures to irregular shapes... only rectangles. 
You can cut rectangular surfaces into irregular shapes! 

with cutting planes, using a boolean split operation.


Hooray!
But this makes for very large file sizes. 

Above: Custom surface texture from two dimensional pattern. 
You can add multiple 3D textures to one object!

S100 - Rhino Gold - Illustrating Movement with Bend & Dynamic Array

I am looking at different ways to illustrate movement of the chain I drew in Rhino - The above is achieved through the bend command. It distorts shapes a lot, which is not helpful - but again, I think this could function nicely as a quick sketch to demonstrate the design and it's potential movement.
Above I've used the dynamic array command in Rhino Gold... This time instead of doing one object, I've selected the whole grouping of elements that form the chain and arrayed them along another curve, in an attempt to open up the chain. You can see the results are again distorted - but this time the distortion has become actually kind of interesting... I'm having a lot of fun experimenting with the different "glitches" I can produce. I could see these leading to new design ideas. Happy accidents!