Compact Progress - Cradle Hinge is on but....

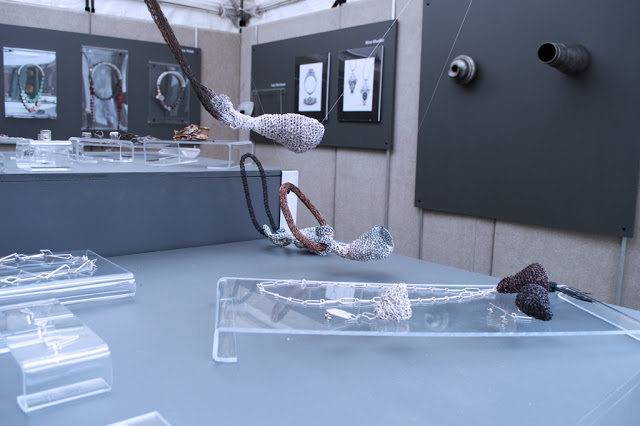
WOW. I got a lot accomplished on this thing last week and never posted about it... But that could also be because this is one of those moments where you make something and it's just how you want it, and you're super happy - but then you realize you lost sight of your intentions... WHOOPS! I forgot the holes for the cord :(. I might be able to improvise something though...  Still thinking on how I will solve this problem without ruining my aesthetic.... TBC!

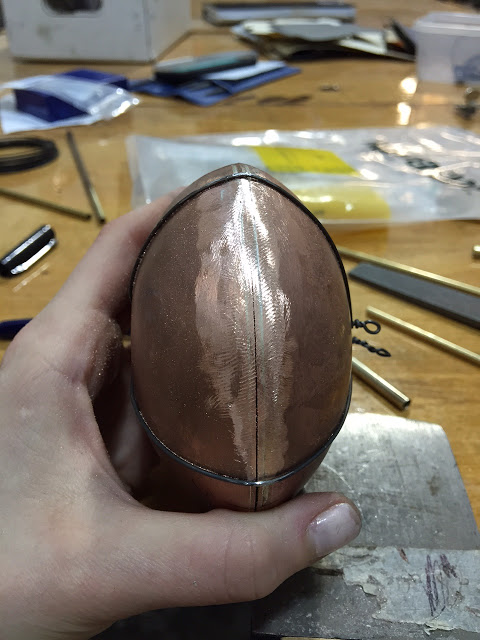
Before the hinge....


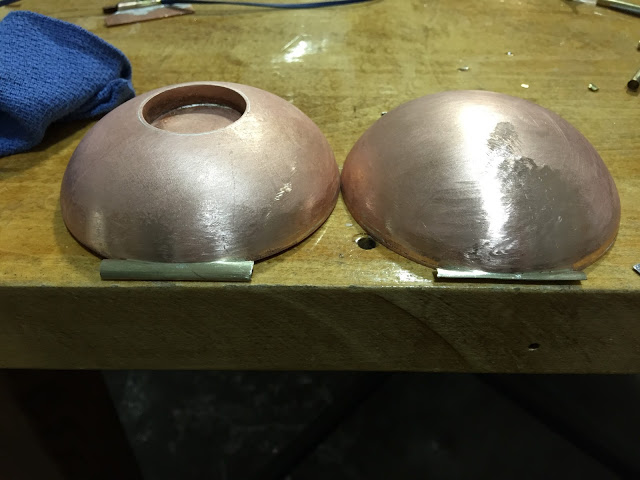
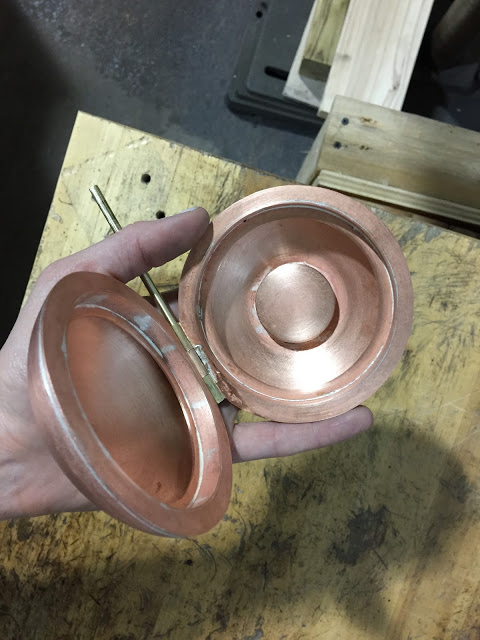
Yes, I did file out the entire hole for the cradle.... I am that insane.


A little book help never hurt.


I am using a couple magnets for the closing/clasping mechanism.

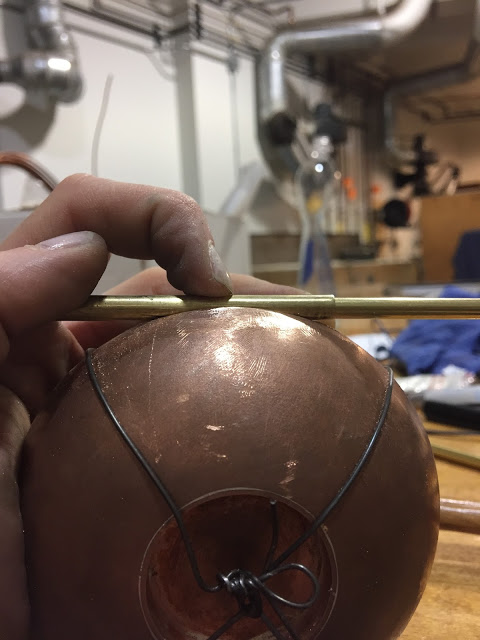
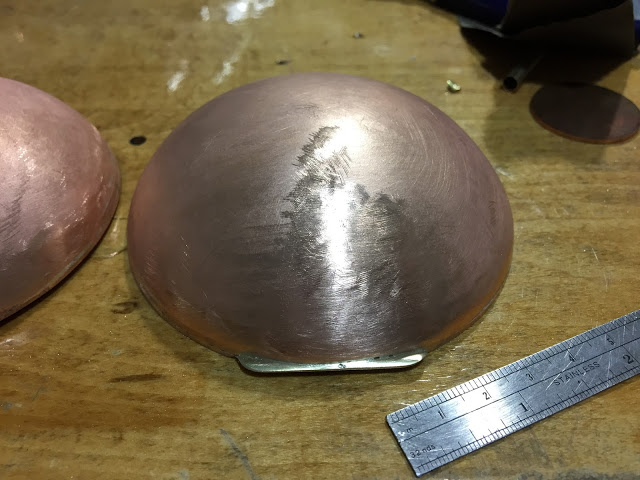
Seams got a little messy, but I got it in one shot!


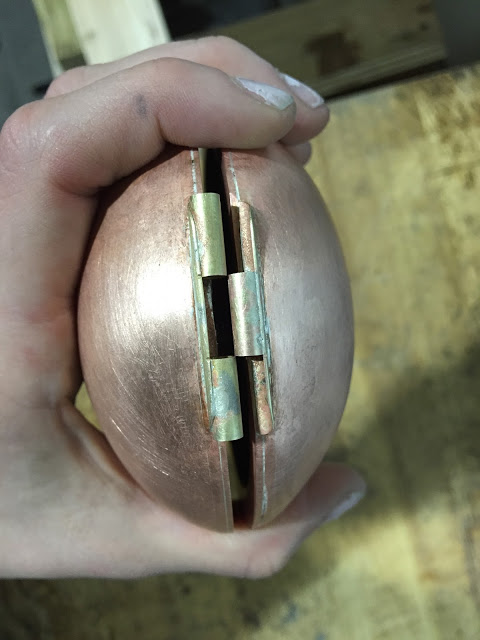
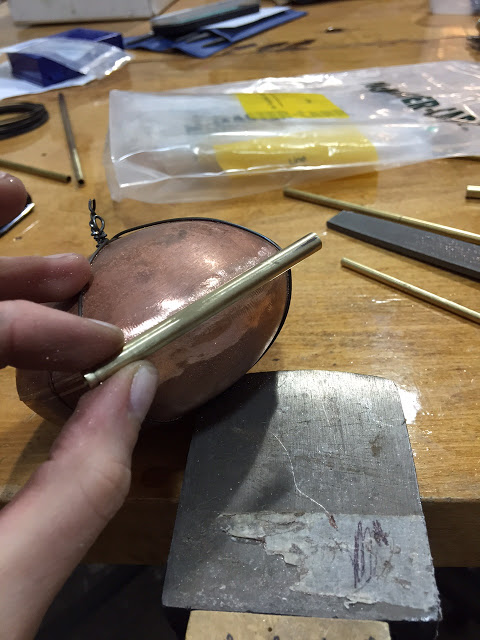
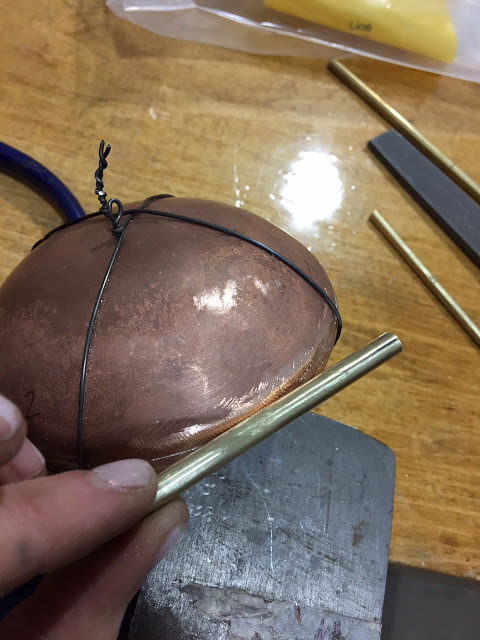
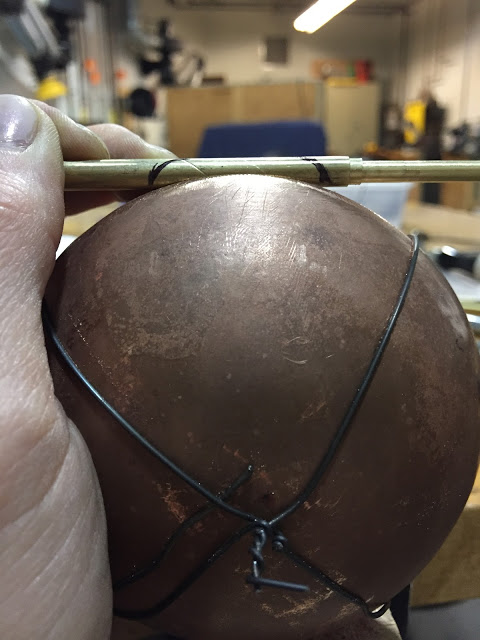
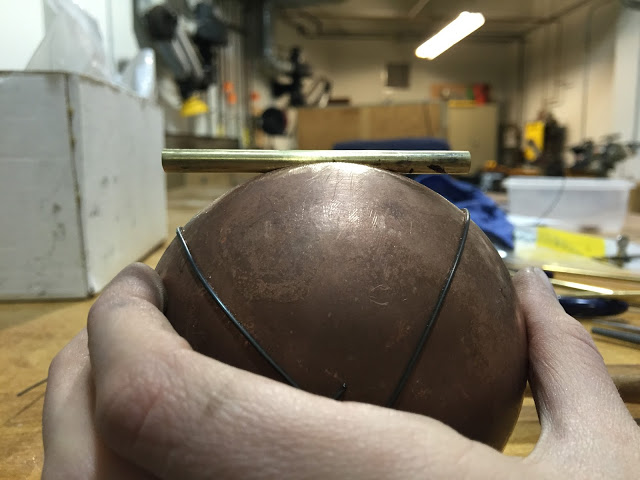
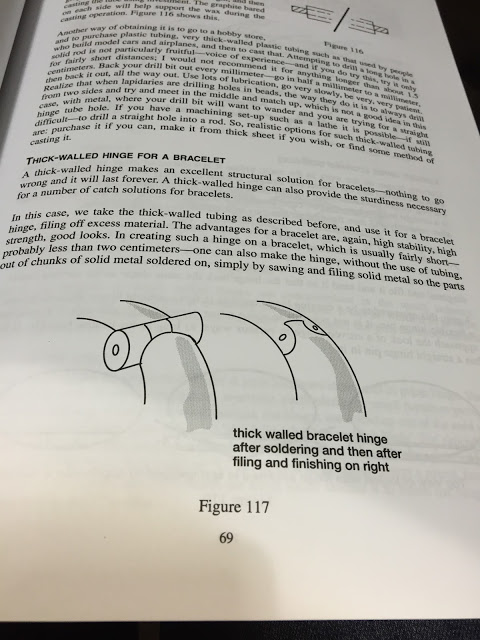
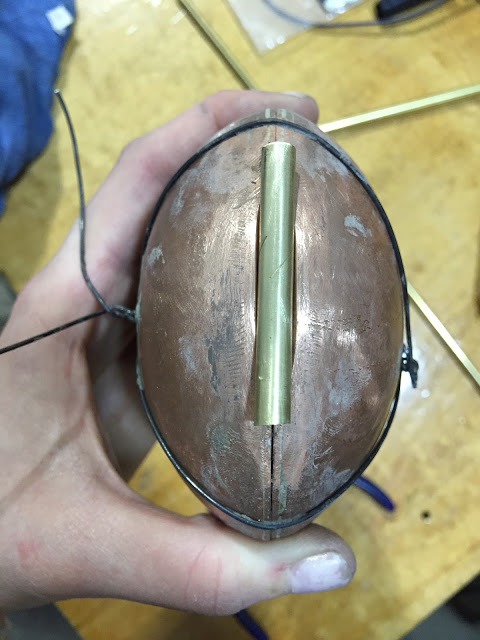
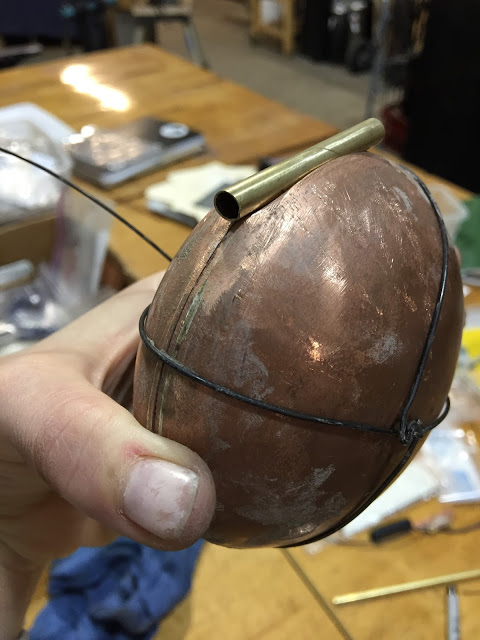
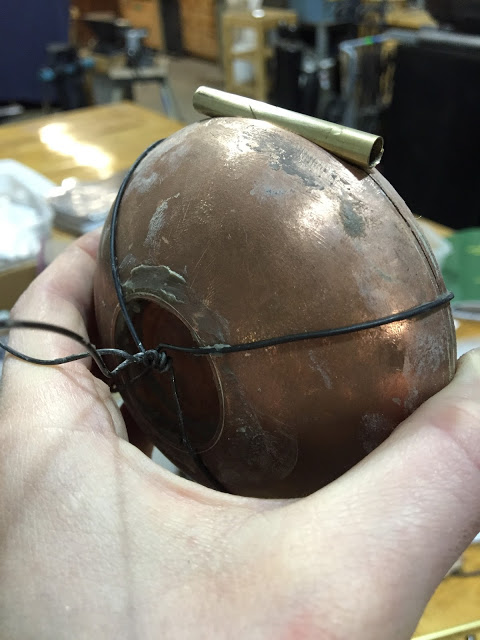
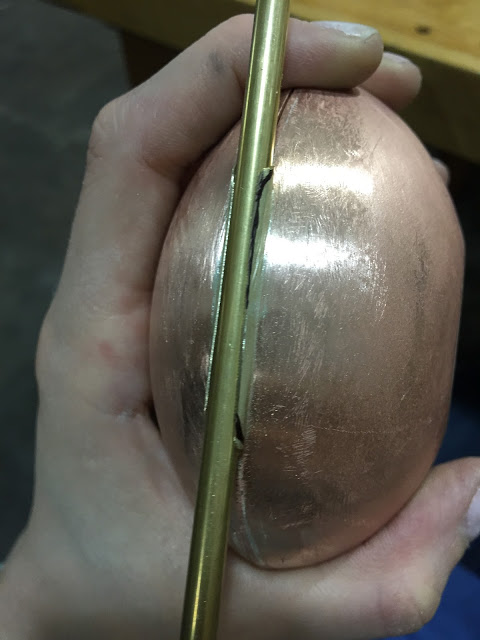
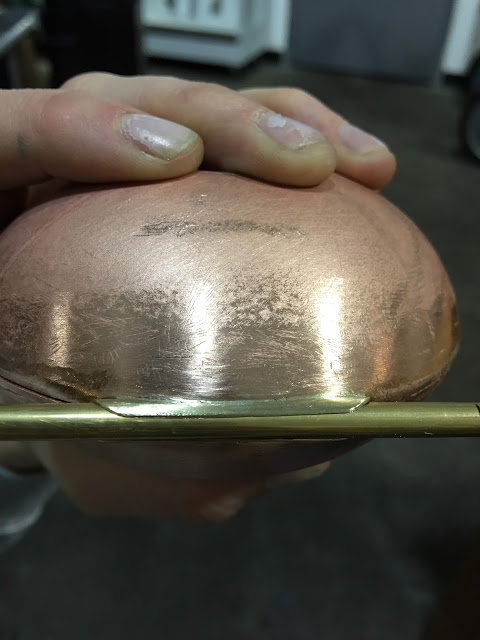
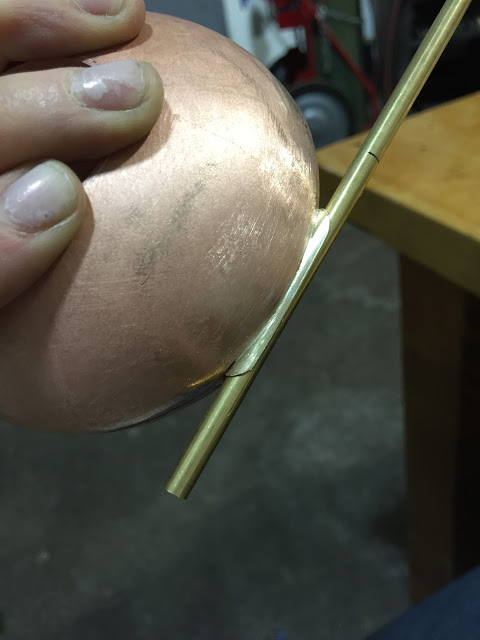
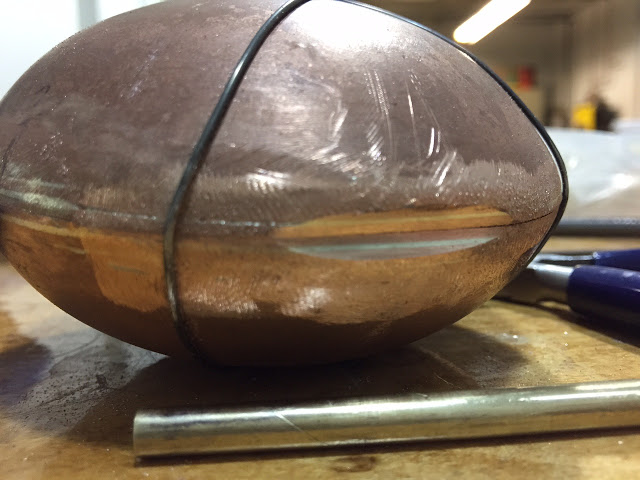
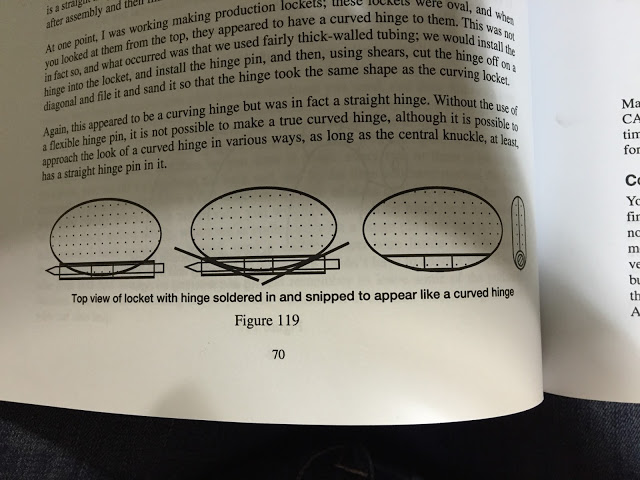
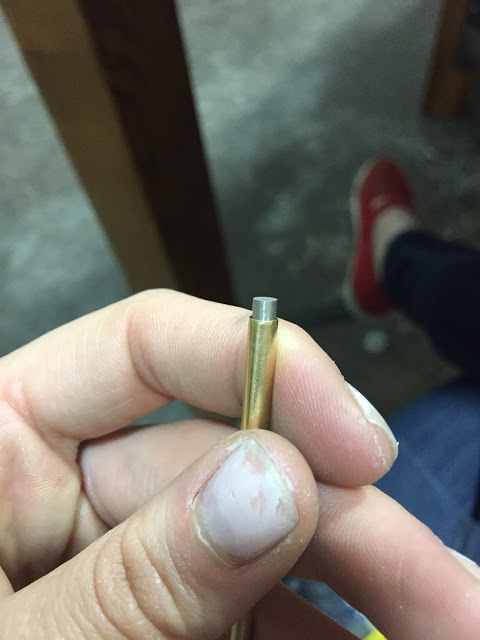
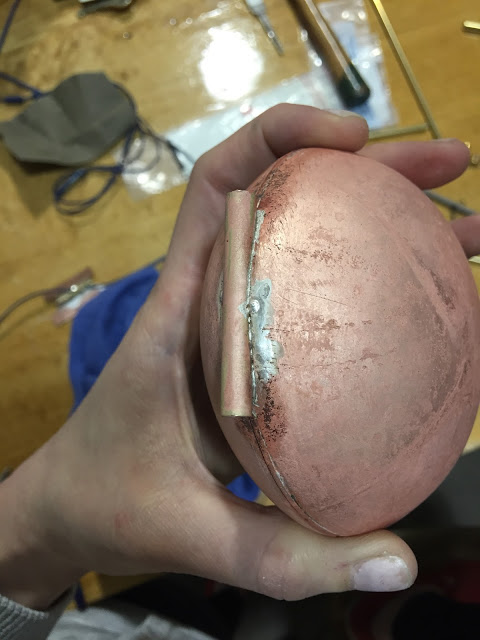
I soldered the hinge tubes on almost perfectly, with what I'm calling the "Tim Method" - marking position with a file, rather than soldering with the tubes and no-flo. 


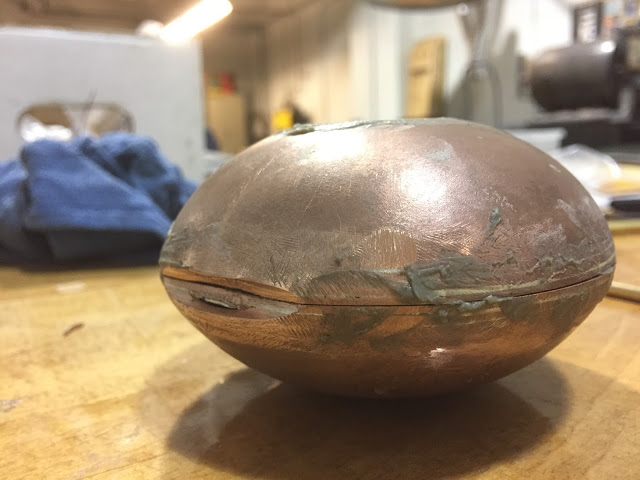
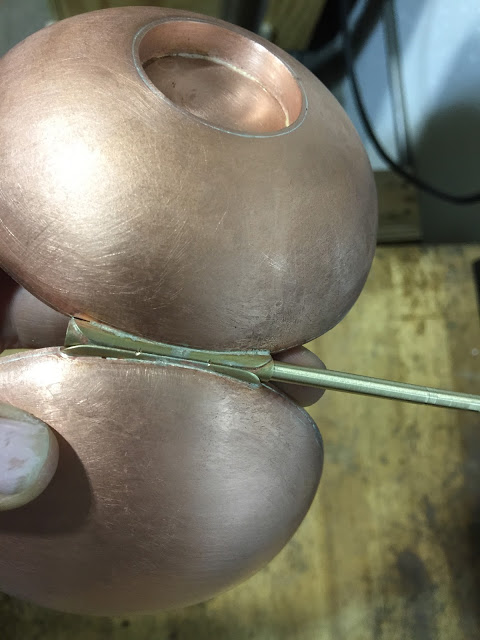
Stops pretty nicely... I will eventually cut down the tubes so that they flow more with the contour of the compact... and also figure out what to do with those wires... HA! Like I always say (?) /// (In making, well everything you do for that matter) There's never too many problems - you should always make some more for yourself... I guess I say that now ;)

S100 - UWM @ Morning Glory - FORM event photographs

Here are some images I took of the show this past weekend at Morning Glory. FORM was intended to showcase a cross-section of work from recent UWM alumni. Each object represents an aspect of their individual creative practice that was formed in the Jewelry and Metalsmithing program at UWM. Find more information at the exhibition website > here

We made all the displays custom for this show... which was a lot of work, but it surely paid off... I think we had one of the best looking booths at the event. There is still definitely room for improvement, but overall I'm impressed we were able to pull it off in essentially a week. 


Machines that Make - Carriage

Today, I wired up the LED Matrix for the short axis carriage and designed the mount. The mount is made out of 1/8" acrylic that I laser cut to size. I tapped screw holes for the 2mm screws that came with the LED Matrix for constructing. I welded all of the acrylic parts together with Weld On. I then designed a space for the light to sit further elevated off of the carriage - so that I get the maximum travel distance out of the short axis. The new modified mount works well with the endstop. I've also uploaded a couple videos of the machine in action from when I was testing out code for the movement and the light pattern. I'm pretty happy with the progress... Even though it is doing something completely different than what I envisioned it would do. 


Machines that Make - Endstops

Today, I added end-stops and finished all the ends of my wire with sockets. 
The end-stop design came from thingiverse, but I drew a new version to hold a 10mm rod (below). Also, preparing wires to go into sockets is hard. If I were to do this again.... I think I would make a machine that doesn't require any wiring... AH HA just kidding, I am getting better at it slowly.   


Machines that Make - Making Parts - Part 2


Mocked up X Idler
Mocked up X Idler

In addition to the corners, I also designed new X axis parts this week. Taking cues for the Prusia i3 parts I had already printed, I made a few modifications to allow for 8mm and 10mm steel rod. I started by printing a few test pieces at 2% infill and 2 shells, on Fast.
  
New Part designs - with modifications after test prints:
 The take a LONG time to print at 45% infill and 3 shells! 


Assembly and testing with the motors: 


 There is a bit of sag in the rod - so hopefully I will be using the smaller, 34mm Nema 17's, instead of the higher torque...


Machines that Make - Corners v2

I designed and printed new corners for my machine this week. They will hold the ends of the rod for the y axis. The strength of this design is far superior to the original round version.  You may ask, "Well, why didn't you just cut a piece of wood and drill a hole in it?" My answer - because it would have been much harder to counter-sink a bolt in the bottom. Is the counter-sunk bolt necessary? No, but it will make it much easier to align and tighten the corners to the mounting material. 


Machines that Make - Construction Plans

Ever since I heard a story on NPR about Thad Starner,
Thad
I haven't been able to get the idea of social cognition and collective intelligence out of my head. My obsession has been inspiring me to talk more about my work with whoever will listen, in hopes of feedback or ideas.  Lately, my inquisitiveness has lead to many talks about the construction plans for the false wall that will house the mechanism for my machine...

A grad colleague that worked in construction for a while, gave me some good insight on how to construct and deconstruct a possible 3 sided room for the installation... and introduced me to gator board, among other things... Here are some drawings from that chat:

Last weekend when I visited my family for Easter, I also chatted with my Dad about my machine and he gave me some helpful suggestions and drew me a sketch of what he recommends I construct out of metal studs and plywood... 

 While I know I'm probably a little too old to get help from my Dad on my school projects, it sure is fun to collaborate with him, especially since we hardly get to see each other.  We have planned to team up next weekend for the construction...  to be continued!

Machines that Make - Making Parts

Over the past couple of weeks I've been working on sourcing all of my parts for the Machine that Makes project. In addition to the metal, wood and plastic that makes up the facade, I've been 3D printing a few components that will aid in assembly. I have borrowed some of the open-source parts available for the Prusia i3, and am designing a couple of new ones.

Frankie helped me design a part to hold the ends of my rod, which I have pictured below. The MakerBot only successfully printed 92% of the design, so I decided to try and make it work... Long story short - my attempt failed, so I will be printing new parts as soon as possible.


Machines that Make - Ideas & Inspirtation

Over the past few months, I've been working on a series of pieces that are broadly inspired by my interest in the human body, existance and our understanding of being alive.  I've finished one of the pieces in the series, find more about that piece here. Below are some of my sketches for potential machines that will follow in these concepts... the sketch on the left is the one I am going to go with for the "Machines that Make" project. It will fit nicely into my current body of work. Next week I will be posting some images of the models and test pieces...

  
AND some books that I've been inspired by the last few months... Check them out!


Machines that Make - Visual Research

This semester my studies have landed me in a course called "Machines that Make," an introduction to  the rapid-prototyping of rapid-prototyping machines; history, theory and practice of digital fabrication and design. Our main project in this course is to design and create a novel machine that makes. Using our previous understanding of process and newly acquired knowledge of the machines from the class - research, design, fabricate and produce a machine that makes... 

As an artist, with a background in jewelry and metalsmithing - I've always had an interest in objects that either adorn the body, or require the body to be activated, and machines are no exception. So, I begin my research... Follow my progress here.