Connect

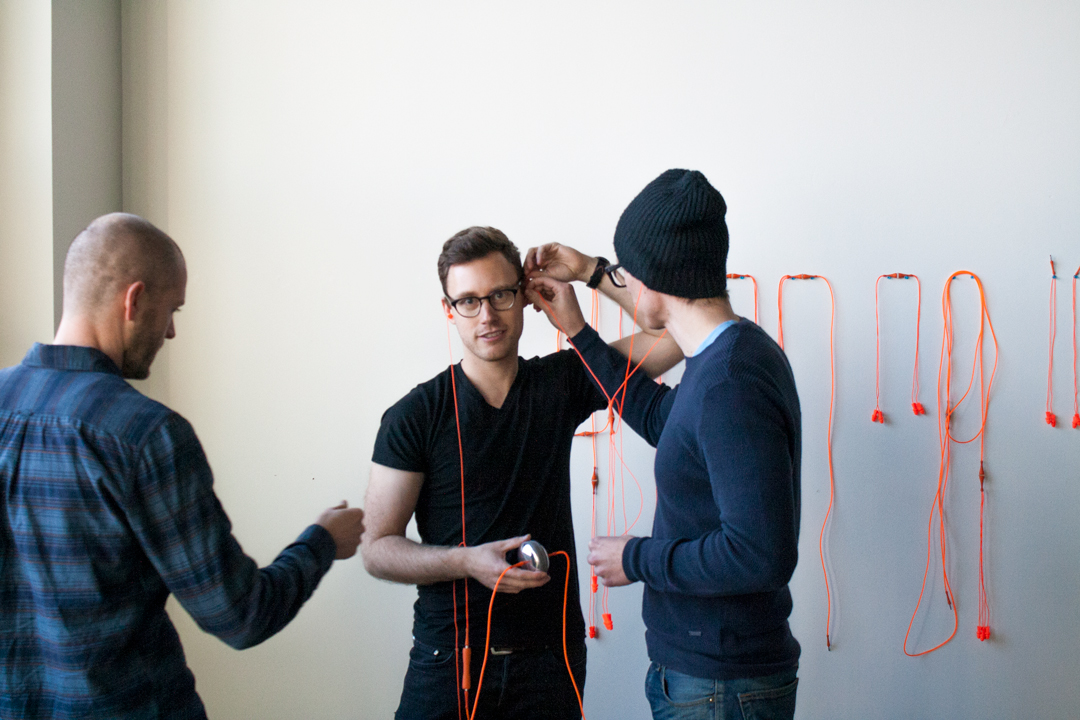
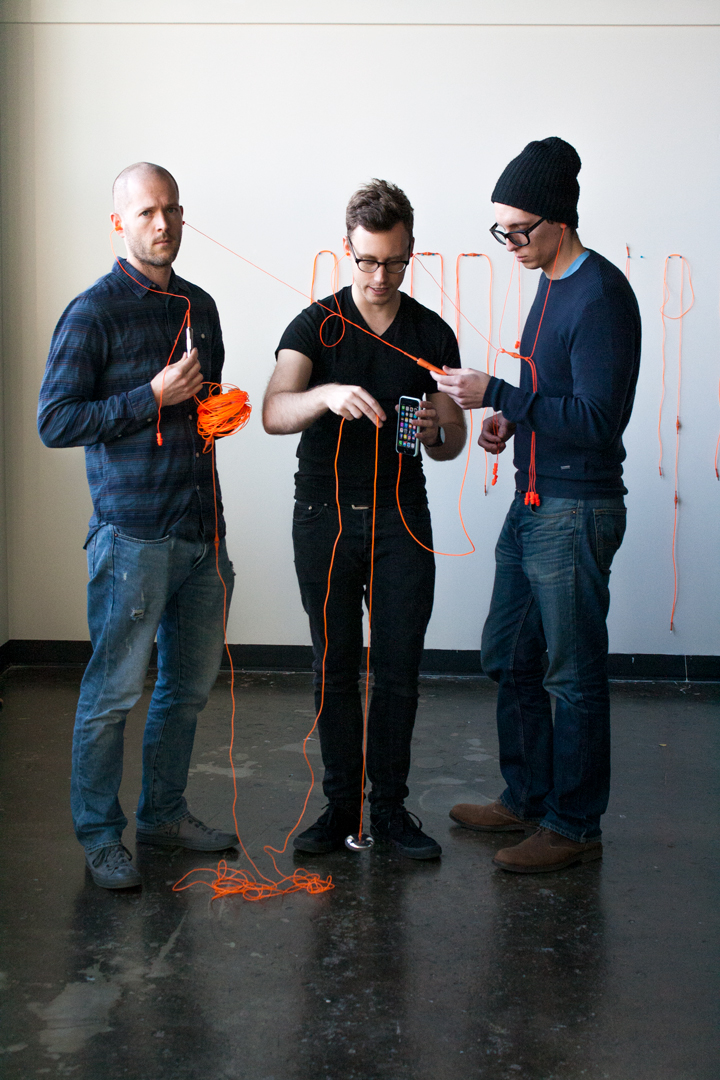
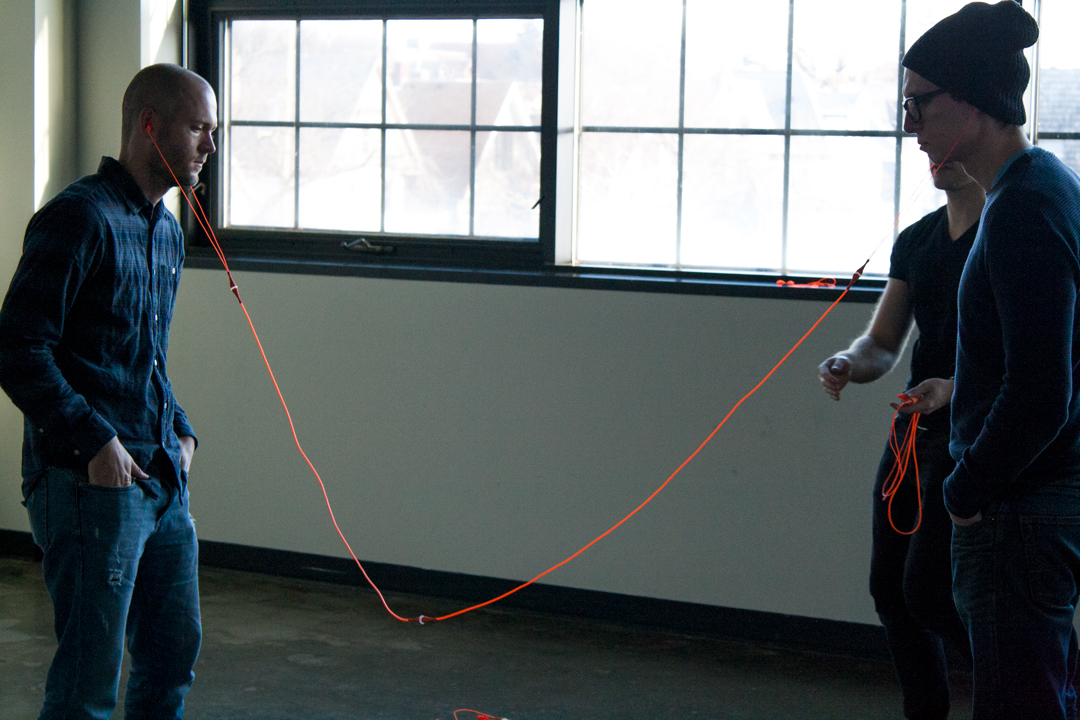
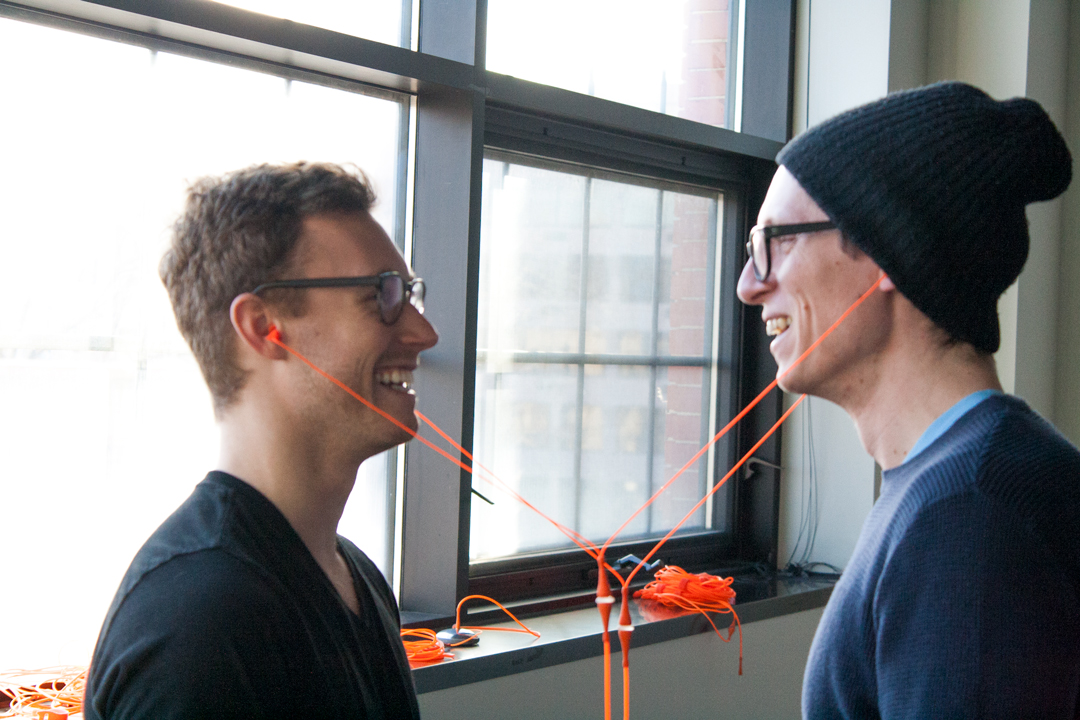
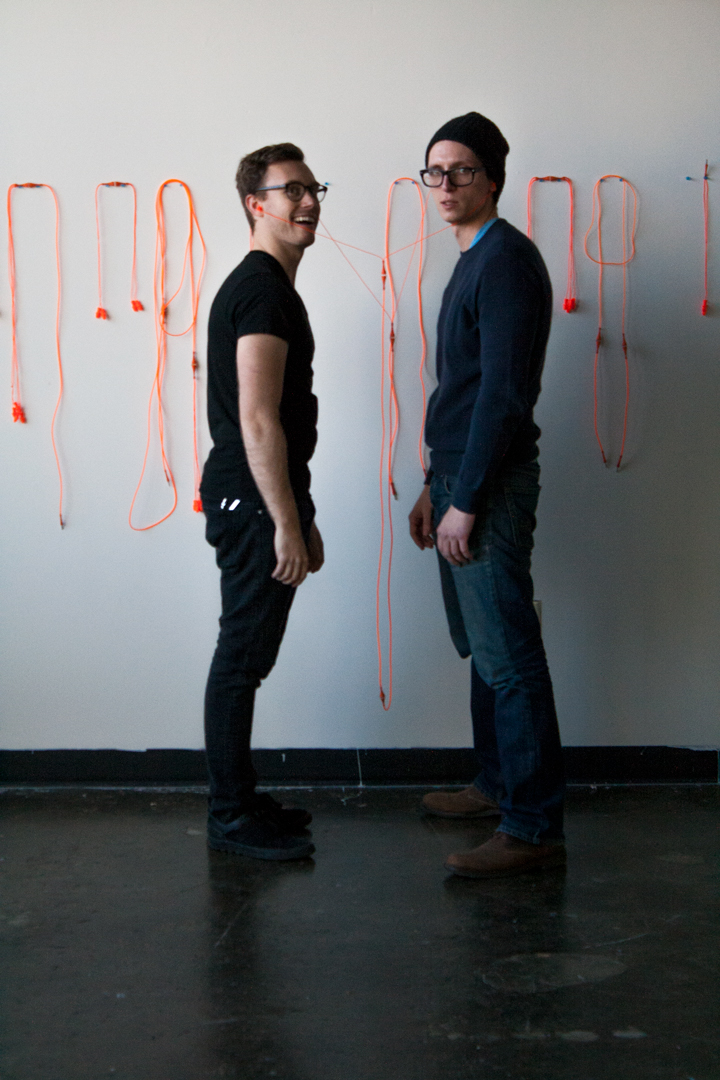
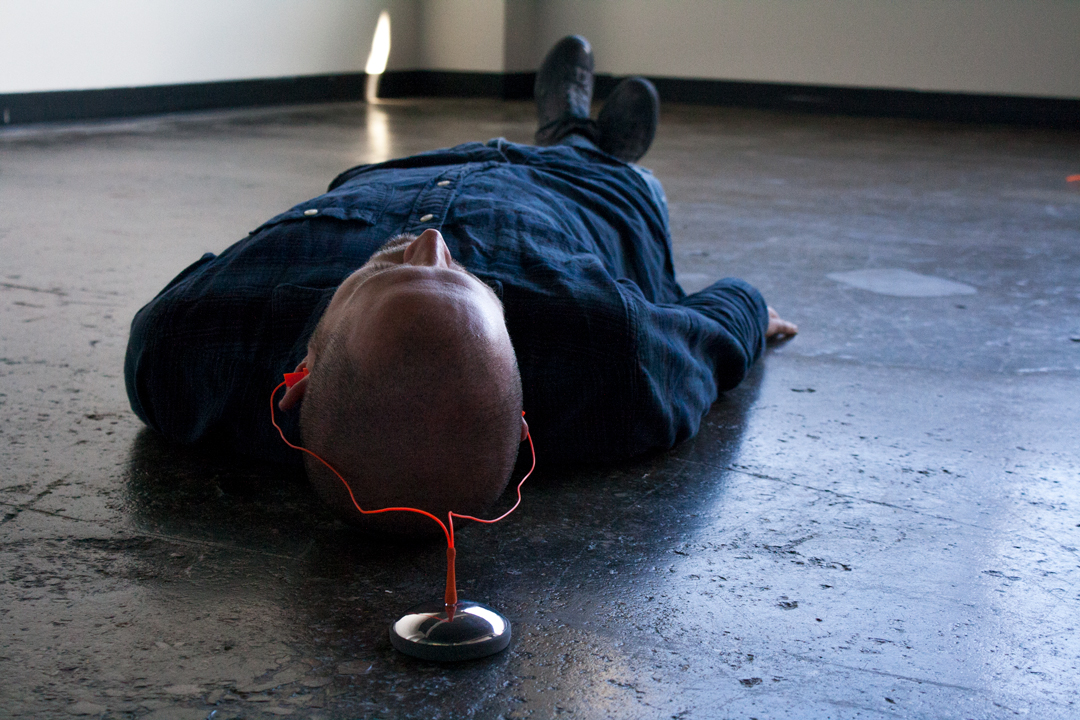
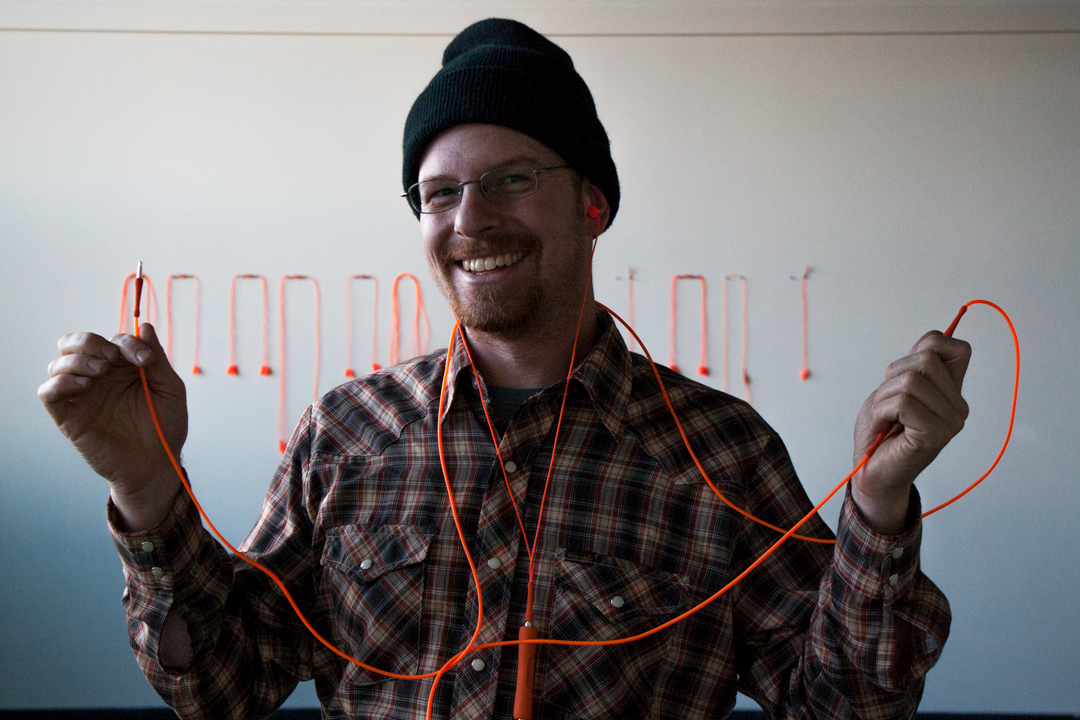
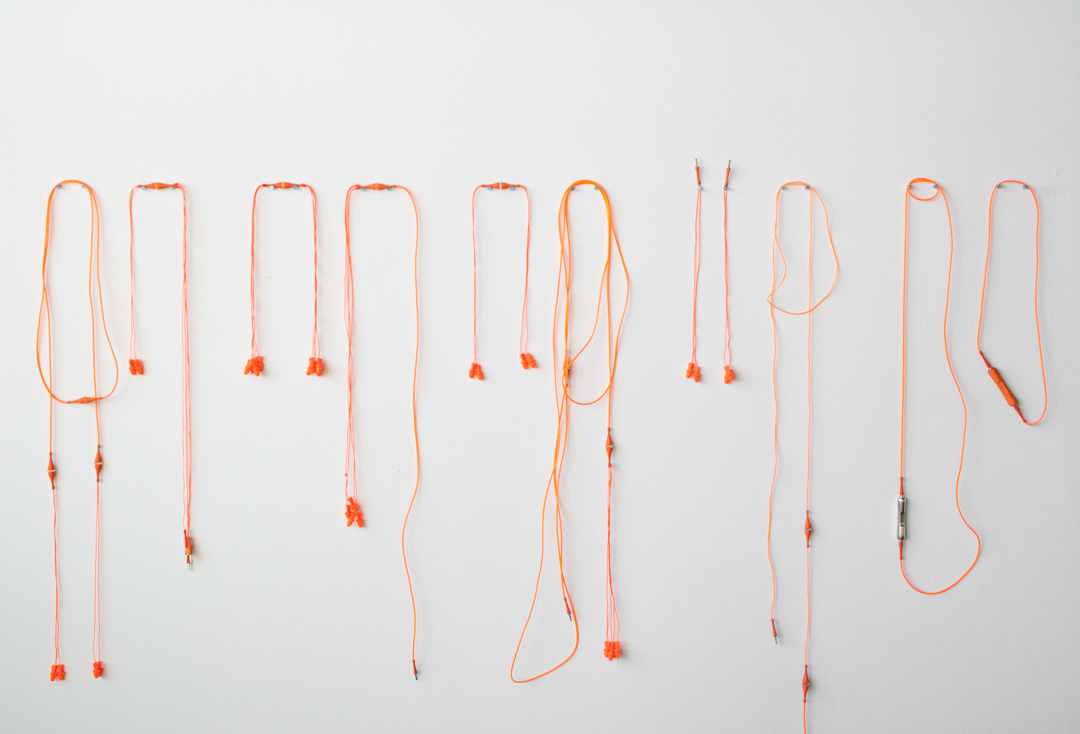
Last week I installed a number of the iAm series pieces "buffet style" in a gallery space. I invited some friends in and asked them to interact with the pieces. The event resulted in some new inspirations and a lot of laughs.  
IMA - Final Project Part 3

Here are some more images from the construction of the project I made for Interactive and Multimedia Art. I used this 1/8" x 3/4" copper stock to make the "buttons" for the project. They are all wired up to an Arduino. I ended up running a ground plane of steel just below each copper strip too. I built a foam stand for the TV to rest on.  


iAm - samples - installed

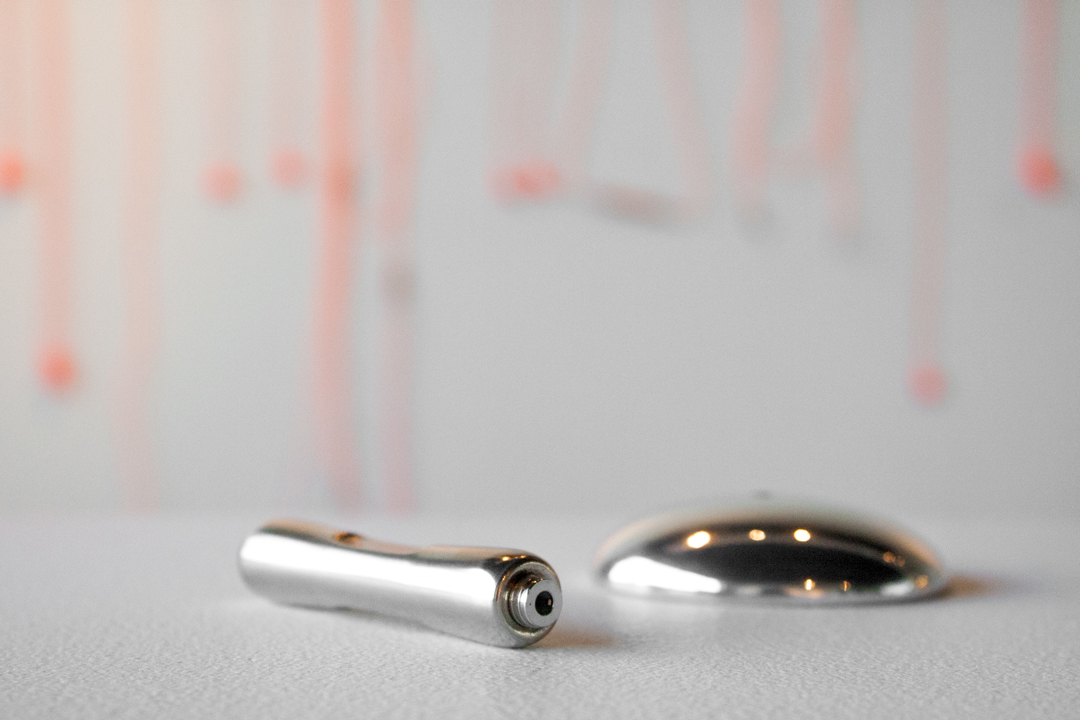
I've been working on sketching a new idea... Thinking about how to make arrangements to increase body awareness in the viewer. I am working with proximity, sensory deprivation, and the possibility of being near other people, to increase awareness in how we interact with objects and other people in our everyday life. The samples were designed in rhino, 3d printed, some were spray painted to mimic a final finish, mounted on the wall, and each given a pair of ear plugs.  


Compact Progress - Hinge Wires

So, I did it... I cut through the hinge. It doesn't look too bad! I'd like to think I knew this would work all along, but... Well you know I didn't mean to save this for the end.

Once I finish cleaning up the tubes, I think I'll solder together the magnet holders and start getting those inset into the opening and file out a little fingernail grip.

All is good.


I marked with a sharpie the part that is "unseen" when you move the compact hinge, in hopes to conceal the hole for the cords. 

I used a ball bur to "center punch" where I'd be drilling. 


The hole shows just slightly... not sure if I should square this out, or leave it rounded... thinking on it for a bit. 


Compact Progress - Cradle Hinge is on but....

WOW. I got a lot accomplished on this thing last week and never posted about it... But that could also be because this is one of those moments where you make something and it's just how you want it, and you're super happy - but then you realize you lost sight of your intentions... WHOOPS! I forgot the holes for the cord :(. I might be able to improvise something though...  Still thinking on how I will solve this problem without ruining my aesthetic.... TBC!

Before the hinge....


Yes, I did file out the entire hole for the cradle.... I am that insane.


A little book help never hurt.


I am using a couple magnets for the closing/clasping mechanism.

Seams got a little messy, but I got it in one shot!


I soldered the hinge tubes on almost perfectly, with what I'm calling the "Tim Method" - marking position with a file, rather than soldering with the tubes and no-flo. 


Stops pretty nicely... I will eventually cut down the tubes so that they flow more with the contour of the compact... and also figure out what to do with those wires... HA! Like I always say (?) /// (In making, well everything you do for that matter) There's never too many problems - you should always make some more for yourself... I guess I say that now ;)

Compact Project - Progress - 'smithin' is hard

I've made some significant progress on the construction of my compact mirror-like project... While it's been nice to flex my metalsmithing muscle - my actual muscles are definitely feeling it after two days of going hard at the bench. So, I took the day off of metalsmithing today to finish a few other things and hang out with my dad since he was in town. Here are some pictures from the last couple days...


Safety is not taking a selfie. 


Yes, I realize I should have done this first - but why not really test that smith-muscle and make it ten times harder and do it second ;). 


I've got to make the second one of these rims for the inset acrylic and then add a bottom flange-like thing so I can micro bold down the acrylic. 


I've also been working on a practice hinge - it's crooked, but its proving worth it (had to melt something today).  


TBC...

Machines that Make - Instructions and .stl Files

Throughout the creation of this Machine I have utilized numerous online resources and have borrowed (in some cases - borrowed and modified) lots of open source knowledge, parts and code. Without the information that is available through websites like Thingiverse, github, Instructables, and the RepRap Wiki, the creation of my machine would have been imposible in the amount of time I've completed it.

So, in the spirit of the open source community - I encourage you to download these files and create your own "wall mounted cartesian light machine." (If you want to of course.) OR, make a derivative!

Here is a link to all of the .stl files that have been used in the creation of the "Wall Mounted Cartesian Light Machine." In that folder, you will also find a brief instruction sheet, detailing all of the other components of the machine. Enjoy!

Machines that Make - Mechanism Install

This weekend I installed the mechanism onto the structure of the machine. I've added a 40 teeth pulley to the long axis that I am using with a high torque 60mm Nema17 and a 16 teeth pulley to the short axis that is attached to a 34mm Nema17. I'm using GT2 belts for both axes. 


Machines that Make - Endstops

Today, I added end-stops and finished all the ends of my wire with sockets. 
The end-stop design came from thingiverse, but I drew a new version to hold a 10mm rod (below). Also, preparing wires to go into sockets is hard. If I were to do this again.... I think I would make a machine that doesn't require any wiring... AH HA just kidding, I am getting better at it slowly.   


Machines that Make - Structure

Over the weekend I started to build the wall that will house my Machine that Makes project. There is a steel stud frame, plywood, sheet metal, lots of metal screws, more plywood etc. I added a hinge to the back panel that will hold the steel rods that make up my machine, for easy access. Eventually, I will also add some trim over the shims that surround the acrylic. Next step is to fill the screw holes in the plywood, sand and paint. 


Machines that Make - Making Parts - Part 2


Mocked up X Idler
Mocked up X Idler

In addition to the corners, I also designed new X axis parts this week. Taking cues for the Prusia i3 parts I had already printed, I made a few modifications to allow for 8mm and 10mm steel rod. I started by printing a few test pieces at 2% infill and 2 shells, on Fast.
  
New Part designs - with modifications after test prints:
 The take a LONG time to print at 45% infill and 3 shells! 


Assembly and testing with the motors: 


 There is a bit of sag in the rod - so hopefully I will be using the smaller, 34mm Nema 17's, instead of the higher torque...


Machines that Make - Corners v2

I designed and printed new corners for my machine this week. They will hold the ends of the rod for the y axis. The strength of this design is far superior to the original round version.  You may ask, "Well, why didn't you just cut a piece of wood and drill a hole in it?" My answer - because it would have been much harder to counter-sink a bolt in the bottom. Is the counter-sunk bolt necessary? No, but it will make it much easier to align and tighten the corners to the mounting material. 


Machines that Make - Digital Renderings

For graduate reviews, I created a digital rendering of the machine I am creating this semester to help communicate my ideas and work-in-progress. I enjoyed working in Rhino to create a model of what I am envisioning in my head. I also really enjoyed learning more about how to use the lighting features in Rhino to create a more realistic rendering. 
 I am thinking that the materials that construct the "lamp shade" will be drywall or wood, painted to match the wall. The box across the way will house the Kinect, that will track the movement of the viewer and initiate the movement of the motorized gantry that holds the end effector (light).


Machines that Make - Ideas & Inspirtation

Over the past few months, I've been working on a series of pieces that are broadly inspired by my interest in the human body, existance and our understanding of being alive.  I've finished one of the pieces in the series, find more about that piece here. Below are some of my sketches for potential machines that will follow in these concepts... the sketch on the left is the one I am going to go with for the "Machines that Make" project. It will fit nicely into my current body of work. Next week I will be posting some images of the models and test pieces...

  
AND some books that I've been inspired by the last few months... Check them out!


Machines that Make - Visual Research

This semester my studies have landed me in a course called "Machines that Make," an introduction to  the rapid-prototyping of rapid-prototyping machines; history, theory and practice of digital fabrication and design. Our main project in this course is to design and create a novel machine that makes. Using our previous understanding of process and newly acquired knowledge of the machines from the class - research, design, fabricate and produce a machine that makes... 

As an artist, with a background in jewelry and metalsmithing - I've always had an interest in objects that either adorn the body, or require the body to be activated, and machines are no exception. So, I begin my research... Follow my progress here.