Sheila Ring - Finished - it's about time!

So, I finally finished up the ring to bracelet redesign. I am super happy with how the whole process turned went - from designing my first 3D modeled ring, to using a casting service and then post-processing myself. I definitely would get other objects cast in silver through Shapeways. While the cost was only $50.00 to get the design cast in silver, I did spend a considerable amount of time designing, cleaning up the ring, finishing, and setting the stone... so if I had to price out the piece for production, I would probably need to sell this particular ring design starting at around $175.00 to make a profit.  $50.00 for casting, 3 hours for post-processing labor per ring @ $20.00/hr and packaging, plus %60 mark up for profit, with design hours being paid for after the first 2 sales. Compared to a company like Skydog, price is right on par... And their paying rent in LA, which means their jewelry is a steal - GO SHOP NOW!


S100 - Rhino Gold - Bracelet to Ring

A friend of mine asked me to do something with this a long time ago - and I think I'm finally going to put in some work on it. Her mom had gotten her this bracelet when she was little and it unfortunately broke. I did a 3D scan of the object the other day and took some preliminary pictures of the ring... My plan is to design a ring using Rhino Gold, get it printed through Shapeways in wax, cast, and set the stone after. I've never done a ring design in Rhino Gold - or printed from Shapeways before - so this will be a nice low risk experiment.


S100 - RhinoGold - Gem Creator

I have been creating these gem forms in Rhino for a couple days now by hand... Starting with a profile curve, extruding a small girdle, creating a duplicate edge of the girdle and then extruding that curve to a point...
The forms are turning out relatively nice - I'm getting interesting facets but they aren't true gem forms as both sides are the same. 
I was browsing through the RhinoGold tool panel and noticed the Gem Creator tool and decided to give it a try. All this tool requires is the outline curve to create the gem shape and from there you are just selecting options on a tool panel. It significantly reduces the time spent modeling. This tool is a definite win. 
Below you can see the gray gems are the ones I've created by hand, and the black were created by the Gem Creator tool. 

I appreciate the ability to easily achieve consistency in the Gem Creator - You can also save your gems to a library to use them with other functions like the array and channel commands. I can definitely envision myself using this tool a lot in the future in jewelry to create and utilize custom stones/forms. 

S100 - RhinoGold - 3D Texture

I've figured out a few things about RhinoGold's 3D Texture tool....
You cannot apply 3D texture to multiple surfaces at once... 

You can create your own surface textures! 
You cannot apply surface textures to irregular shapes... only rectangles. 
You can cut rectangular surfaces into irregular shapes! 

with cutting planes, using a boolean split operation.


Hooray!
But this makes for very large file sizes. 

Above: Custom surface texture from two dimensional pattern. 
You can add multiple 3D textures to one object!

S100 - Rhino Gold - Illustrating Movement with Bend & Dynamic Array

I am looking at different ways to illustrate movement of the chain I drew in Rhino - The above is achieved through the bend command. It distorts shapes a lot, which is not helpful - but again, I think this could function nicely as a quick sketch to demonstrate the design and it's potential movement.
Above I've used the dynamic array command in Rhino Gold... This time instead of doing one object, I've selected the whole grouping of elements that form the chain and arrayed them along another curve, in an attempt to open up the chain. You can see the results are again distorted - but this time the distortion has become actually kind of interesting... I'm having a lot of fun experimenting with the different "glitches" I can produce. I could see these leading to new design ideas. Happy accidents!

S100 - Rhino Gold - Chain & Dynamic Array Commands

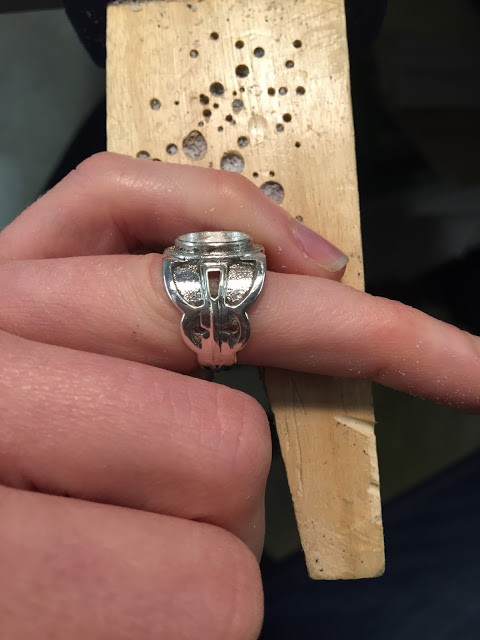
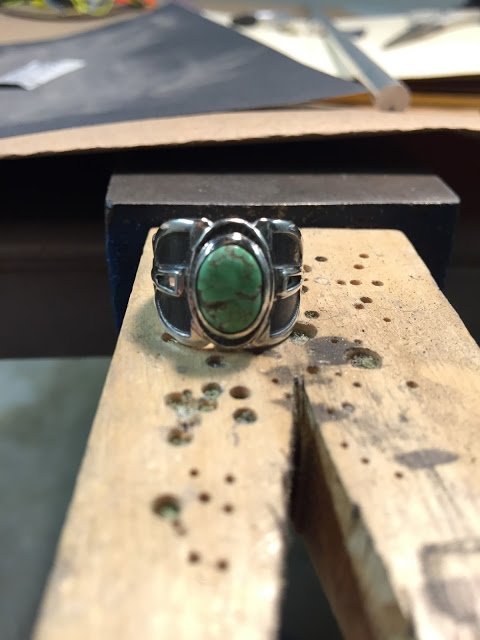
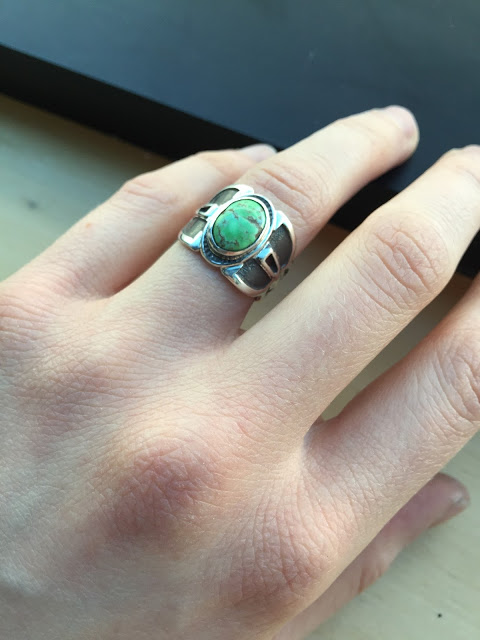
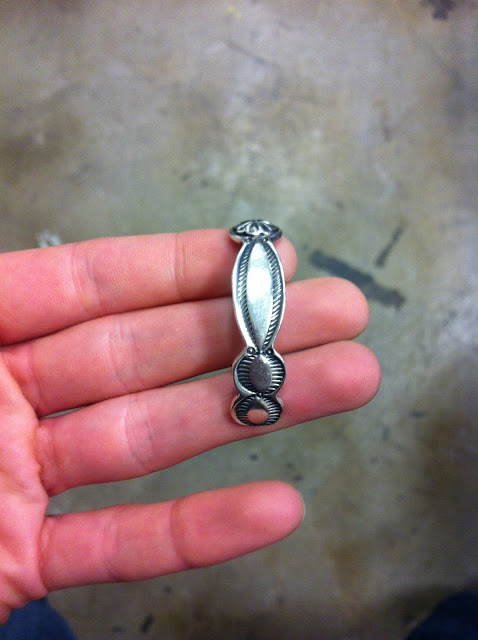
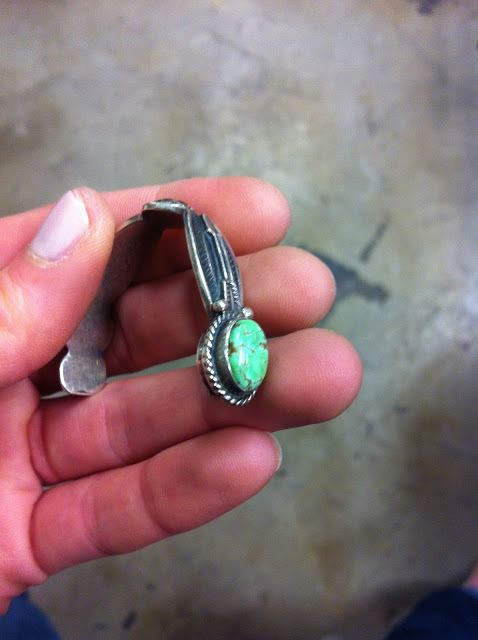
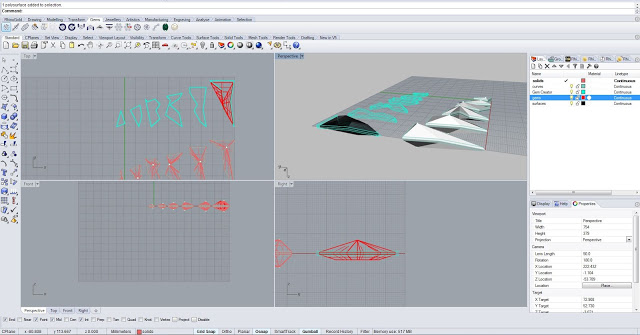
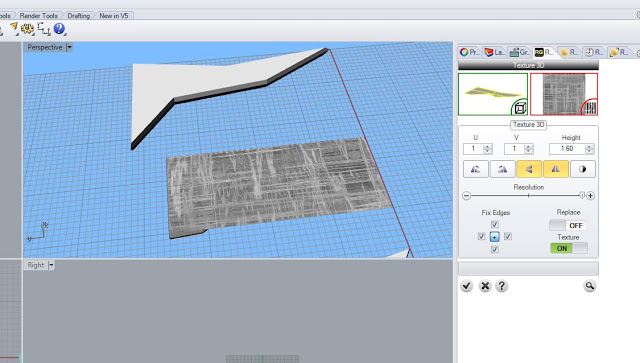
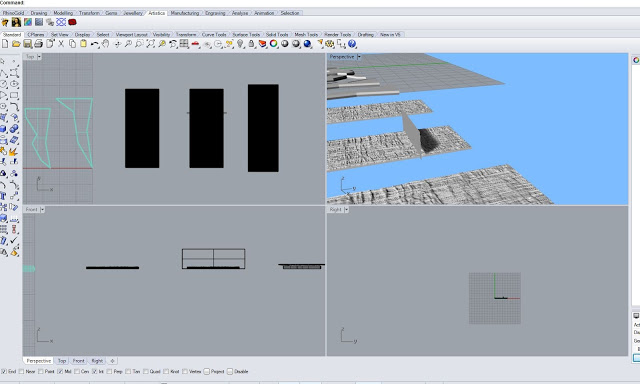
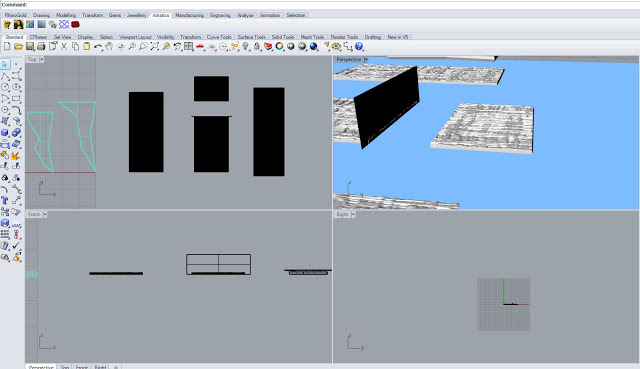
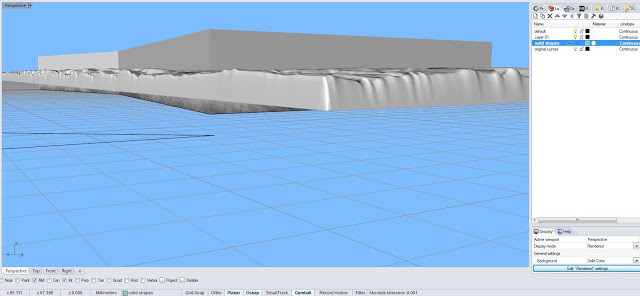
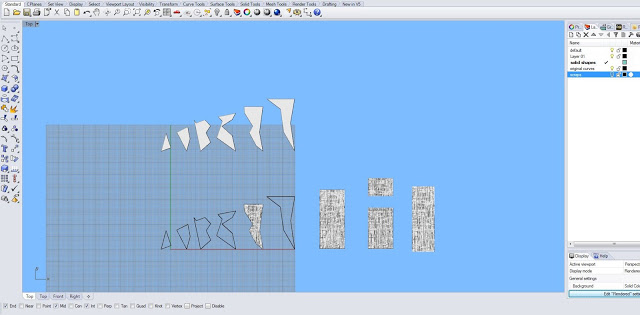
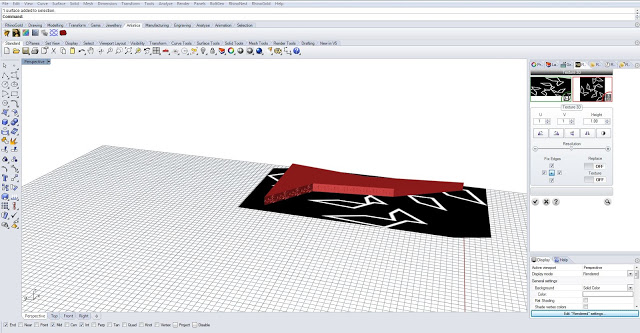
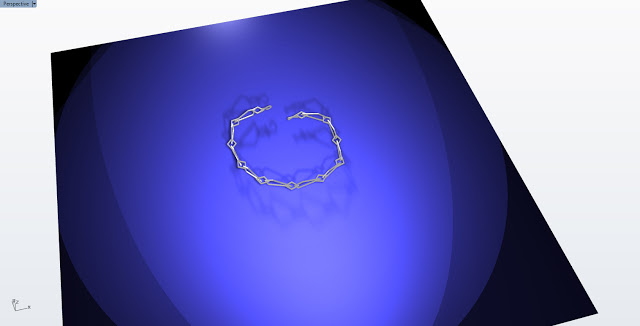
In Design for Digital Fabrication, we are creating orthographic drawings of objects that already exist with Rhino ("Reverse Engineering an Object"). I chose to draw a necklace from my silver structure series. I like this for two reasons - (1) ultimately, if I wanted to mass produce this piece, creating an orthographic drawing would be one of the first steps in getting the design manufactured - and (2) having a digital version of the necklace will allow me to experiment with the individual components in so many ways - textures, color, form, etc... and start to combine the components in new ways. So, in keeping with my desire to constantly learn new - I've also begun experimenting with the necklace components in Rhino Gold. Rhino Gold is specifically made for jewelry designers and has so many really great functions for composing designs (kid in a candy store), like the chain command. 

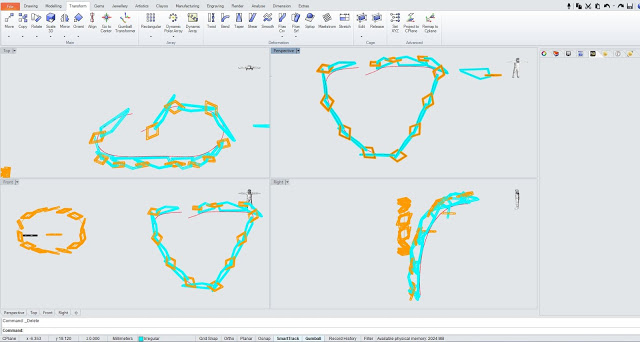
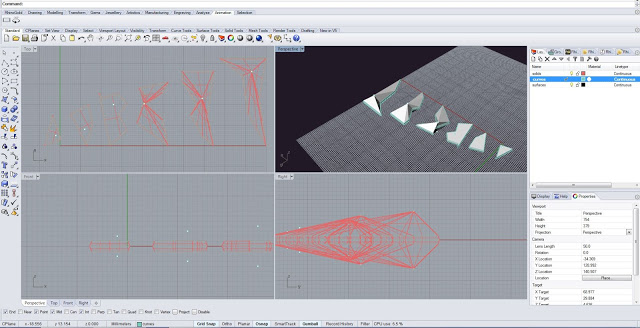
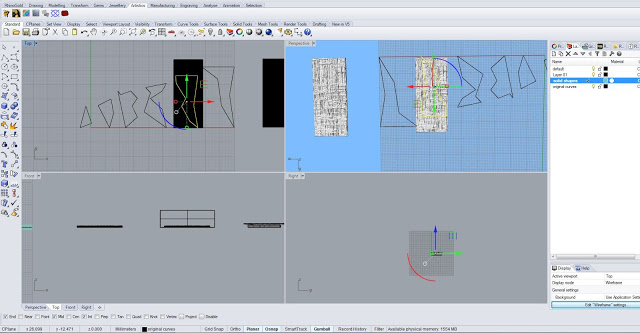
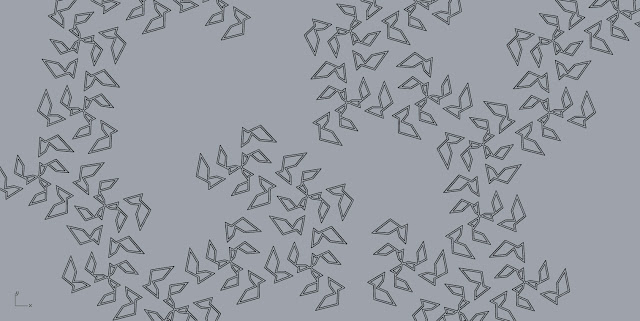
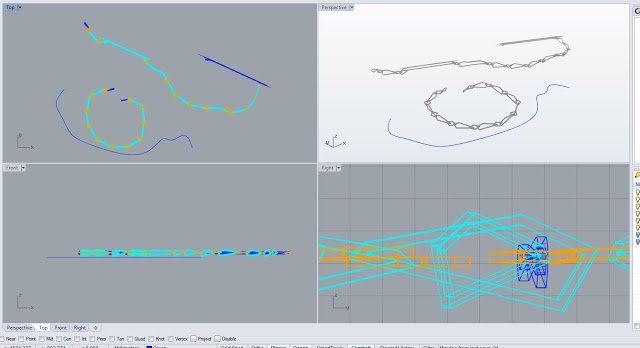
From one single component or element, you can use the chain command to essentially "array" that object on a designated curve of any shape - open or closed, however many you want, and at whatever angle you'd like. You can see above, I've used the chain command to array the orange diamond shape on the oval. I also drew a control point curve that was open at each end (right - blue & orange), which I did two separate chain commands for each separate component. The results are OK. You can see that with a component of this size, it is are to take sharp angles - but overall the rendered designs, while completely inaccurate in function - are relatively believable mock-ups that could function as quick sketches with ease.
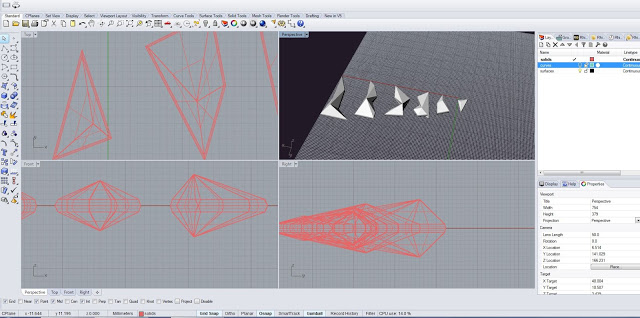
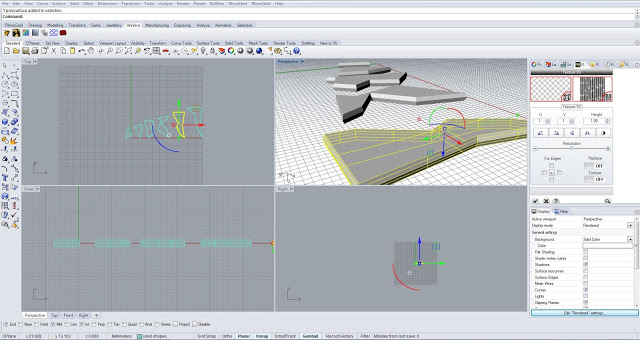
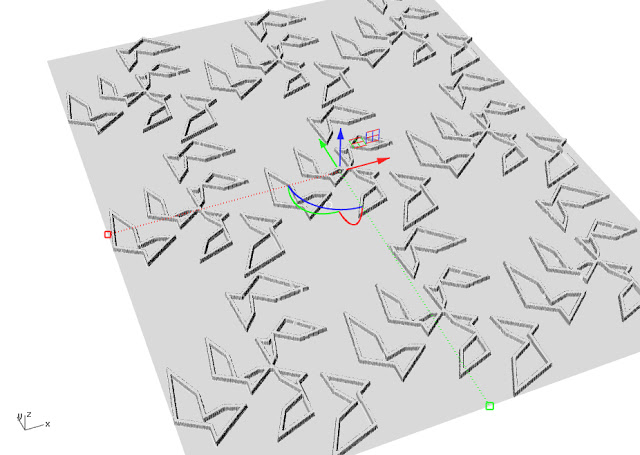
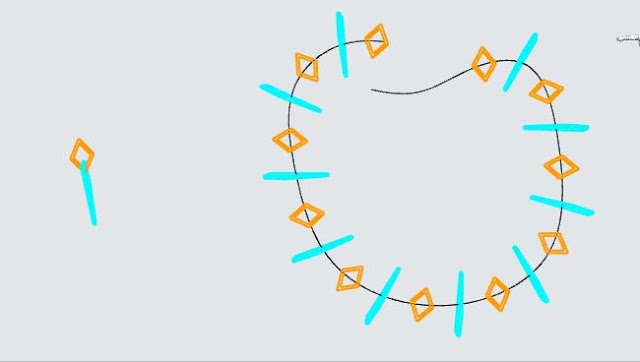
I also experimented with the dynamic array command - which I suspect was originally designed for creating halos. This tool - while it is a little bit more finicky with the irregular shapes of my design - gave me more control over the spacing, angle relation, and scale of my components.


The dynamic array coupled with slight gumball adjustments - yielded precise interlocking results, and it only really took about an hour to figure out, once I found my rhythm. I can definitely see this coming in handy when I am in need of the perfect model. Now, I just need to figure out how to make the chain move digitally like the chain moves in real life. Small task, I'm sure.