Compact Progress - Neoprene Update
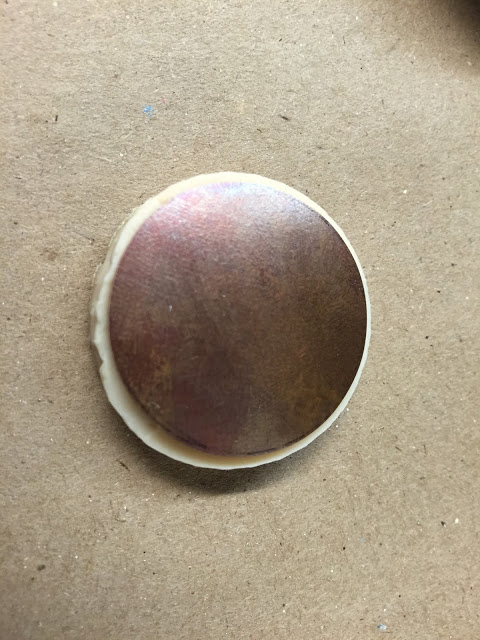
So my neoprene samples finally dried fully in the 3D printed mold... and they look like deflated cheesecakes! I will clean up one to fit in the battery insulator to test it's function... I'm also going to design a 3D printed mold for pouring plaster, and then pouring neoprene into the plaster.


e-NABLE Fellowship - Karuna's Trumpet Holder - MORE RENDERING

So, if you haven't figured it out yet - I love rendering. Here are some more of the trumpet holder, including a small video test.... More to come!


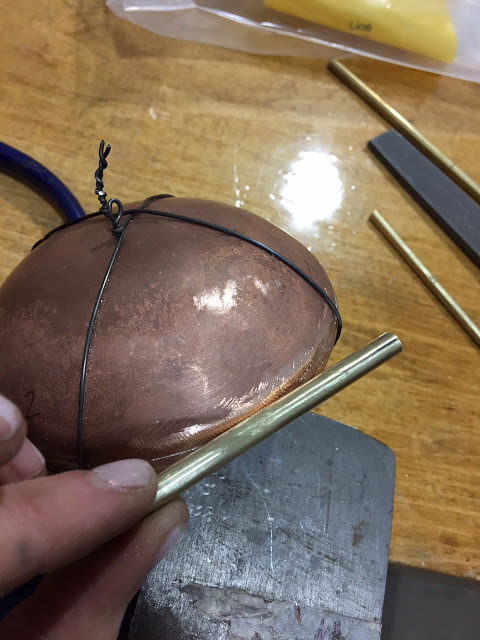
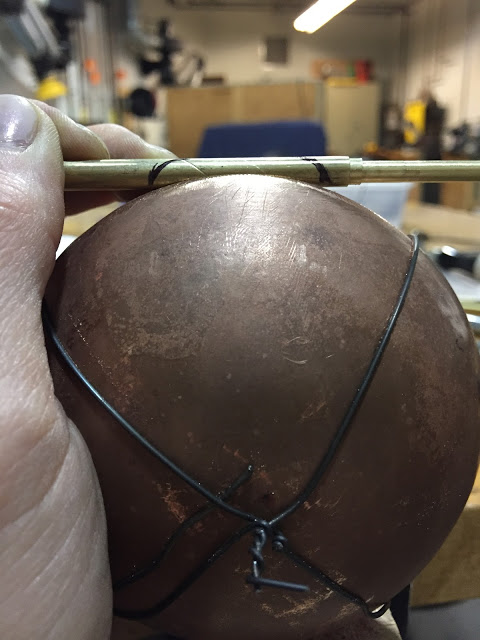
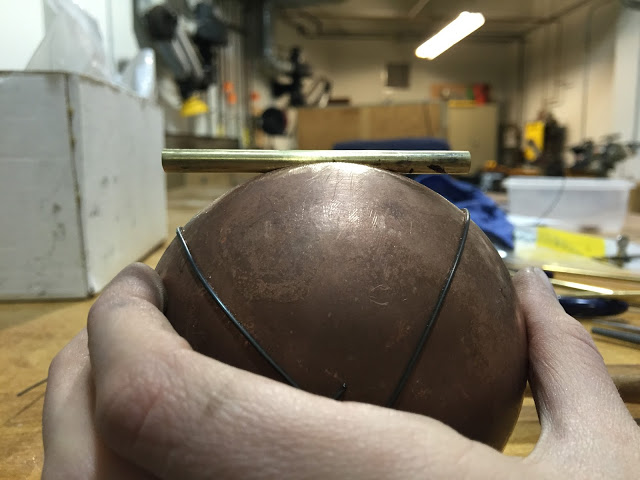
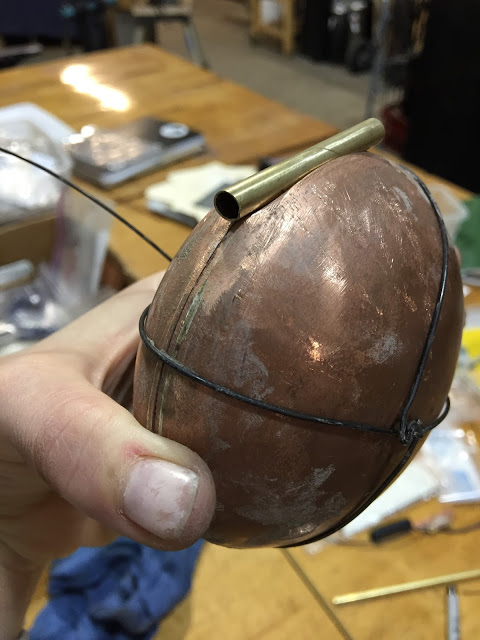
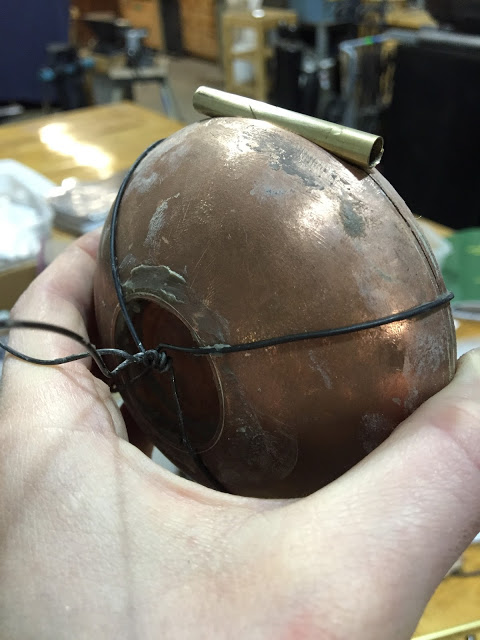
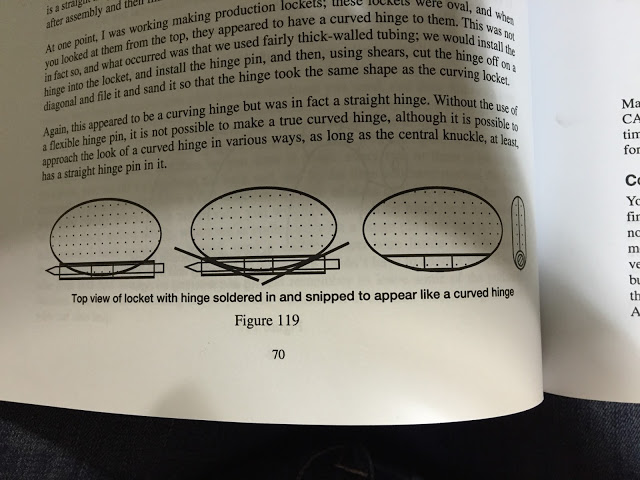
Compact Progress - Cradle Hinge is on but....
WOW. I got a lot accomplished on this thing last week and never posted about it... But that could also be because this is one of those moments where you make something and it's just how you want it, and you're super happy - but then you realize you lost sight of your intentions... WHOOPS! I forgot the holes for the cord :(. I might be able to improvise something though... Still thinking on how I will solve this problem without ruining my aesthetic.... TBC!


 |
| Before the hinge.... |
 |
| Yes, I did file out the entire hole for the cradle.... I am that insane. |
 |
| A little book help never hurt. |
 |
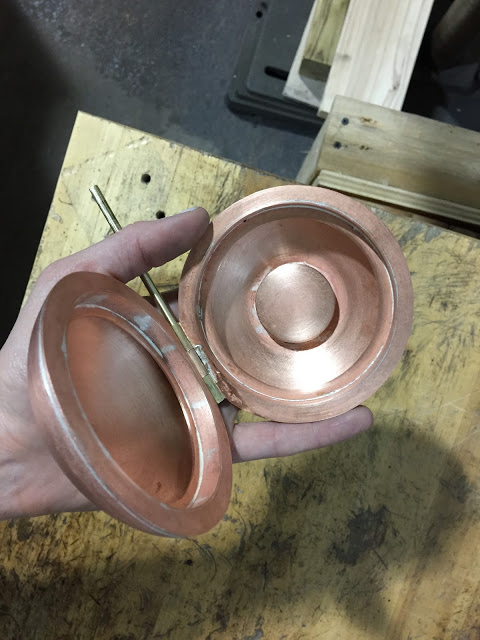
| I am using a couple magnets for the closing/clasping mechanism. |
 |
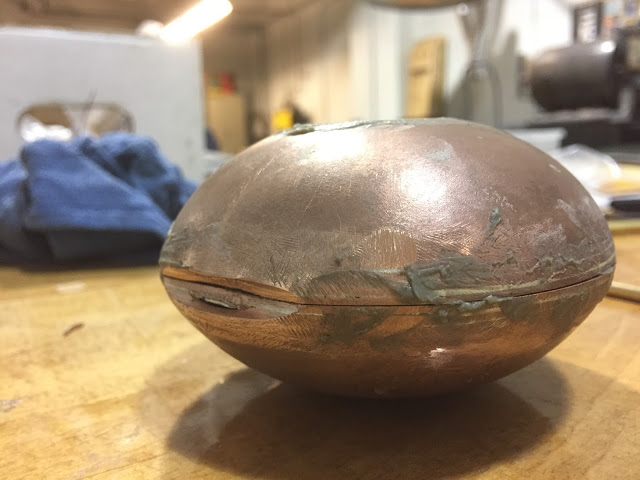
| Seams got a little messy, but I got it in one shot! |
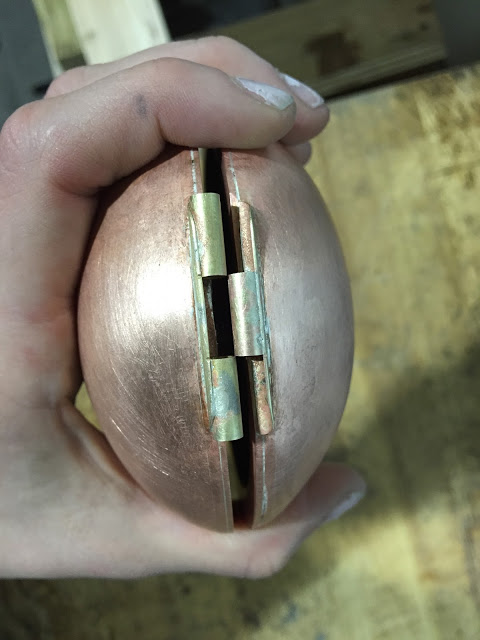 |
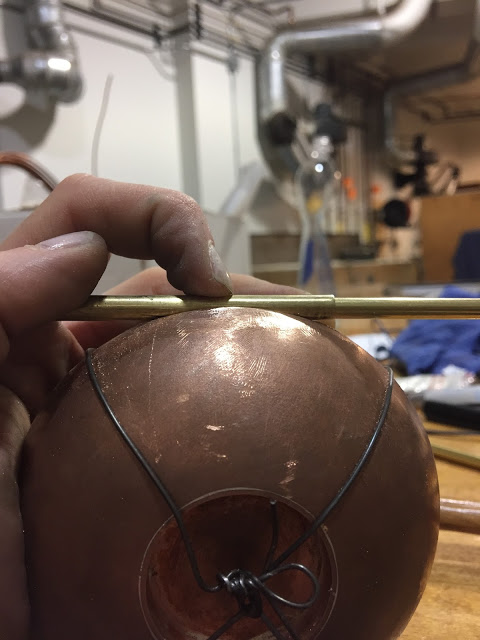
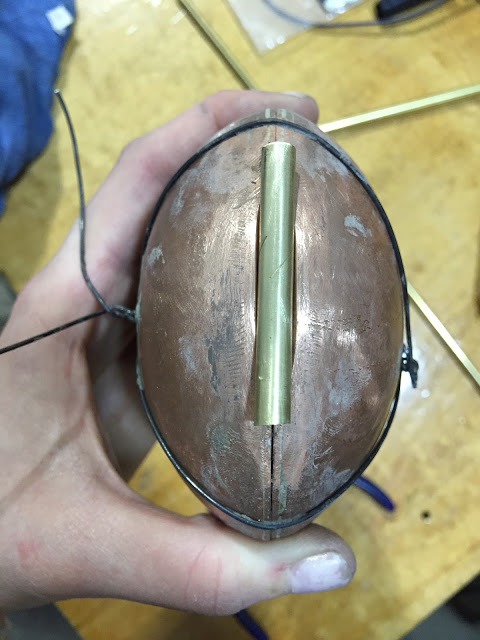
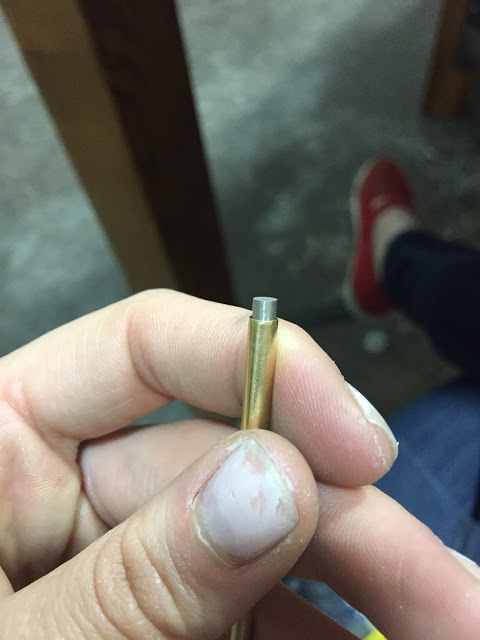
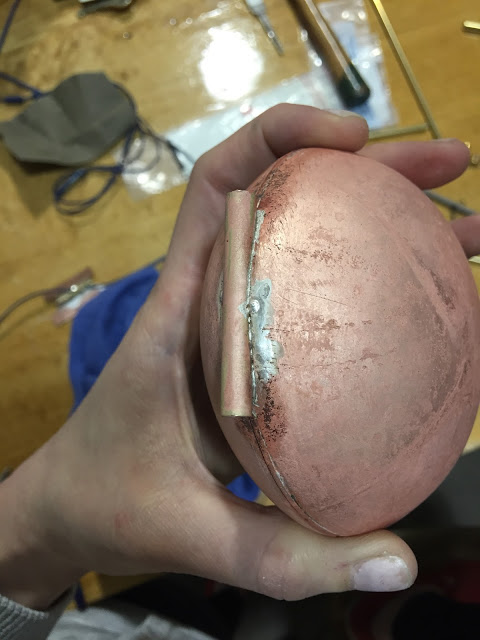
| I soldered the hinge tubes on almost perfectly, with what I'm calling the "Tim Method" - marking position with a file, rather than soldering with the tubes and no-flo. |
 |
| Stops pretty nicely... I will eventually cut down the tubes so that they flow more with the contour of the compact... and also figure out what to do with those wires... HA! Like I always say (?) /// (In making, well everything you do for that matter) There's never too many problems - you should always make some more for yourself... I guess I say that now ;) |
Guitars for Vets - Pattern + Paper
Here are some images from a few experiments I ran the other day on the laser cutter for the Guitars for Veterans project...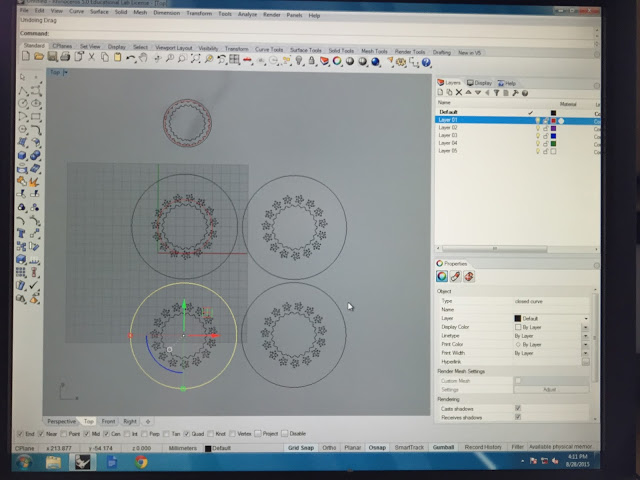

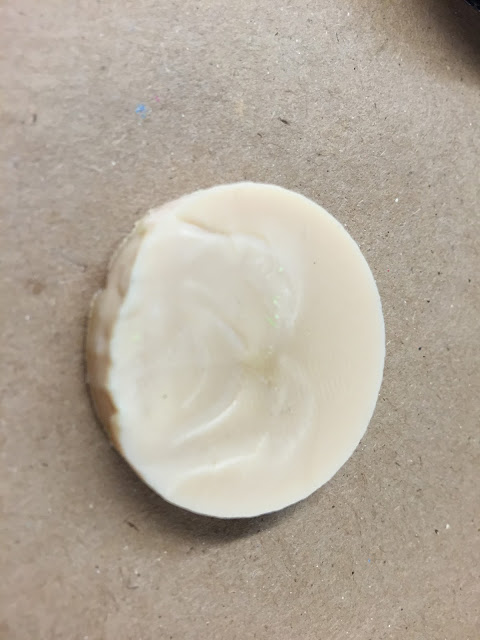
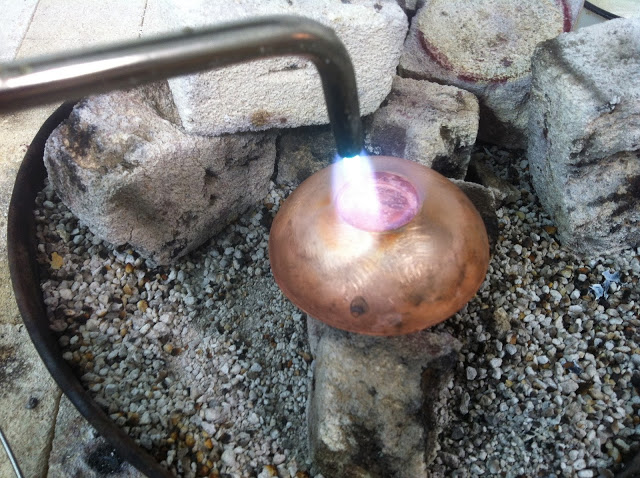
Compact Progress - Pouring Neoprene
So, basically you pour the neoprene that's already mixed into the mold, let it settle for a few hours while water evaporates out of the mixture, and then you can top it off. You can also make hollow-skin like casts with the neoprene if you cast in plaster... I have no idea if this will work in the 3D printed mold without a mold release, but it specifically said on the website not to use mold release, so I'm giving it a shot! This weekend, I think I'll try and pour some neoprene into a plaster mold and see how that goes.


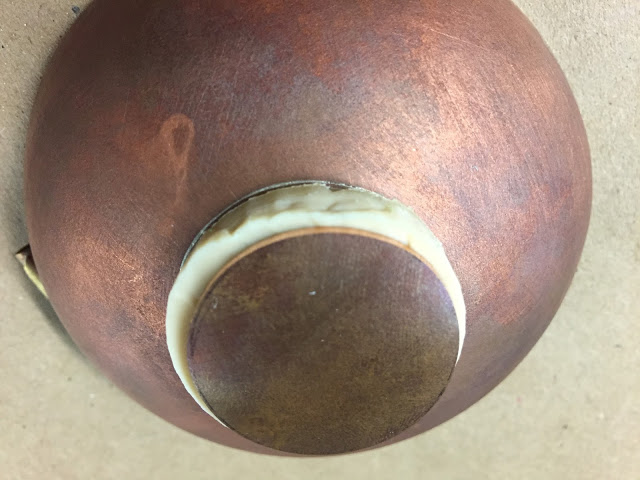
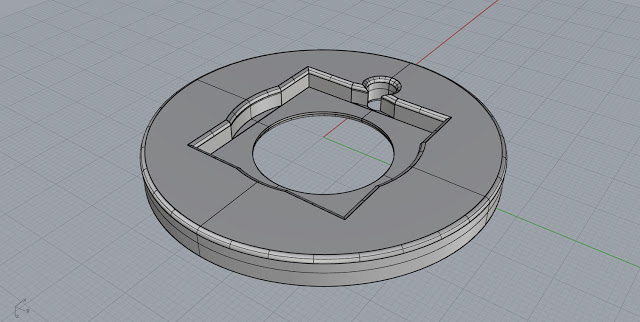
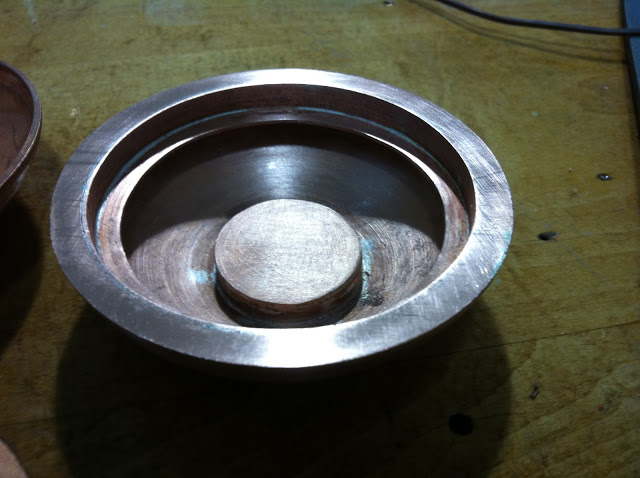
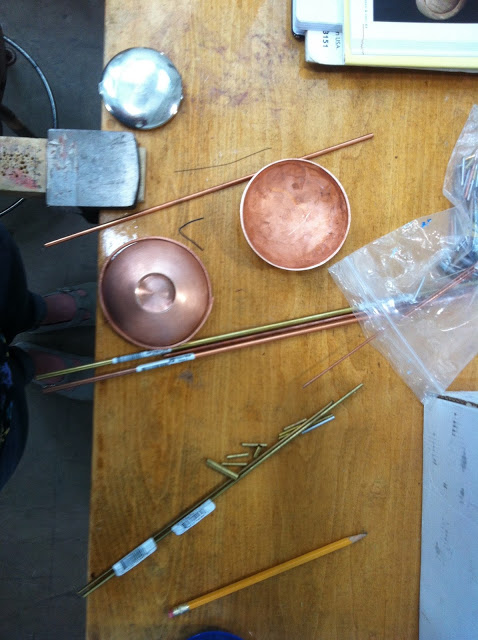
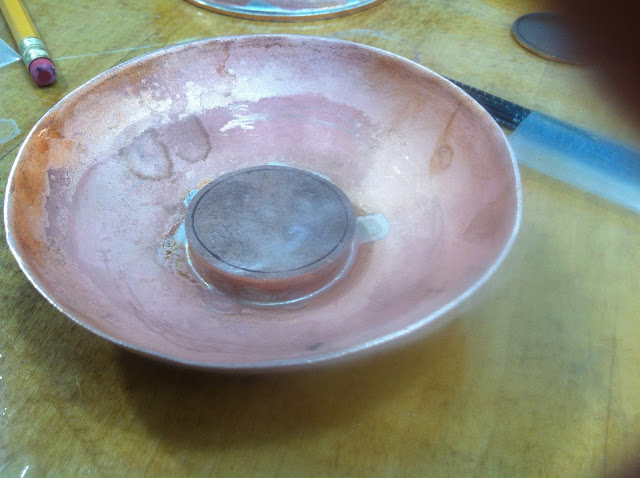
Compact Progress - Internal Hardware Holder
For my compact, I am using (2x) 24 count LED Neopixel Ring from Adafruit, a Gemma microcontroler, and a LiPo Battery.
I took measurements off of each of these items and designed an internal hardware holder for inside both sides of the compact. The bottom has a more complicated holder because it is in charge of the battery and the microcontroller, while the top is simply holding one ring.
I took measurements off of each of these items and designed an internal hardware holder for inside both sides of the compact. The bottom has a more complicated holder because it is in charge of the battery and the microcontroller, while the top is simply holding one ring.
 |
| TOP of BOTTOM - neopixels & gemma |
 |
| BOTTOM of BOTTOM - lipo & gemma |
 |
| TOP - neopixels |
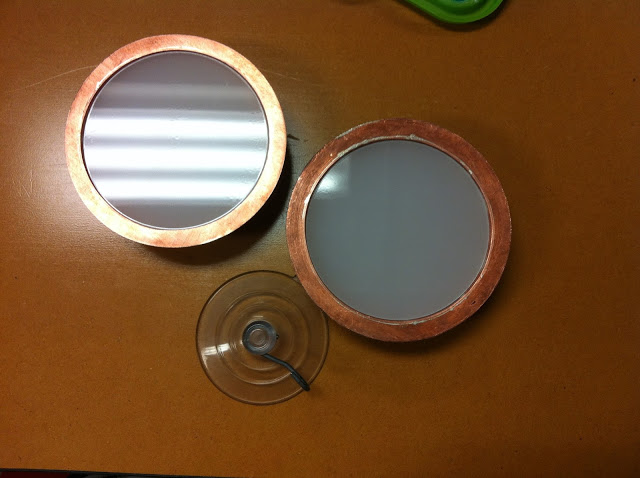
Compact Progress - Laser Cut Acrylic Insets
I laser cut some acrylic to inset into the compact to diffuse the light of the neopixels. I got the top lid measurement perfect, it fits snug and needs the suction cup to remove it, but the bottom is a little off. I will cut a revised inset for that section. I might switch to a thicker acrylic, but for now I'm going to stick with the two layer approach and sandblast one of the layers for softer light.

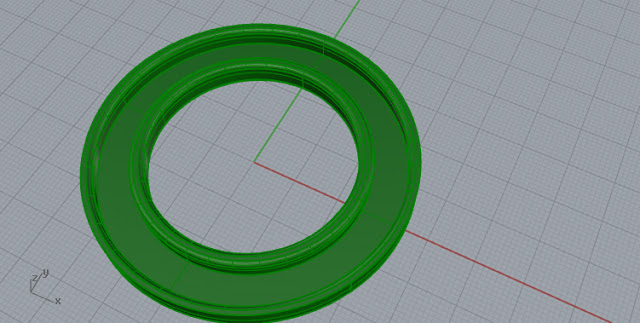
Compact Progress - 3D Printed Molds
I designed a couple different size molds for my compact's insulation... There are slight variations that account for the shrinkage that occurs during 3D printing and the shrinkage of the neoprene.... The molds are super simple, but if they work, I may think about creating more interesting molds to cast into.
 I'm using a neoprene that I brought through critical coatings. It says on their website that painting the neoprene on is an option for creating a mold, this is something I might consider when doing the final piece and/or future pieces.
Compact Project - Progress Part 2

Test hinge 1 - I am going to make another test hinge today with a design revision.

e-NABLE Fellowship - End Term Documentation
e-NABLE
Fellowship – End Term Documentation
As a part of the 2015 Summer Fellowship Pilot Program of the
Enable Community Foundation, I conducted research at the University of
Wisconsin Milwaukee’s Digital Craft Research Lab into adaptive devices, hand
design aesthetics, and alternative materials/processes for the creation of
hands.
Week 1 -
8
- Designed and prototyped adaptive technology for Bach Student Trumpet TR300. This includes; (1) a semi-permanent casing around left side and base of valves, (2) dovetail mechanism for attaching a scalable hand/palm design, (3) a rotational palm attachment and (4) a corresponding gauntlet with flexion and extension capabilities. During the design process the instrument’s existing aesthetic was considered and prioritized to ensure and maintain the integrity and elegance of experiencing a Bach instrument.
- Rendered designs using Keyshot
- Released designs as open source files, on youmagine.com and thingiverse.com
Week 9
- Research, design and prototype alternative design methods for the creation of gauntlets Experimentation with thin-walled prints for flexibility.
All of the research and design I conducted during the 2015 Summer Fellowship Pilot Program of the Enable Community Foundation, was documented on my personal blog; http://digitalfabricationanddesign.blogspot.com/ and will be shared during a Handathon building event at the Wisconsin Science Festival, October 24-25, 2015 in Madison, Wisconsin.
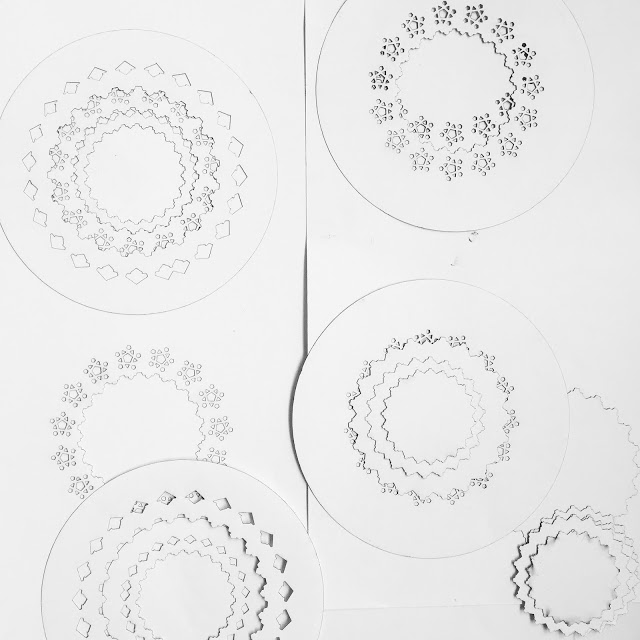
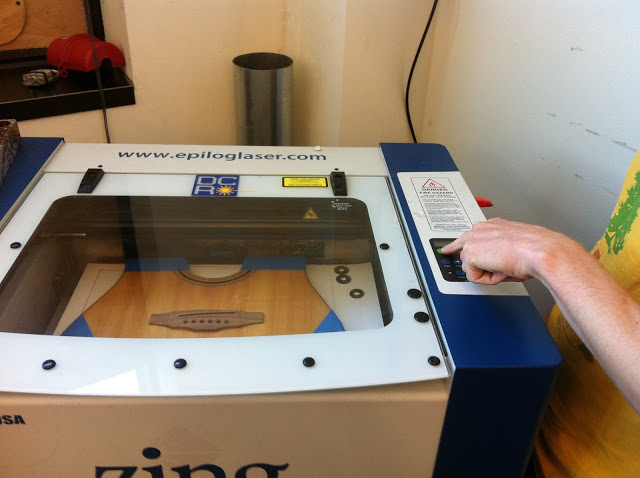
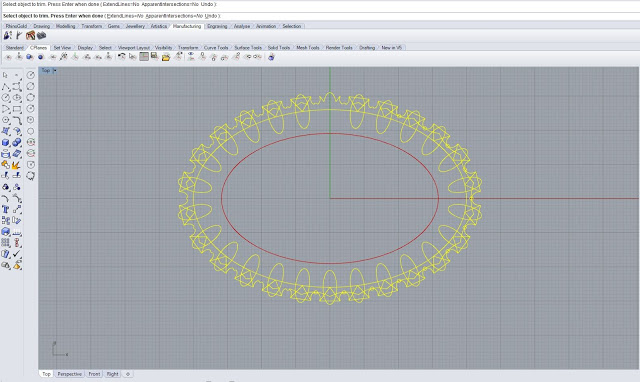
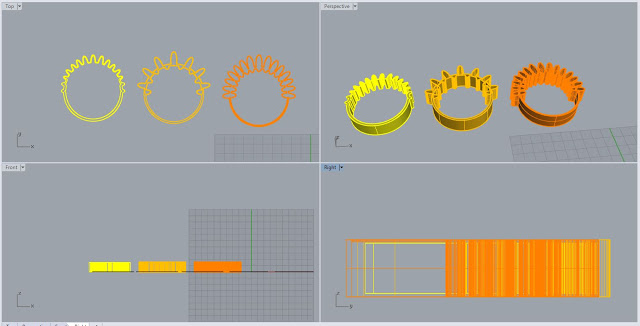
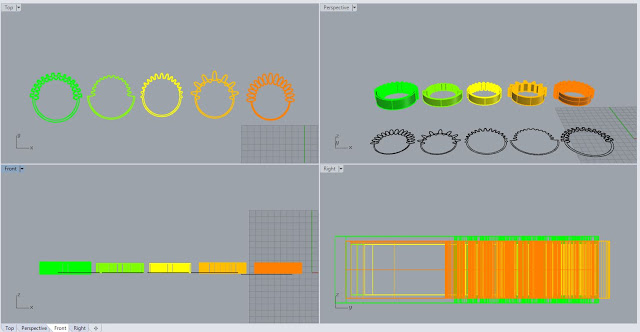
S100 - Guitars for Vets - Patterns
I am preparing to do some experimentation with the laser cutter, engraving designs onto sections of the guitar... here is a sample pattern that I will be trying. It's a dense design, so I'm unsure if it will turn out as clear as I'd like.

I am finding a lot of inspiration from baroque guitars. The rosettes were traditionally made with hand carved layers of wood and parchment.
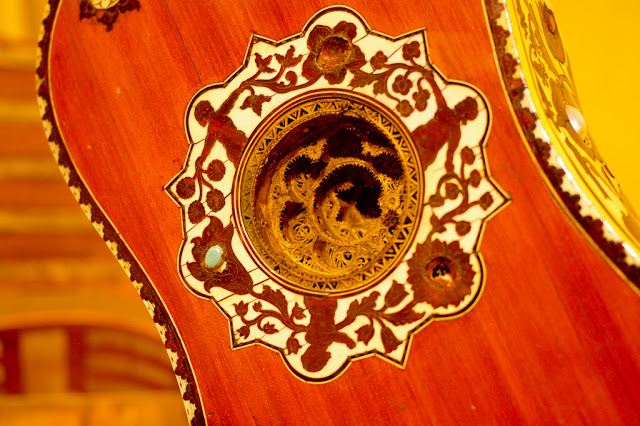
I am finding a lot of inspiration from baroque guitars. The rosettes were traditionally made with hand carved layers of wood and parchment.
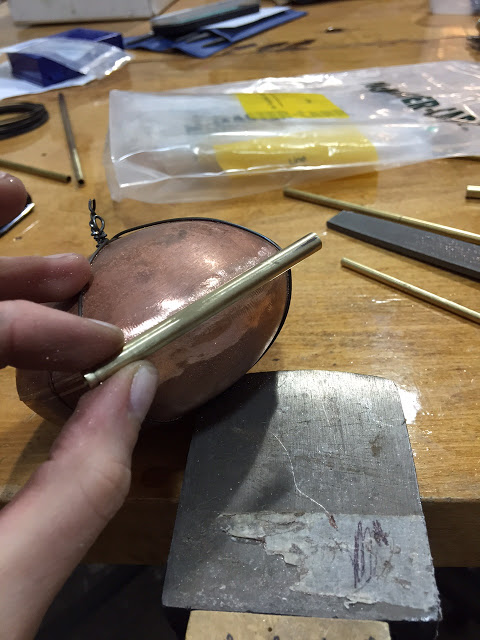
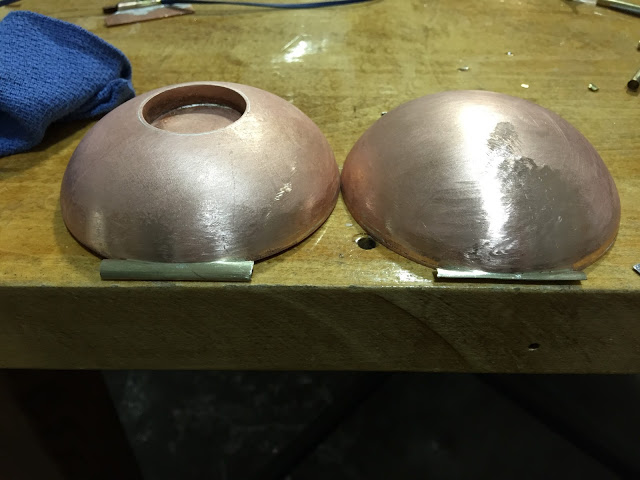
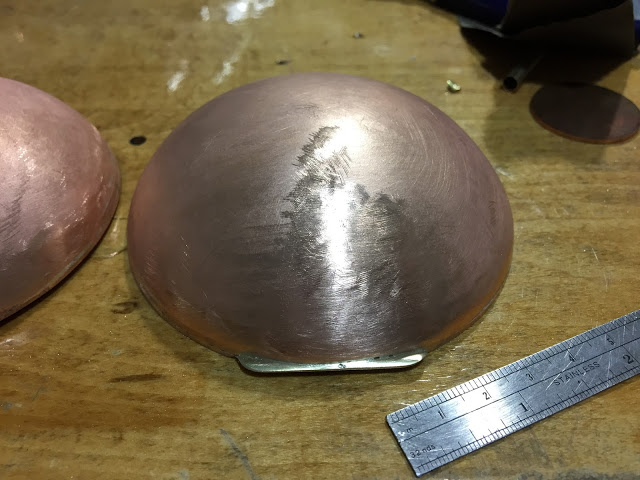
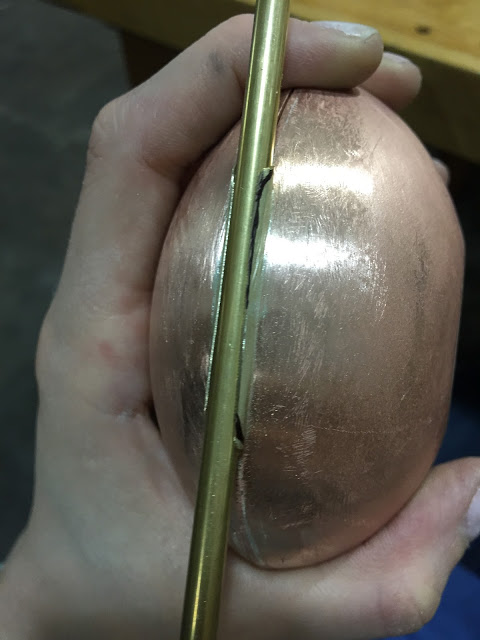
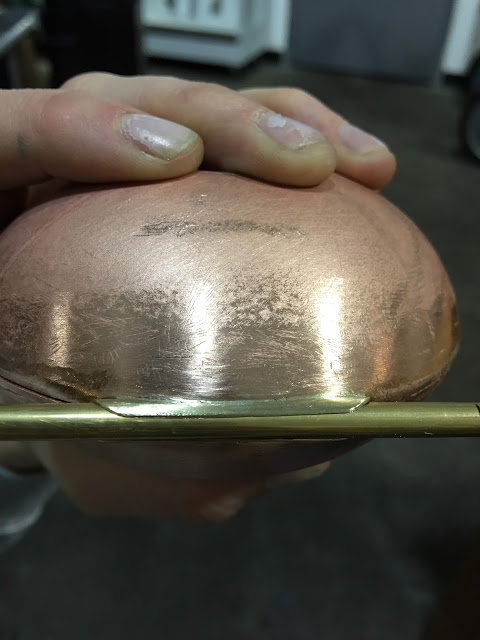
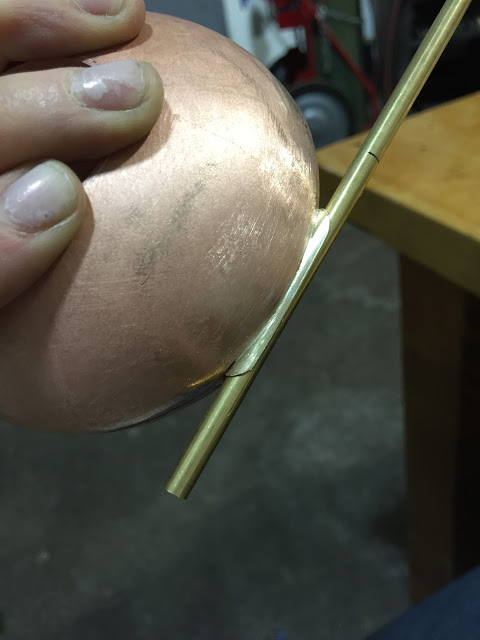
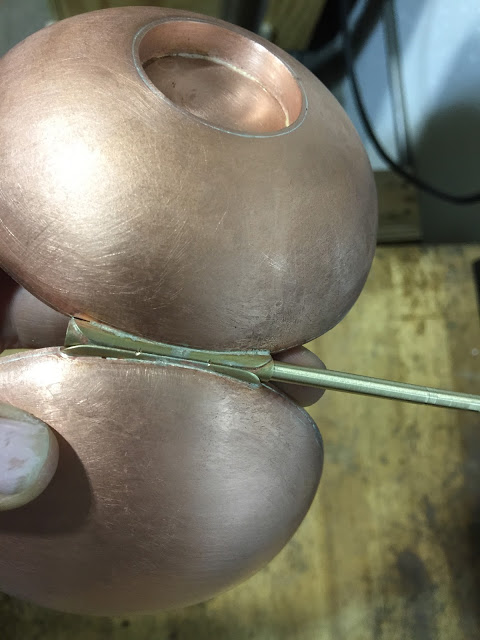
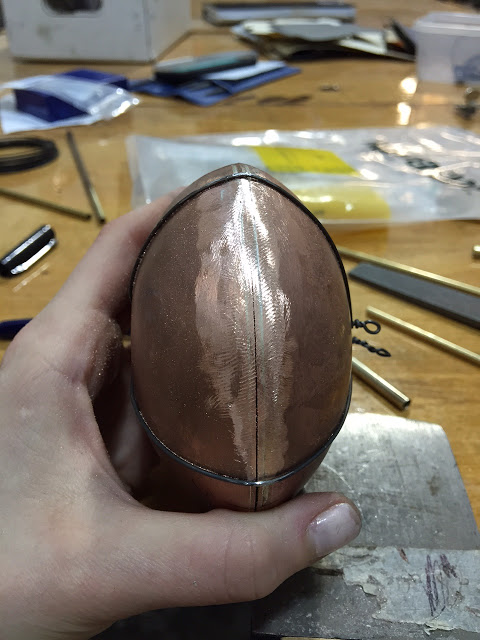
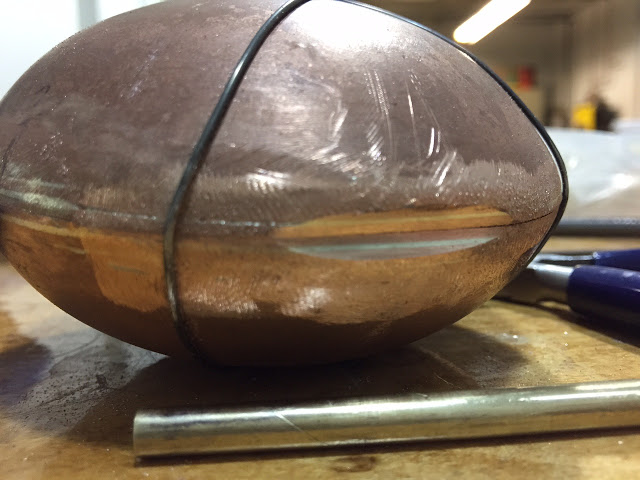
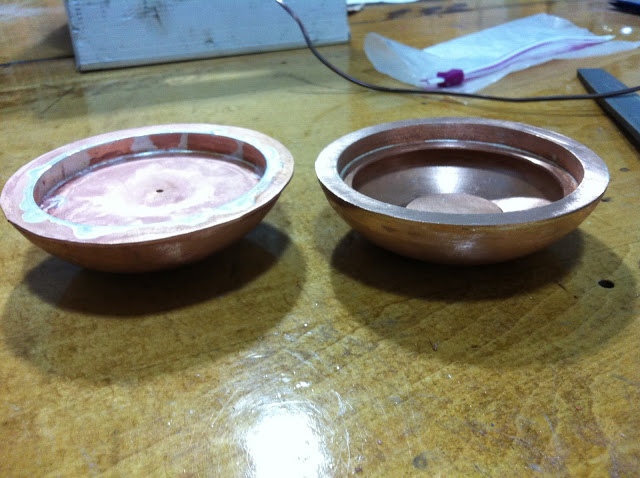
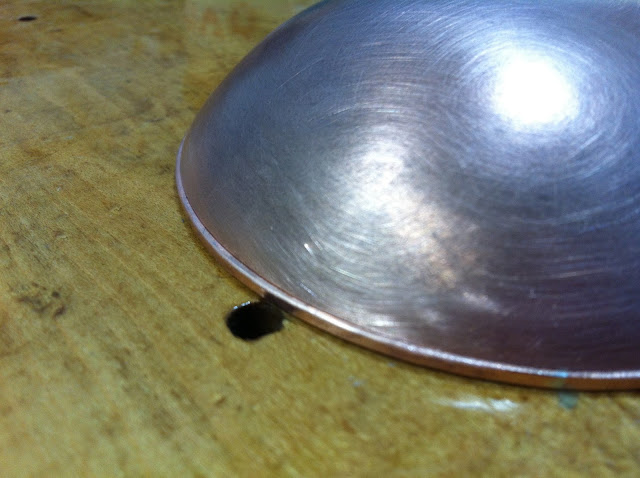
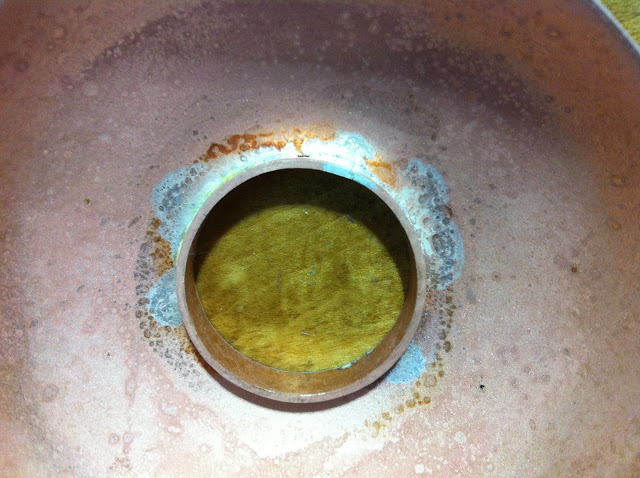
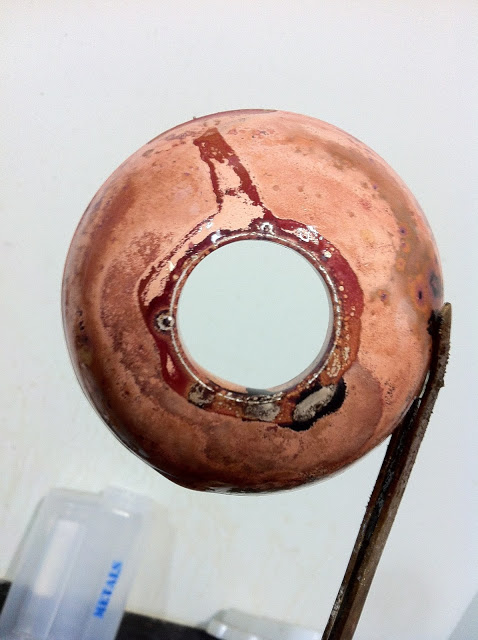
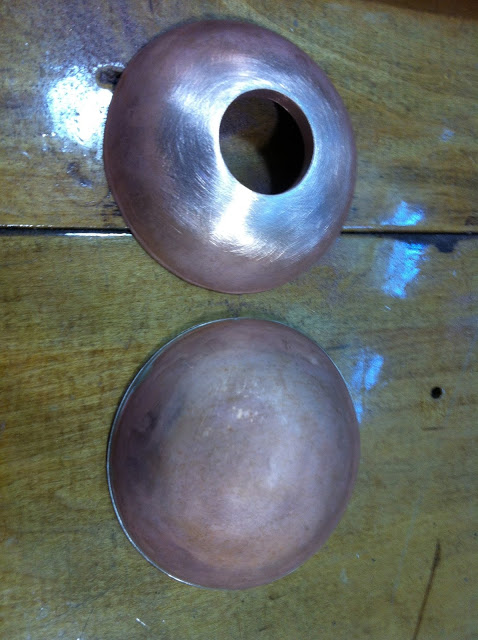
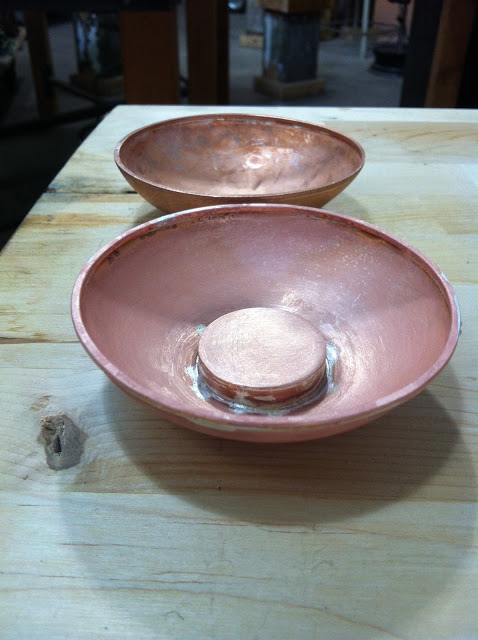
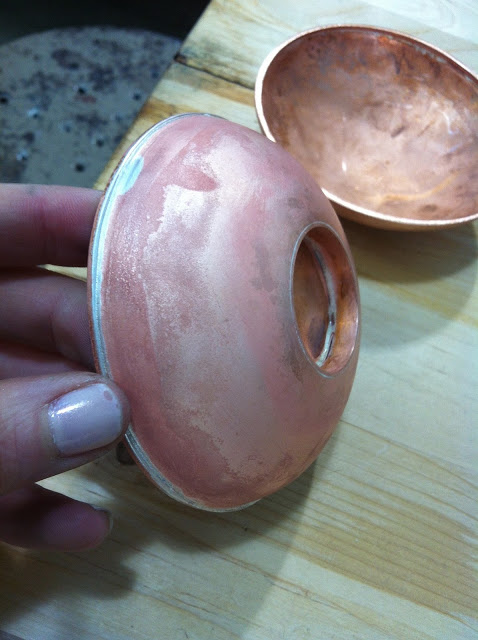
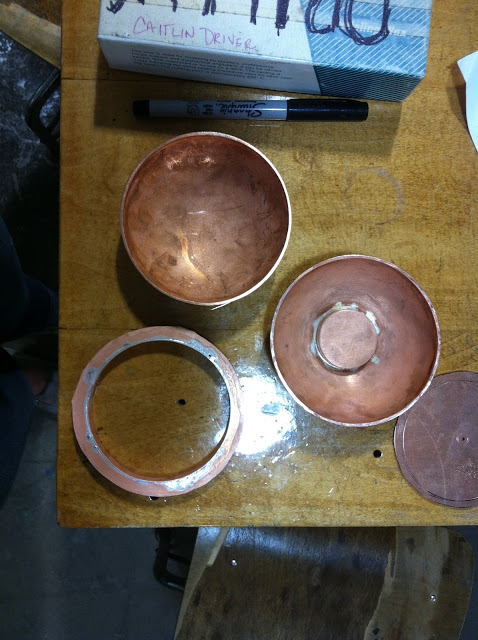
Compact Project - Progress - 'smithin' is hard
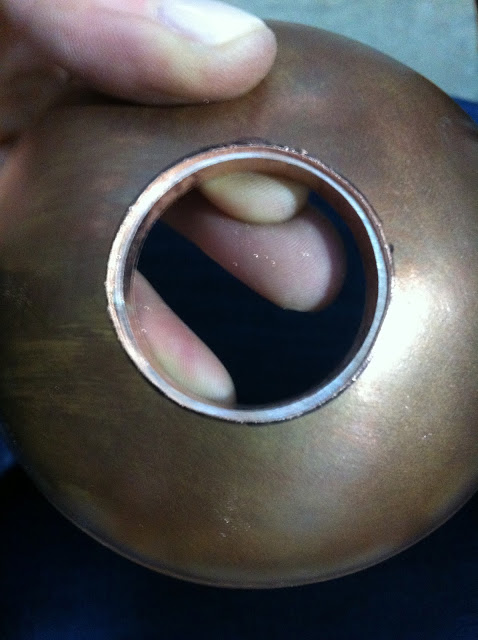
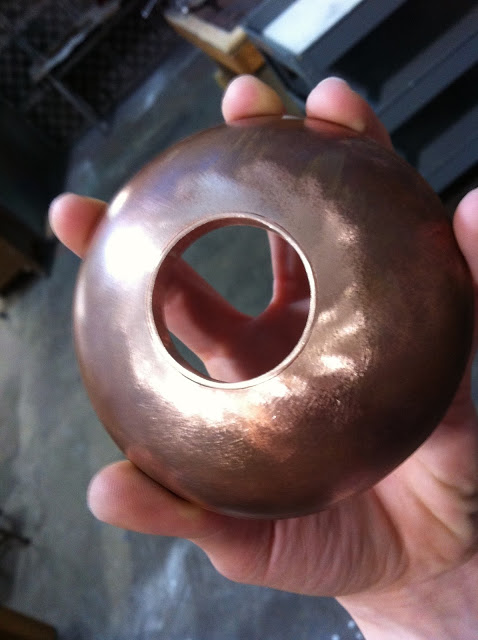
I've made some significant progress on the construction of my compact mirror-like project... While it's been nice to flex my metalsmithing muscle - my actual muscles are definitely feeling it after two days of going hard at the bench. So, I took the day off of metalsmithing today to finish a few other things and hang out with my dad since he was in town. Here are some pictures from the last couple days...


 |
| Safety is not taking a selfie. |
 |
| Yes, I realize I should have done this first - but why not really test that smith-muscle and make it ten times harder and do it second ;). |
I've got to make the second one of these rims for the inset acrylic and then add a bottom flange-like thing so I can micro bold down the acrylic.
I've also been working on a practice hinge - it's crooked, but its proving worth it (had to melt something today).
TBC...
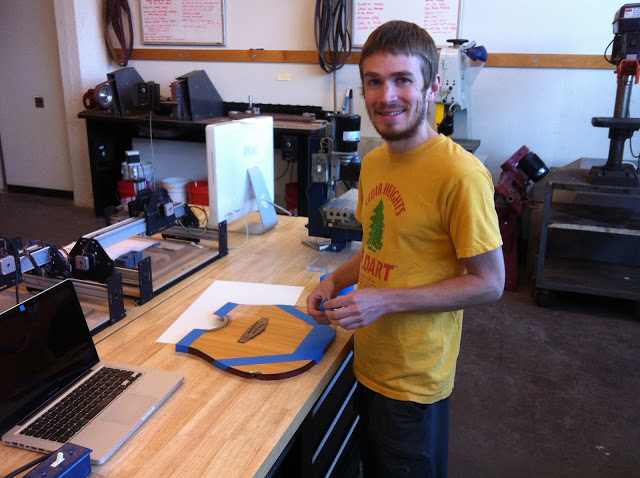
S100 - Guitars for Vets - Progress
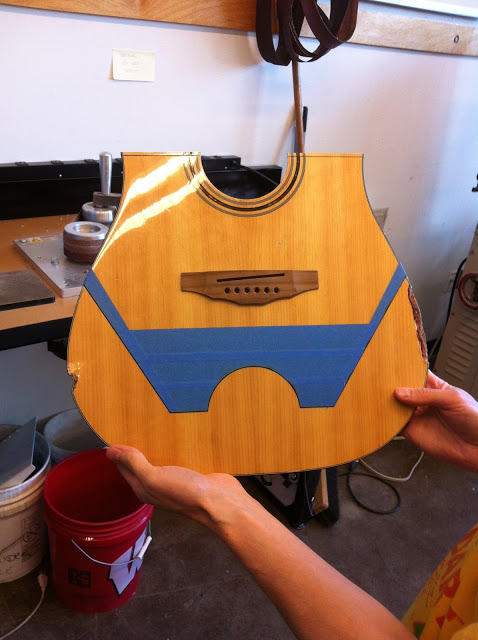
Broc and I sketched out some possible compositions for our sculpture on Friday and started cutting some pieces of the guitar up.


 |
| Frankie recommended we put some tape over the cut part so we don't get fume marks from when the poly burns. Also, it looks like underwear. |
 |
| Teamwork. |
 |
| The laser didn't cut all the way through, but it was convenient to have a nice guideline to sand to. |
S100 - Vacuum Casting with Anna
Anna has been casting a lot this summer and I love casting so I've been her assistant on a couple occasions. In undergrad, I always did centrifugal casting, so watching Anna do the vacuum casting was exciting for many reasons... One is that if I ever decided to do casting after I graduate, I will not need to invest in a centrifuge and a vacuum table, potentially. Two is that this seemed more do-able on my own.

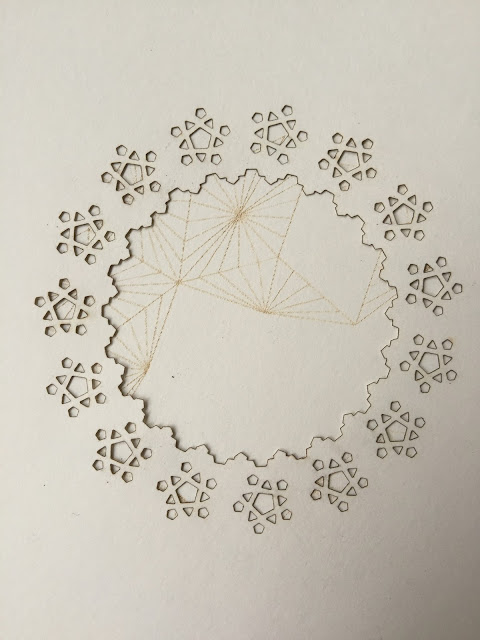
S100 - Pattern Experimentation
I'm not sure where these will lead, but I've been experimenting with sketching by overlapping lines and trimming. I could see these forms being repeated and transformed further...


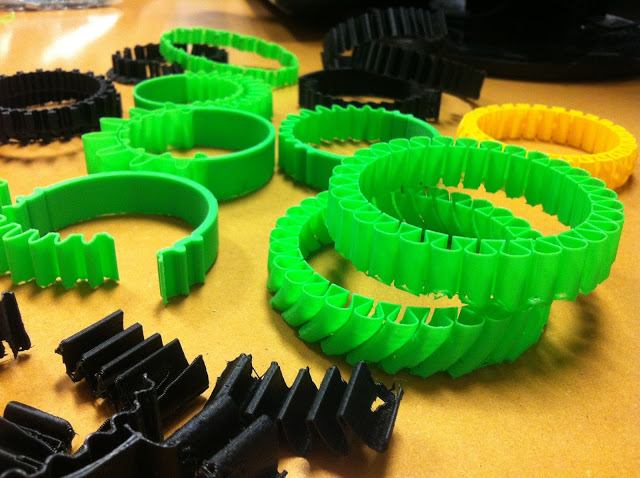
e-NABLE Fellowship - Gauntlet Tests
I am interested in creating a flexible style gauntlet - I've taken some inspiration from the stretchlet and started experimenting with thin wall prints... The results have varied greatly - but so far no solution.


S100 - The Arduino Stater Kit - Project 13
Touchy-Feely Lamp (just like my compact!)
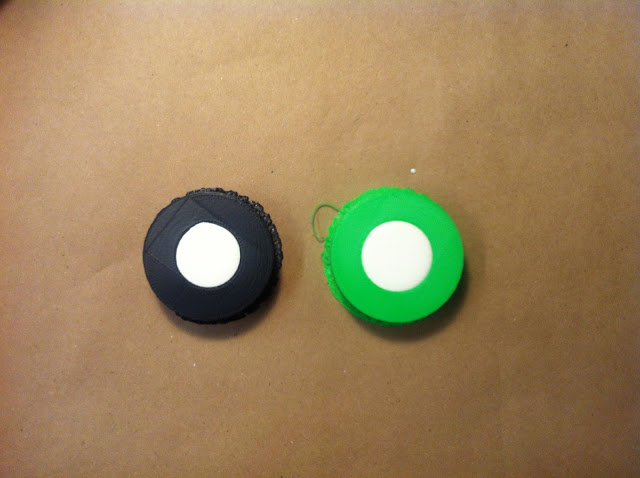
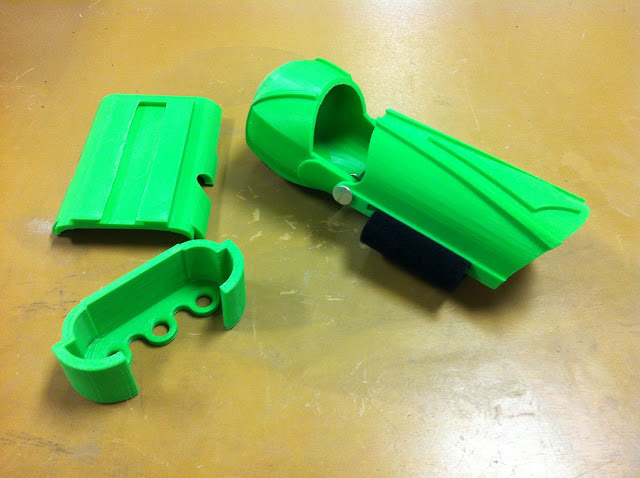
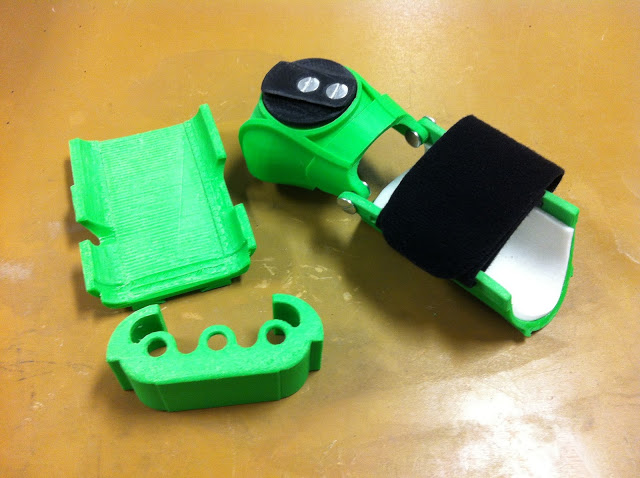
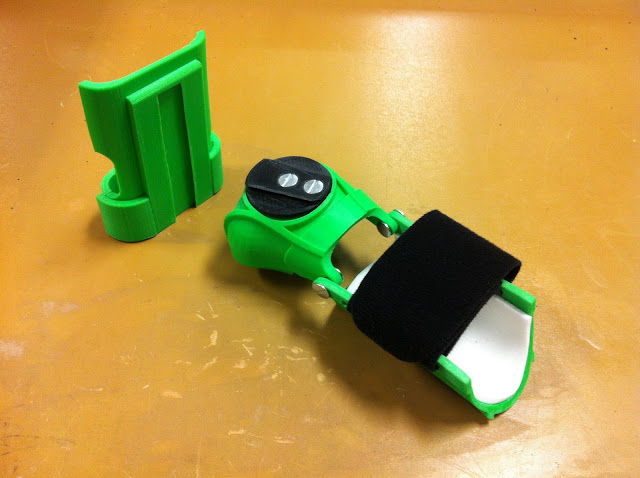
e-NABLE Fellowship - Karuna's Trumpet Holder - Finished!
Karuna's green set is finished! I hope he likes it.

S100 - The Arduino Stater Kit - Project 12
Knock Lock - This project was fun! I had to trouble shoot the knocking a lot but eventually got the lock mechanism to work. In this project a piezo is used as an input. Depending on the number of knocks the piezo hears it will move the servo to "lock" or "unlock."
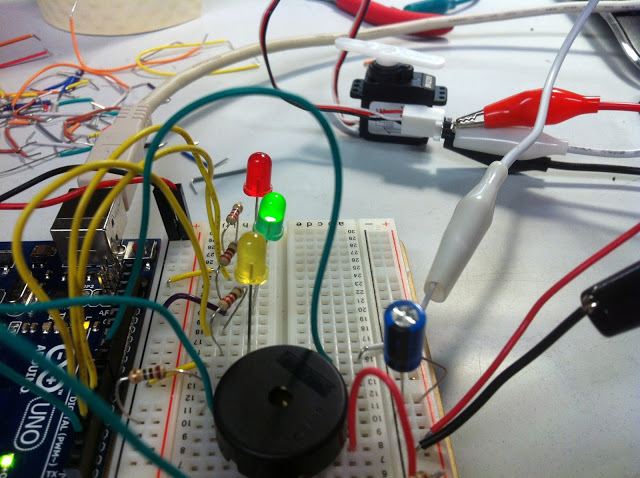

I really like the serial monitor, it makes the transition between tech and real easier to understand.

I really like the serial monitor, it makes the transition between tech and real easier to understand.